

DIY Home Decor Projects: Transform your living space from drab to fab without breaking the bank! Have you ever walked into a beautifully decorated home and thought, “I wish my place looked like this?” Well, you’re not alone! Many people crave a stylish and personalized home but are intimidated by the perceived cost and effort. But what if I told you that you could achieve a magazine-worthy look with simple, budget-friendly DIY projects?
The desire to personalize our living spaces is deeply rooted in human history. From ancient cave paintings to intricate tapestries, people have always sought to express themselves through their surroundings. Today, this desire manifests in the booming DIY home decor movement. It’s about more than just aesthetics; it’s about creating a space that reflects your personality, values, and experiences.
That’s where these DIY Home Decor Projects come in. In this article, I’m going to share some of my favorite easy-to-follow DIY tricks and hacks that will help you add a personal touch to your home. Whether you’re looking to revamp a tired room, create unique wall art, or simply add a touch of personality to your space, these projects are designed to be accessible to everyone, regardless of skill level. So, grab your tools, unleash your creativity, and let’s get started on transforming your house into a home you truly love!
DIY CIF Cleaner Uses: Beyond the Bottle
Okay, let’s be honest, we all know CIF cleaner as that trusty cream cleanser we reach for when the bathroom sink looks like a science experiment gone wrong. But did you know it’s a multi-tasking marvel? I’m going to show you some amazing ways to use CIF cleaner that you probably haven’t thought of. Get ready to be amazed!
Cleaning Burnt Pots and Pans
We’ve all been there. You get distracted, and suddenly your favorite pot is sporting a lovely layer of burnt-on food. Don’t despair! CIF can be a lifesaver.
What you’ll need:
* CIF Cream Cleaner
* Non-abrasive sponge or cloth
* Warm water
* Optional: Baking soda
Step-by-step instructions:
1. Let it cool: First, make sure the pot or pan is completely cool to the touch. Don’t try to clean a hot pan; you could burn yourself.
2. Apply CIF: Generously apply CIF cream cleaner to the burnt areas. Make sure you cover all the affected spots.
3. Add Baking Soda (Optional): For really stubborn burns, sprinkle a little baking soda on top of the CIF. The baking soda acts as a gentle abrasive, helping to lift the burnt food.
4. Let it sit: This is the key! Let the CIF and baking soda mixture sit for at least 30 minutes, or even longer for heavily burnt pans. I often leave it overnight.
5. Scrub gently: After soaking, use a non-abrasive sponge or cloth to gently scrub the burnt areas. Avoid using steel wool or harsh scrubbers, as they can scratch the surface of your pot or pan.
6. Rinse thoroughly: Rinse the pot or pan thoroughly with warm water, making sure to remove all traces of CIF and baking soda.
7. Repeat if necessary: If some burnt residue remains, repeat the process. Sometimes, it takes a couple of tries to completely remove stubborn burns.
Reviving White Sneakers
White sneakers are a classic, but they get dirty so easily! CIF can work wonders on those scuff marks and grime.
What you’ll need:
* CIF Cream Cleaner
* Old toothbrush or small scrub brush
* Damp cloth
* Clean water
Step-by-step instructions:
1. Remove loose dirt: Before you start, use a dry brush or cloth to remove any loose dirt or debris from your sneakers.
2. Apply CIF: Apply a small amount of CIF cream cleaner to the dirty areas of your sneakers.
3. Scrub gently: Use an old toothbrush or small scrub brush to gently scrub the CIF into the scuff marks and grime. Pay extra attention to the rubber soles and any areas with stubborn stains.
4. Wipe clean: Use a damp cloth to wipe away the CIF and loosened dirt. Rinse the cloth frequently to avoid spreading the dirt around.
5. Repeat as needed: If some stains persist, repeat the process until your sneakers are looking bright and clean.
6. Air dry: Allow your sneakers to air dry completely. Avoid putting them in the dryer, as the heat can damage them.
Cleaning Grout in Tiles
Grout can be a real pain to clean. It gets discolored and grimy so quickly. CIF can help restore your grout to its former glory.
What you’ll need:
* CIF Cream Cleaner
* Old toothbrush or grout brush
* Spray bottle with water
* Clean cloth or paper towels
Step-by-step instructions:
1. Apply CIF: Apply a small amount of CIF cream cleaner directly to the grout lines.
2. Scrub the grout: Use an old toothbrush or grout brush to scrub the CIF into the grout lines. Work in small sections to ensure you’re thoroughly cleaning each area.
3. Let it sit: Allow the CIF to sit on the grout for a few minutes to help loosen the dirt and grime.
4. Rinse with water: Fill a spray bottle with clean water and spray the grout lines to rinse away the CIF and loosened dirt.
5. Wipe clean: Use a clean cloth or paper towels to wipe the grout lines dry.
6. Repeat if necessary: For heavily stained grout, you may need to repeat the process.
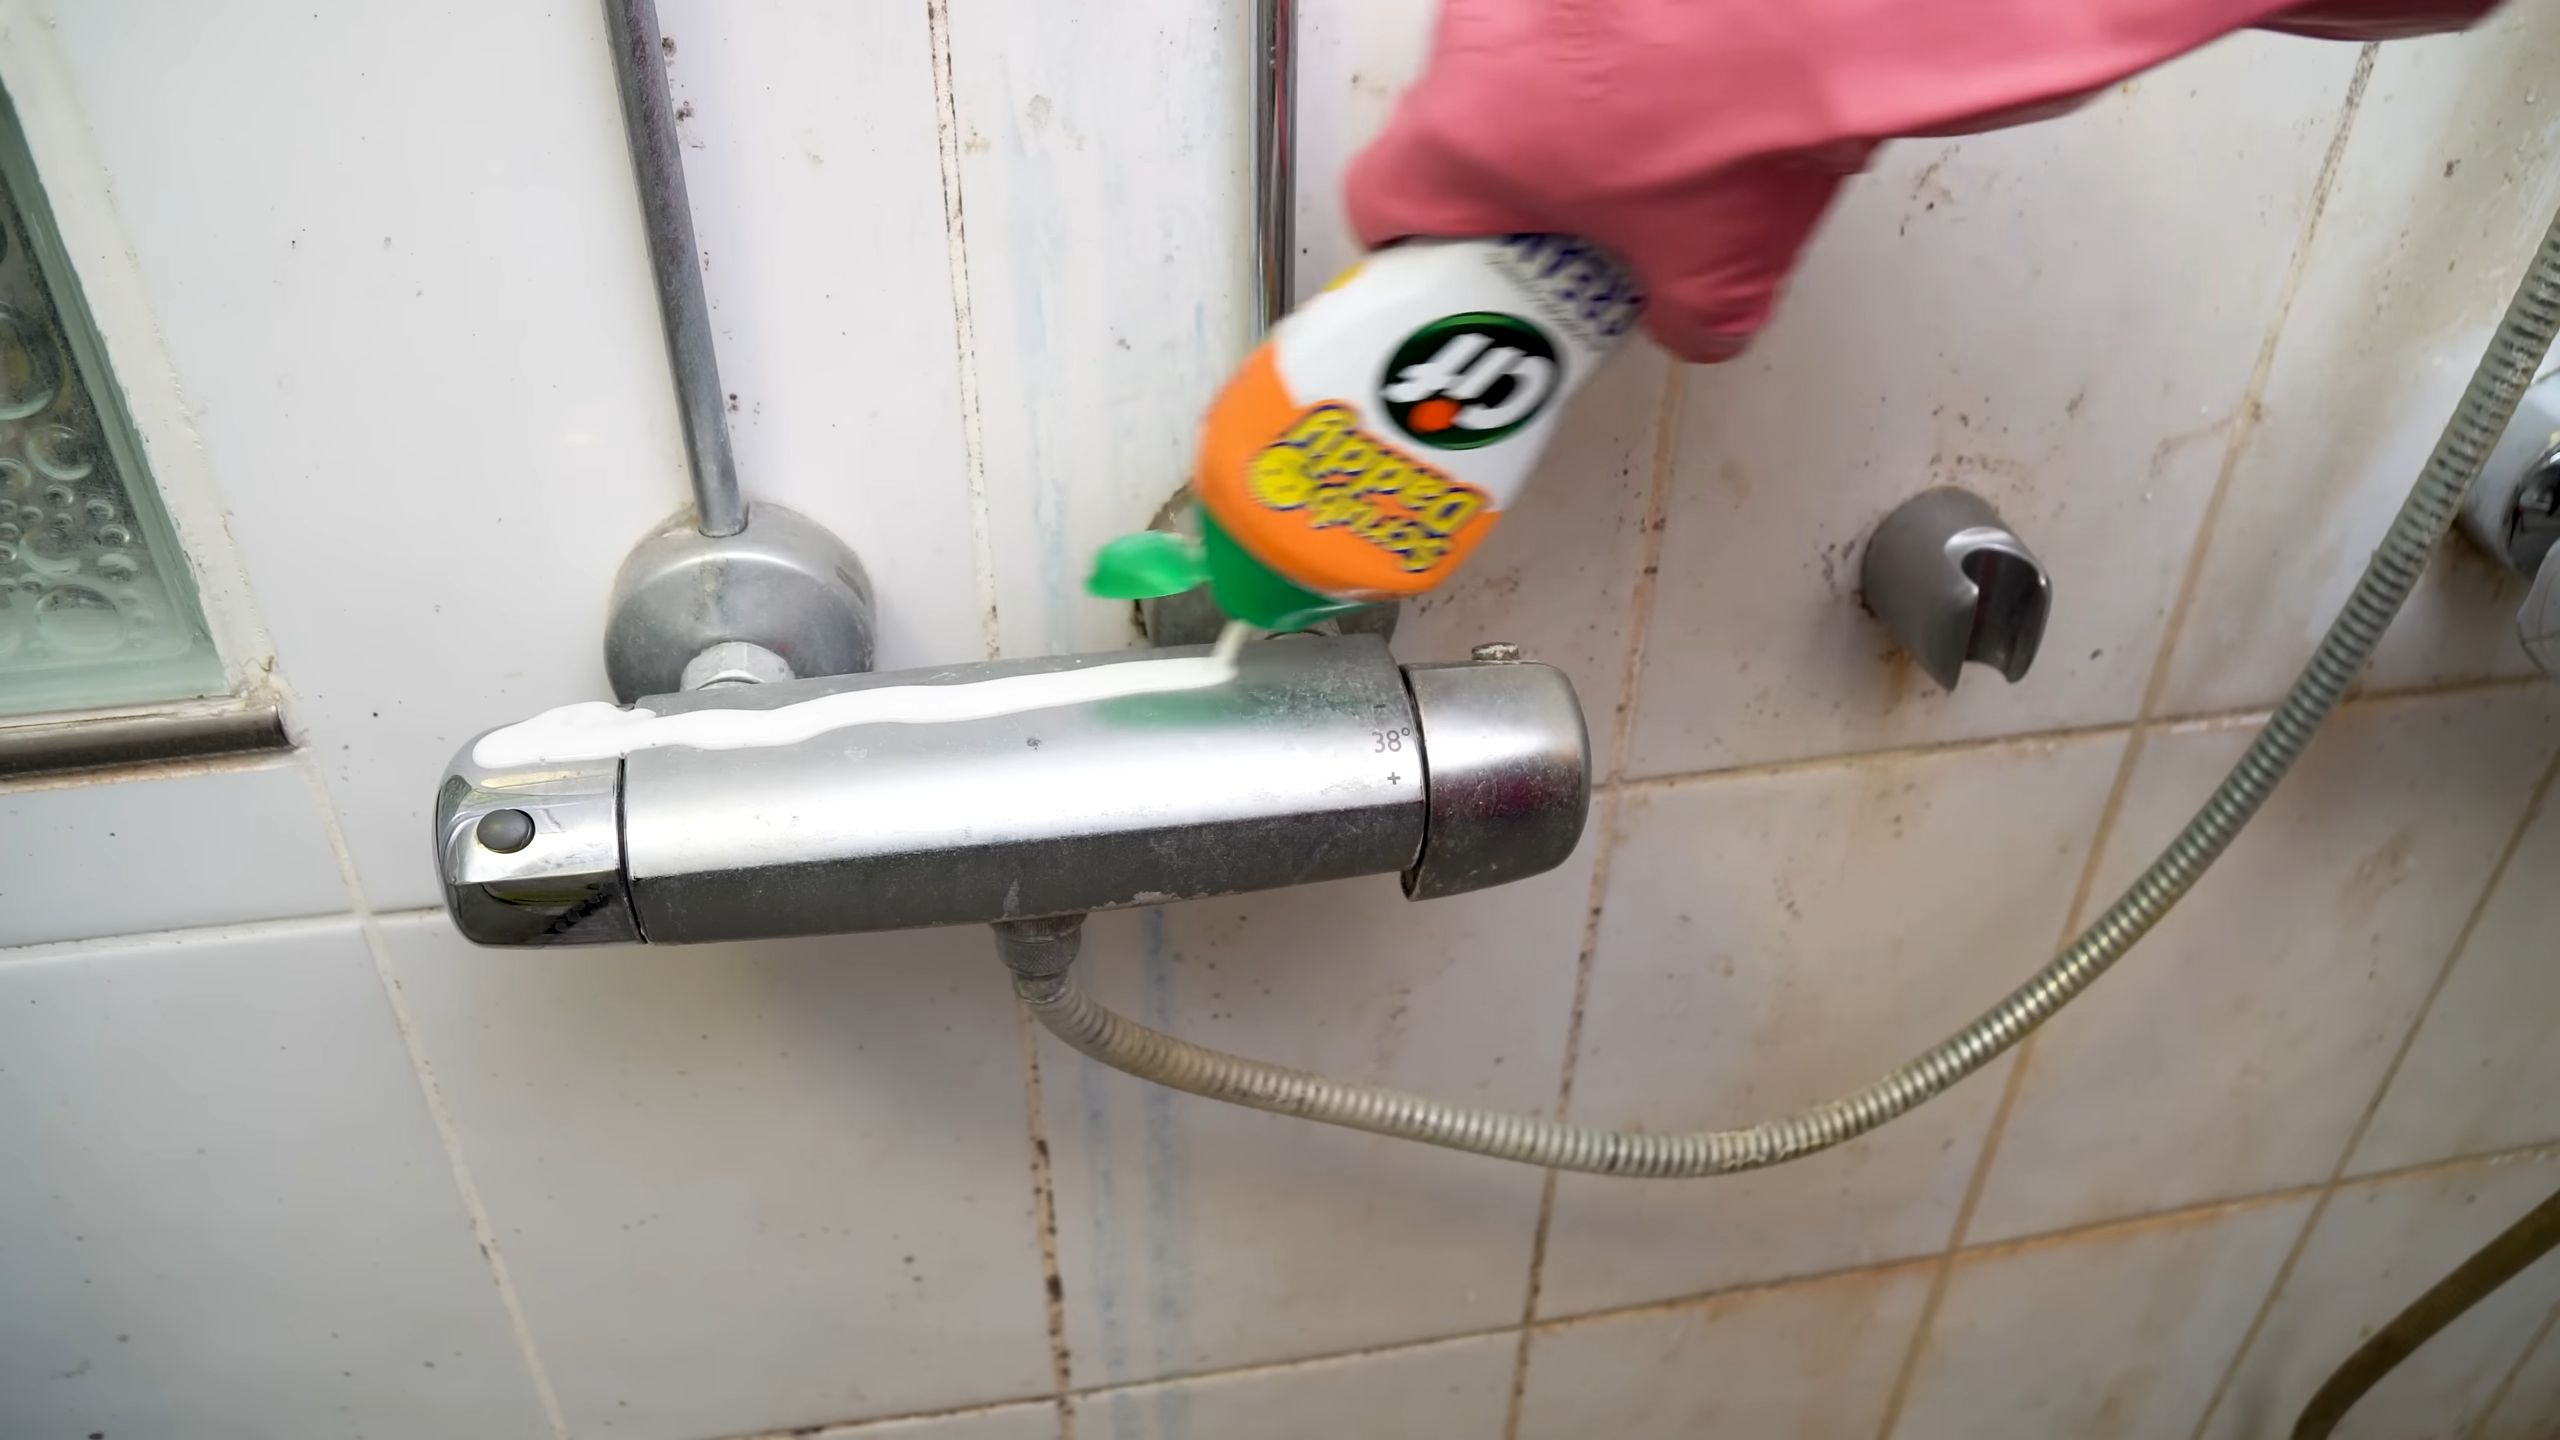
Removing Soap Scum from Shower Doors
Soap scum is the bane of every bathroom cleaner’s existence. It’s stubborn and unsightly. But CIF can make quick work of it.
What you’ll need:
* CIF Cream Cleaner
* Non-abrasive sponge or cloth
* Spray bottle with water
* Squeegee (optional)
Step-by-step instructions:
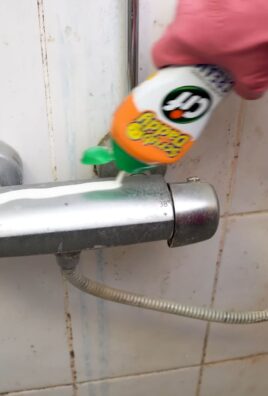
1. Apply CIF: Apply CIF cream cleaner to the soap scum-covered shower doors.
2. Spread evenly: Use a non-abrasive sponge or cloth to spread the CIF evenly over the surface.
3. Let it sit: Allow the CIF to sit for a few minutes to soften the soap scum.
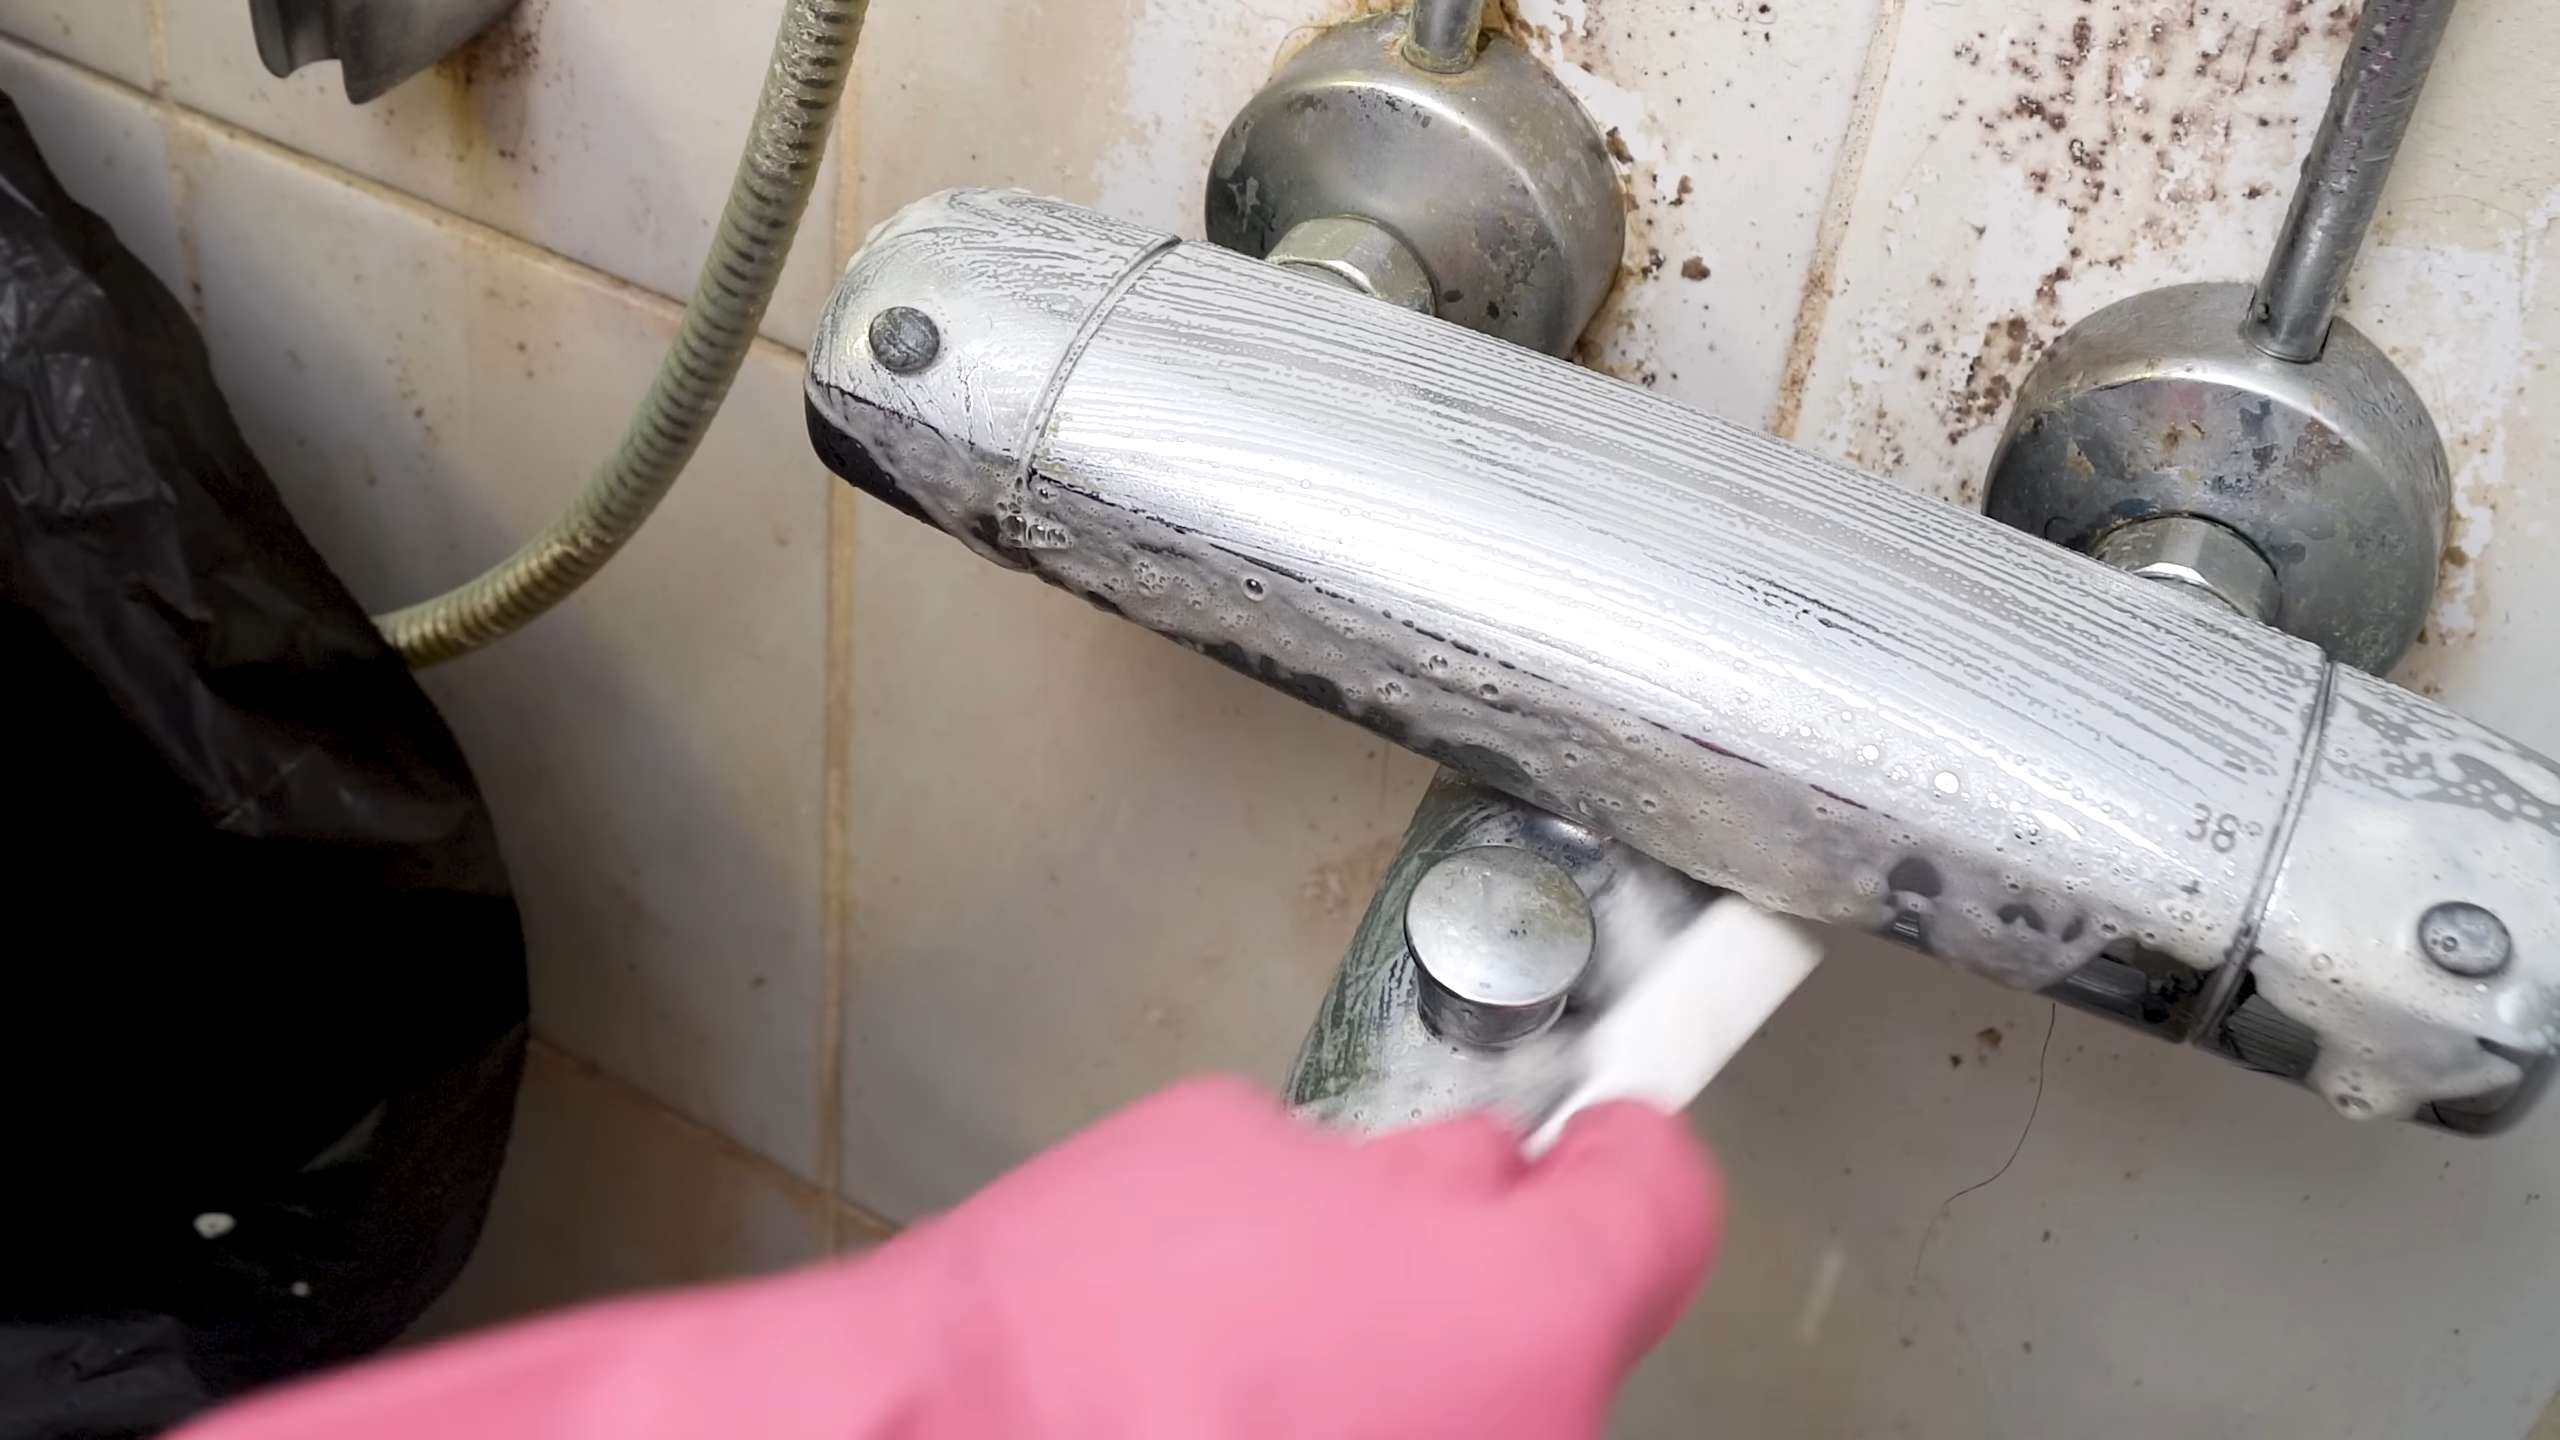
4. Scrub gently: Gently scrub the shower doors with the sponge or cloth to remove the soap scum.
5. Rinse thoroughly: Rinse the shower doors thoroughly with water.
6. Squeegee (optional): Use a squeegee to remove excess water and prevent water spots.
7. Wipe dry: Wipe the shower doors dry with a clean cloth.
Cleaning Stainless Steel Appliances
Stainless steel appliances look great, but they’re notorious for showing fingerprints and smudges. CIF can help keep them looking their best.
What you’ll need:
* CIF Cream Cleaner
* Soft cloth or microfiber cloth
* Clean water
* Dry cloth
Step-by-step instructions:
1. Apply CIF: Apply a small amount of CIF cream cleaner to a soft cloth or microfiber cloth.
2. Wipe the appliance: Gently wipe the stainless steel appliance in the direction of the grain. Avoid using too much pressure, as this can scratch the surface.
3. Rinse with water: Dampen a clean cloth with water and wipe the appliance to remove any residue.
4. Dry thoroughly: Dry the appliance thoroughly with a clean, dry cloth. This will help prevent water spots and streaks.
Removing Scuff Marks from Walls
Those pesky scuff marks on your walls can be easily removed with CIF.
What you’ll need:
* CIF Cream Cleaner
* Soft cloth or sponge
* Clean water
Step-by-step instructions:
1. Apply CIF: Apply a small amount of CIF cream cleaner to a soft cloth or sponge.
2. Gently rub the scuff mark: Gently rub the scuff mark in a circular motion until it disappears. Be careful not to rub too hard, as this could damage the paint.
3. Wipe clean: Wipe the area with a clean, damp cloth to remove any residue.
4. Dry: Allow the area to dry completely.
Cleaning Ceramic Hobs
Ceramic hobs can be tricky to clean, but CIF can help remove burnt-on food and grease.
What you’ll need:
* CIF Cream Cleaner
* Non-abrasive sponge or cloth
* Ceramic hob scraper (optional)
* Clean water
Step-by-step instructions:
1. Let the hob cool: Make sure the ceramic hob is completely cool before you start cleaning.
2. Apply CIF: Apply CIF cream cleaner to the dirty areas of the hob.
3. Scrub gently: Use a non-abrasive sponge or cloth to gently scrub the burnt-on food and grease. For stubborn stains, you can use a ceramic hob scraper, but be careful not to scratch the surface.
4. Rinse thoroughly: Rinse the hob thoroughly with clean water.
5. Wipe dry: Wipe the hob dry with a clean cloth.
Cleaning Plastic Garden Furniture
Plastic garden furniture can get dirty and stained from being outdoors. CIF can help restore it to its original condition.
What you’ll need:
* CIF Cream Cleaner
* Sponge or cloth
* Hose or bucket of water
Step-by-step instructions:
1. Apply CIF: Apply CIF cream cleaner to the dirty areas of the furniture.
2. Scrub: Use a sponge or cloth to scrub the furniture, paying attention to any stained areas.
3. Rinse: Rinse the furniture thoroughly with a hose or bucket of water.
4. Dry: Allow the furniture to air dry completely.
Removing Tea and Coffee Stains from Mugs
Those stubborn tea and coffee stains in your mugs can
Conclusion
So, there you have it! Transforming your living space doesn’t require a hefty budget or professional interior designers. With a little creativity and these simple DIY home decor projects, you can inject personality and style into every corner of your home. We’ve explored how to repurpose old materials, create stunning wall art, and add cozy touches that reflect your unique taste.
The beauty of these projects lies in their adaptability. Feel free to experiment with different colors, textures, and patterns to match your existing decor or create a completely new aesthetic. For example, if you loved the painted mason jar idea, try using chalk paint for a rustic, vintage look. Or, instead of flowers, fill them with fairy lights for a magical ambiance. If you’re feeling adventurous with the wall art project, consider using stencils to create intricate designs or incorporating mixed media elements like fabric scraps or dried leaves.
Why is this a must-try? Because it empowers you to create a home that truly reflects you, without breaking the bank. It’s about more than just decorating; it’s about crafting memories, expressing your creativity, and enjoying the process of transforming your space. Plus, imagine the satisfaction of telling your guests, “I made that myself!”
Don’t be afraid to get your hands dirty and embrace the imperfections. After all, it’s the little quirks and unique touches that make a home truly special. Remember, the goal is to create a space that you love, a sanctuary where you feel comfortable, inspired, and happy.
We’ve shown you some fantastic starting points, but the possibilities are truly endless. Think about your personal style, your favorite colors, and the overall mood you want to create in your home. Then, let your imagination run wild!
We are confident that these DIY home decor projects will inspire you to unleash your inner artist and transform your house into a home. We encourage you to try these projects and share your creations with us! Post photos of your finished projects on social media using #DIYHomeDecorMagic and tag us so we can see your amazing transformations. We can’t wait to see what you come up with! Your experiences and insights will not only inspire us but also help other DIY enthusiasts on their creative journeys. Let’s build a community of passionate home decorators who believe in the power of DIY!
Frequently Asked Questions (FAQs)
What if I’m not very crafty? Are these DIY projects still for me?
Absolutely! These DIY home decor projects are designed to be accessible to everyone, regardless of their crafting experience. We’ve focused on simple techniques and readily available materials. Start with the easiest project, like the painted mason jars, and gradually work your way up to more complex ones as you gain confidence. Remember, the goal is to have fun and express your creativity, not to achieve perfection. Don’t be afraid to make mistakes – they’re often the best learning opportunities! There are also tons of online tutorials and videos available to guide you through each step.
Where can I find the materials for these DIY projects?
Most of the materials you’ll need can be found at your local craft store, hardware store, or even your own home! Repurposing old items is a great way to save money and add a unique touch to your decor. For example, you can use old t-shirts to create fabric wall art or turn old pallets into rustic furniture. Online retailers like Amazon and Etsy are also great resources for finding specific materials or unique embellishments. Don’t forget to check out thrift stores and flea markets for hidden gems that can be transformed into beautiful home decor pieces.
How much will these DIY projects cost?
One of the biggest advantages of DIY home decor is its affordability. The cost of each project will vary depending on the materials you use, but in general, these projects are much cheaper than buying new decor items from a store. By repurposing old materials and shopping around for deals, you can significantly reduce the cost. Before starting a project, make a list of the materials you’ll need and compare prices at different stores. You can also look for coupons and discounts online.
Can I customize these DIY projects to match my existing decor?
Absolutely! Customization is key to creating a home that truly reflects your personal style. Feel free to experiment with different colors, patterns, and textures to match your existing decor. For example, if you have a neutral color scheme, you can add pops of color with brightly painted mason jars or colorful wall art. If you prefer a more rustic look, you can use natural materials like wood and burlap. Don’t be afraid to mix and match different styles to create a unique and eclectic look.
How long will these DIY projects take to complete?
The time it takes to complete each project will vary depending on its complexity and your skill level. Some projects, like the painted mason jars, can be completed in just a few hours, while others, like the wall art project, may take a few days. It’s important to set realistic expectations and allow yourself plenty of time to complete each project. Don’t rush the process – enjoy the journey and take pride in your creations.
What if I mess up? Can I fix it?
Of course! Mistakes are a natural part of the DIY process. Don’t be discouraged if you mess up – it’s an opportunity to learn and improve. Most mistakes can be easily fixed with a little creativity and resourcefulness. For example, if you accidentally spill paint, you can cover it up with a stencil or add a decorative element. If you cut a piece of fabric too short, you can add a border or trim to make it work. The key is to stay positive and think outside the box.
Are these DIY projects suitable for renters?
Yes! Many of these DIY home decor projects are perfect for renters because they are non-permanent and easy to remove. For example, you can use removable wallpaper to add a pop of color to your walls without damaging the paint. You can also use command strips to hang wall art without making holes in the walls. Be sure to check your lease agreement for any restrictions on decorating before starting any projects.
How can I get more inspiration for DIY home decor projects?
There are tons of resources available online and in print to inspire your DIY home decor projects. Websites like Pinterest, Instagram, and YouTube are great sources of inspiration. You can also find DIY home decor magazines and books at your local library or bookstore. Don’t be afraid to experiment and try new things. The most important thing is to have fun and express your creativity.
What are some other variations I can try?
The possibilities are endless! For the mason jars, try distressing them with sandpaper after painting for a shabby chic look. You could also decoupage them with patterned paper or fabric. For the wall art, consider using different types of paint, like acrylics or watercolors. You could also add embellishments like beads, sequins, or buttons. Get creative and personalize each project to make it your own. Think about incorporating natural elements like branches, stones, or shells into your decor.
How can I ensure my DIY projects are safe?
Safety should always be a top priority when working on DIY projects. Be sure to use appropriate safety gear, such as gloves, masks, and eye protection, when working with paints, chemicals, or power tools. Read and follow the instructions carefully for all materials and tools. Work in a well-ventilated area to avoid inhaling harmful fumes. Keep children and pets away from your work area. If you’re unsure about how to use a particular tool or material, consult a professional or watch a tutorial video.

Leave a Comment