

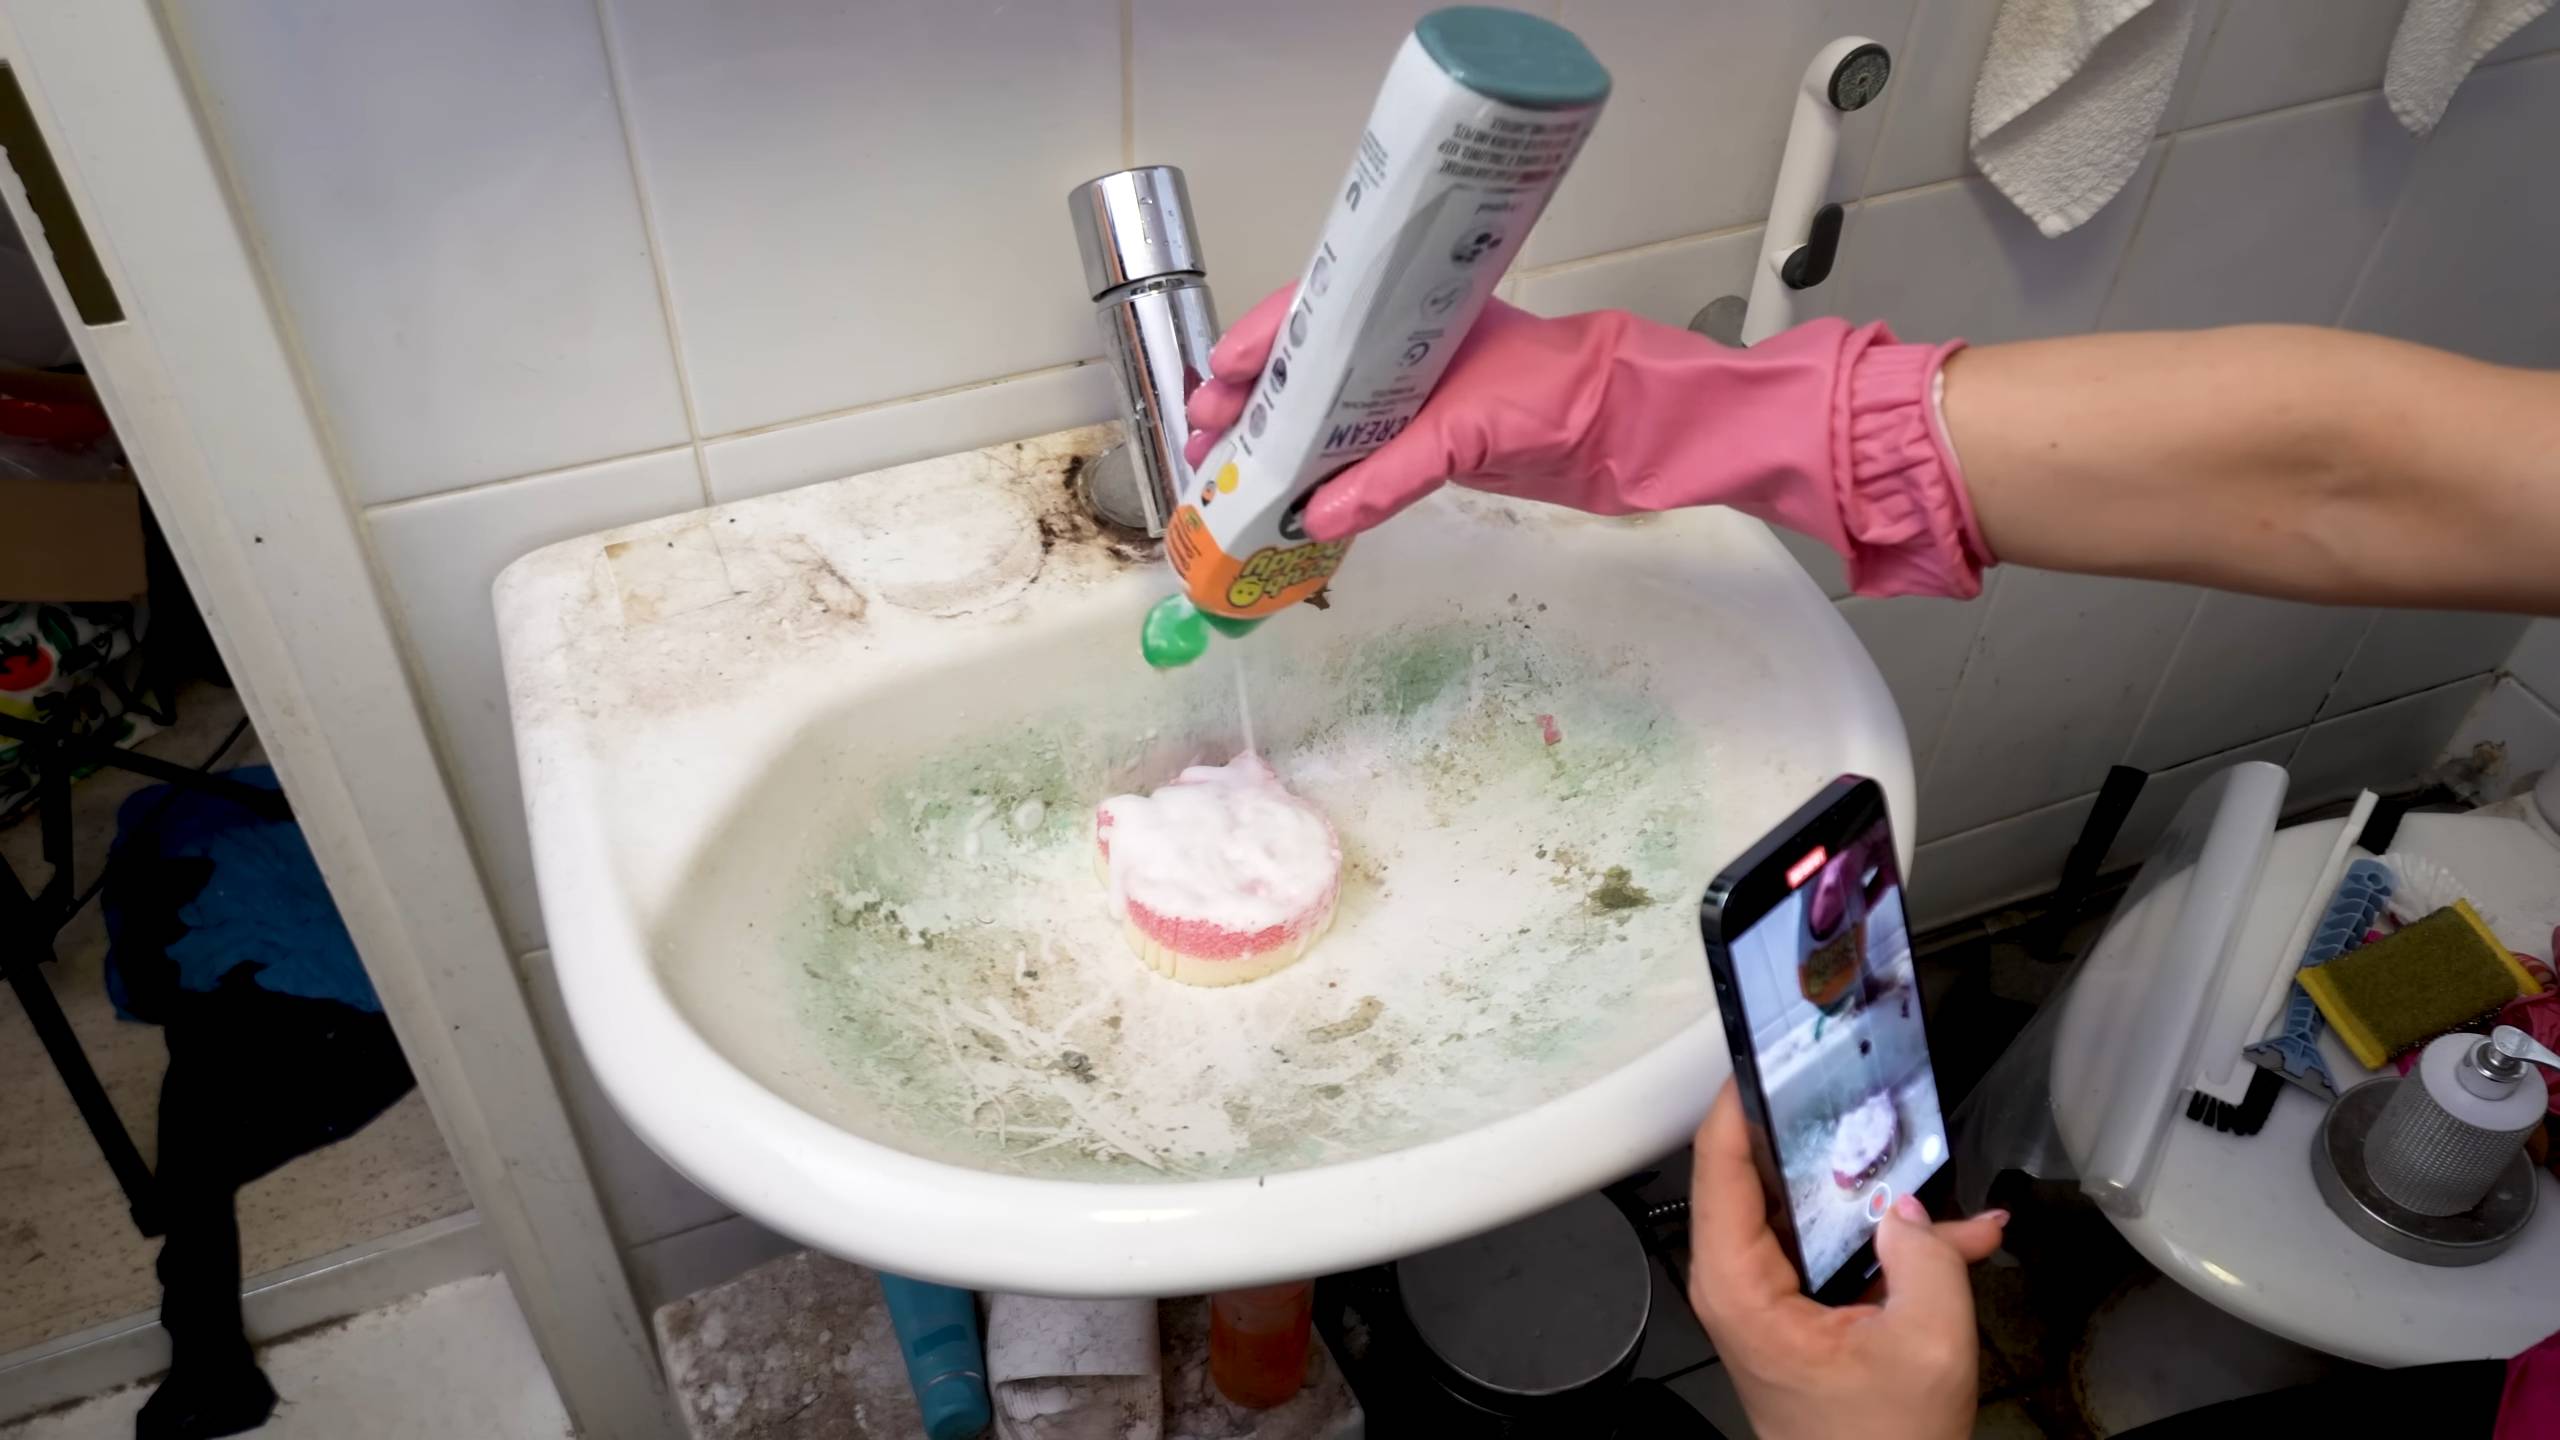
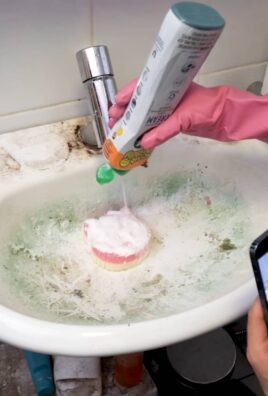
CIF cleaner hacks – who knew these three words could unlock a world of sparkling clean possibilities beyond just your bathroom sink? I’m excited to share some amazing DIY tricks that will revolutionize how you use this everyday cleaning staple. For generations, CIF (or similar cream cleaners) has been a trusted name in households, tackling tough stains and grime. Its effectiveness is undeniable, but limiting it to just the kitchen and bathroom is a missed opportunity!
Think about it: we all crave a clean and tidy home, but the cost of specialized cleaning products can quickly add up. That’s where these CIF cleaner hacks come in. I’m going to show you how to extend the life of your favorite shoes, revitalize your outdoor furniture, and even tackle those stubborn marks on your car – all with a product you probably already have under your sink.
This isn’t just about saving money; it’s about simplifying your life and discovering the hidden potential of everyday items. Get ready to be amazed by these simple yet effective DIY solutions that will transform your cleaning routine and leave your home sparkling from top to bottom!
Growing Brussels Sprouts in Containers: A DIY Guide
Hey there, fellow gardening enthusiasts! I’m so excited to share my experience with growing Brussels sprouts in containers. It might seem daunting, but trust me, it’s totally doable, even if you don’t have a huge garden. I’ve had some amazing success with this method, and I’m confident you can too! Let’s dive in!
Choosing the Right Container and Soil
Before we even think about seeds, we need to get the foundation right. The container and soil are crucial for healthy Brussels sprouts.
* Container Size: Brussels sprouts need room to grow, both above and below ground. I recommend a container that’s at least 12 inches in diameter and 12 inches deep. A 5-gallon bucket works great, but bigger is always better! Think about a half-barrel planter if you want to grow multiple plants in one container.
* Drainage: This is non-negotiable! Make sure your container has plenty of drainage holes. Brussels sprouts hate sitting in soggy soil. If your container doesn’t have enough holes, drill a few more.
* Soil Mix: Forget garden soil! It’s too heavy and compacts easily. Instead, opt for a high-quality potting mix. I like to use a mix that’s specifically formulated for vegetables. You can also create your own mix by combining equal parts of compost, peat moss (or coco coir), and perlite. This will provide good drainage, aeration, and nutrients.
Planting Your Brussels Sprouts
Now for the fun part! You can either start your Brussels sprouts from seeds or buy seedlings from a nursery. I’ve done both, and both work well. Starting from seed gives you more control over the variety, but seedlings are a quicker option.
* Starting from Seed:
1. Sow Seeds Indoors: About 6-8 weeks before the last expected frost, sow your Brussels sprouts seeds indoors in seed trays or small pots. Plant the seeds about 1/4 inch deep.
2. Keep Soil Moist: Keep the soil consistently moist but not soggy. I like to use a spray bottle to gently water the seeds.
3. Provide Light: Once the seedlings emerge, they’ll need plenty of light. A sunny windowsill or a grow light will work.
4. Harden Off Seedlings: Before transplanting your seedlings outdoors, you’ll need to harden them off. This means gradually exposing them to outdoor conditions over a week or two. Start by placing them outside for a few hours each day, gradually increasing the amount of time they spend outdoors.
* Planting Seedlings:
1. Prepare the Container: Fill your container with your chosen potting mix, leaving a few inches of space at the top.
2. Dig a Hole: Dig a hole in the center of the container that’s large enough to accommodate the root ball of your seedling.
3. Gently Remove Seedling: Carefully remove the seedling from its pot, being careful not to damage the roots.
4. Place Seedling in Hole: Place the seedling in the hole and gently backfill with soil.
5. Water Thoroughly: Water the seedling thoroughly after planting.
Caring for Your Brussels Sprouts
Brussels sprouts need consistent care to thrive. Here’s what I’ve learned works best:
* Watering: Brussels sprouts need consistent moisture, especially during hot weather. Water deeply whenever the top inch of soil feels dry to the touch. Avoid overhead watering, as this can lead to fungal diseases. I prefer to water at the base of the plant.
* Fertilizing: Brussels sprouts are heavy feeders, so they need regular fertilization. I like to use a balanced liquid fertilizer every two weeks. You can also amend the soil with compost or aged manure.
* Sunlight: Brussels sprouts need at least 6 hours of sunlight per day. Choose a sunny spot for your container.
* Pest Control: Keep an eye out for pests like aphids, cabbage worms, and flea beetles. I’ve found that insecticidal soap or neem oil can be effective for controlling these pests. You can also handpick pests off the plants.
* Supporting the Plant: As your Brussels sprouts grow, they may become top-heavy. You may need to stake or support the plant to prevent it from falling over. I use bamboo stakes and twine to support my plants.
* Removing Lower Leaves: As the Brussels sprouts start to form, you can remove the lower leaves of the plant. This will help to improve air circulation and prevent disease.
Harvesting Your Brussels Sprouts
Harvesting is the most rewarding part! Brussels sprouts are typically ready to harvest in the fall or early winter.
* When to Harvest: The sprouts should be firm and about 1-2 inches in diameter. The lower sprouts will mature first.
* How to Harvest: To harvest, simply twist the sprouts off the stem. Start with the lower sprouts and work your way up.
* Continued Production: After harvesting the lower sprouts, you can remove the top of the plant to encourage the remaining sprouts to mature more quickly.
Troubleshooting
Even with the best care, you might encounter some challenges. Here are a few common problems and how I deal with them:
* Yellowing Leaves: This can be a sign of overwatering, underwatering, or nutrient deficiency. Check the soil moisture and adjust your watering accordingly. If the soil is dry, water deeply. If the soil is soggy, allow it to dry out before watering again. You may also need to fertilize the plant.
* Sprouts Not Forming: This can be caused by insufficient sunlight, poor soil, or lack of fertilization. Make sure your plant is getting enough sunlight and that the soil is rich in nutrients. Fertilize regularly.
* Pest Infestations: As mentioned earlier, keep an eye out for pests and treat them promptly.
* Buttoning: This is when the sprouts form but remain very small. It’s often caused by stress, such as extreme temperatures or lack of water. Try to provide consistent care and protect your plants from extreme weather.
Choosing the Right Brussels Sprouts Variety
Not all Brussels sprouts are created equal! Some varieties are better suited for container growing than others. Here are a few of my favorites:
* ‘Long Island Improved’: This is a classic variety that’s known for its reliable production.
* ‘Jade Cross’: This is a hybrid variety that’s resistant to many common diseases.
* ‘Redarling’: If you want something a little different, try ‘Redarling’. It produces beautiful red sprouts.
* ‘Franklin’: A great choice for smaller gardens and containers.
Extra Tips for Success
Here are a few extra tips that I’ve learned along the way:
* Rotate Your Crops: Don’t plant Brussels sprouts in the same container year after year. Rotate your crops to prevent soilborne diseases.
* Mulch: Apply a layer of mulch around the base of the plant to help retain moisture and suppress weeds.
* Protect from Frost: Brussels sprouts can tolerate light frost, but they’ll need protection from hard freezes. You can cover them with a blanket or move the container indoors.
* Enjoy the Process: Gardening should be fun! Don’t get discouraged if you encounter some challenges. Just keep learning and experimenting.
Growing Brussels sprouts in containers is a rewarding experience. With a little bit of care and attention, you can enjoy fresh, homegrown Brussels sprouts right from your patio or balcony. Happy gardening!
Conclusion
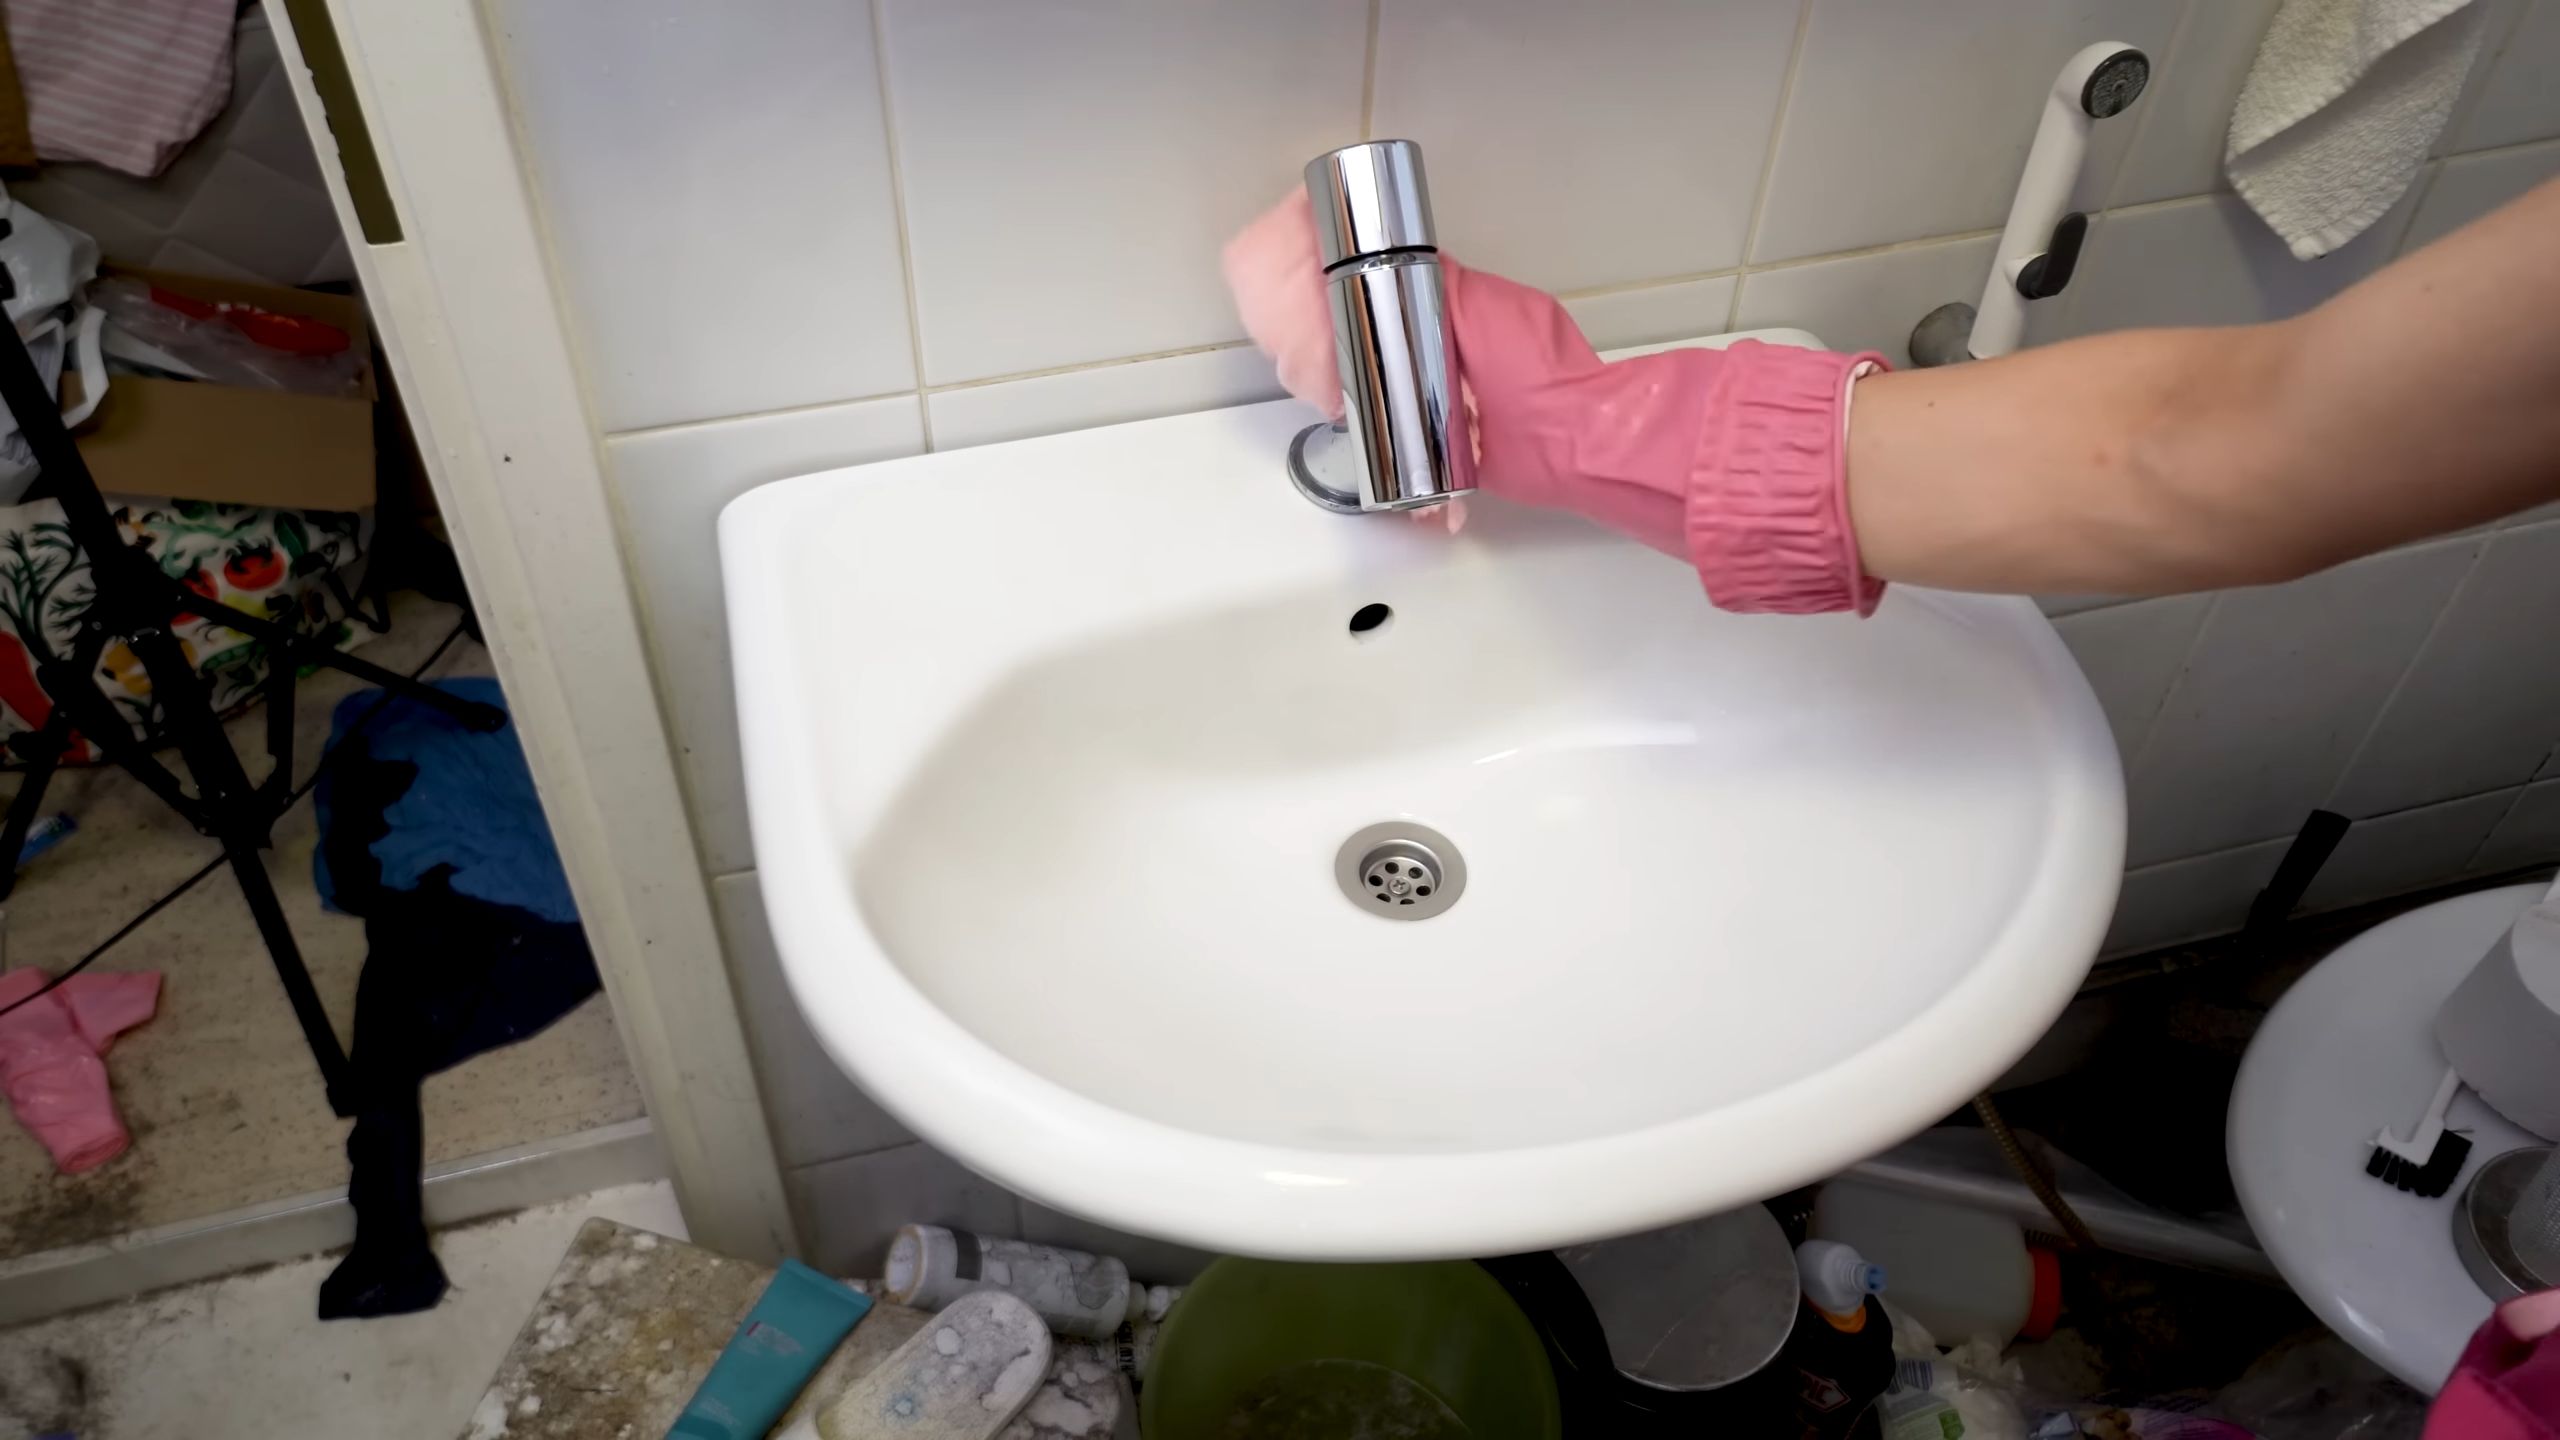
So, there you have it! This simple yet incredibly effective DIY CIF cleaner hack is a game-changer for anyone looking to achieve a sparkling clean home without breaking the bank or relying on harsh chemicals. We’ve walked you through the process, highlighting its ease, affordability, and eco-friendliness. But why is this DIY approach a must-try?
Firstly, it’s about control. You know exactly what’s going into your cleaner, avoiding potentially harmful ingredients often found in commercial products. This is especially important for households with children, pets, or individuals with sensitivities. Secondly, it’s about cost savings. The ingredients are likely already in your pantry, making this a budget-friendly alternative to expensive store-bought cleaners. And finally, it’s about effectiveness. This DIY CIF cleaner hack cuts through grease, grime, and soap scum just as well, if not better, than its commercial counterpart, leaving surfaces gleaming and refreshed.
But the beauty of DIY lies in its adaptability. Feel free to experiment with variations to suit your specific cleaning needs and preferences. For a more potent degreaser, consider adding a tablespoon of borax to the mixture. For a refreshing scent, incorporate a few drops of your favorite essential oil, such as lemon, lavender, or eucalyptus. If you’re tackling stubborn stains, pre-treating the area with a paste of baking soda and water can work wonders. Remember to always test any new cleaning solution on an inconspicuous area first to ensure it doesn’t damage the surface.
This DIY CIF cleaner hack isn’t just about cleaning; it’s about empowering you to take control of your cleaning routine, making it healthier, more sustainable, and more affordable. It’s about creating a cleaner, brighter home environment for yourself and your loved ones.
We’re confident that once you try this DIY CIF cleaner hack, you’ll be amazed by the results. It’s a simple, effective, and eco-conscious way to achieve a sparkling clean home. So, ditch the expensive, chemical-laden cleaners and embrace the power of DIY.
We encourage you to give this DIY CIF cleaner hack a try and share your experience with us! Let us know what variations you’ve experimented with, what surfaces you’ve used it on, and what results you’ve achieved. Your feedback is invaluable and helps us refine and improve our recipes for the benefit of the entire community. Share your tips, tricks, and photos in the comments section below. Let’s create a cleaner, healthier, and more sustainable world, one DIY cleaning solution at a time!
FAQ
What exactly is CIF cleaner and why would I want to make my own?
CIF cleaner is a popular brand of household cleaning products known for its effectiveness in removing tough stains and grime from various surfaces. However, commercial CIF cleaners often contain harsh chemicals that can be harmful to your health and the environment. Making your own DIY CIF cleaner allows you to control the ingredients, avoiding potentially toxic substances and creating a more eco-friendly and budget-friendly cleaning solution. It’s a way to achieve a sparkling clean home without compromising your well-being or the planet.
What are the basic ingredients I need for this DIY CIF cleaner hack?
The basic ingredients for a DIY CIF cleaner hack typically include:
* **Baking Soda:** A mild abrasive that helps to scrub away dirt and grime.
* **Washing Soda (Sodium Carbonate):** A stronger cleaner than baking soda, effective for cutting through grease and soap scum.
* **Liquid Dish Soap:** Helps to emulsify grease and lift dirt from surfaces. Choose a natural or eco-friendly dish soap to further reduce your exposure to harsh chemicals.
* **Water:** Acts as a solvent and helps to create a workable cleaning solution.
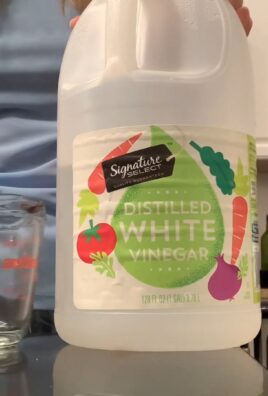
* **Optional Ingredients:** White vinegar (for extra cleaning power), essential oils (for fragrance and added cleaning benefits), borax (for a more potent degreaser).
Can I use regular soap instead of dish soap?
While you can technically use regular soap, dish soap is generally recommended because it’s specifically formulated to cut through grease and grime. Regular soap might not be as effective in emulsifying oils and lifting dirt from surfaces. If you do use regular soap, make sure it’s a liquid soap and use a slightly larger amount than you would dish soap.
Is this DIY CIF cleaner safe to use on all surfaces?
While this DIY CIF cleaner is generally safe for most surfaces, it’s always a good idea to test it on an inconspicuous area first, especially on delicate or sensitive materials like marble, granite, or painted surfaces. Avoid using it on surfaces that are known to be damaged by abrasive cleaners, such as polished wood or certain types of plastic.
How do I store the DIY CIF cleaner?
Store your DIY CIF cleaner in a clean, airtight container, such as a spray bottle or a jar with a lid. Label the container clearly with the name of the cleaner and the date it was made. Keep it out of reach of children and pets. The cleaner should last for several weeks or even months if stored properly.
Can I add essential oils to the DIY CIF cleaner? If so, which ones are best?
Yes, you can definitely add essential oils to your DIY CIF cleaner! Essential oils not only provide a pleasant fragrance but also offer additional cleaning and disinfecting benefits. Some of the best essential oils for cleaning include:
* **Lemon:** A powerful degreaser and disinfectant with a fresh, citrusy scent.
* **Tea Tree:** An antibacterial and antifungal oil that’s great for disinfecting surfaces.
* **Lavender:** A calming and relaxing scent with antiseptic properties.
* **Eucalyptus:** A strong disinfectant with a refreshing, medicinal scent.
* **Peppermint:** A refreshing and invigorating scent with antibacterial properties.
Add a few drops of your favorite essential oil or a blend of oils to the cleaner for added fragrance and cleaning power.
How often should I make a new batch of DIY CIF cleaner?
The frequency of making a new batch depends on how often you use the cleaner. However, it’s generally recommended to make a fresh batch every few weeks or months to ensure its effectiveness. Over time, the ingredients may separate or lose their potency.
What if the DIY CIF cleaner leaves a residue on the surface?
If the DIY CIF cleaner leaves a residue on the surface, it could be due to using too much of the cleaner or not rinsing the surface thoroughly enough. Try using less cleaner and rinsing the surface with clean water after cleaning. You can also wipe the surface with a clean, damp cloth to remove any remaining residue.
Can I use this DIY CIF cleaner to clean my oven?
Yes, you can use this DIY CIF cleaner to clean your oven, but it may require some extra effort for baked-on grease and grime. Preheat your oven to a low temperature (around 200°F) for about 15 minutes, then turn it off. This will help to loosen the grime. Apply the DIY CIF cleaner to the interior of the oven, avoiding the heating elements. Let it sit for several hours or overnight, then scrub the oven with a sponge or brush. Rinse thoroughly with clean water.
Is this DIY CIF cleaner safe for septic systems?
In general, the ingredients used in this DIY CIF cleaner (baking soda, washing soda, dish soap, and water) are considered safe for septic systems when used in moderation. However, it’s always a good idea to check with your septic system manufacturer or a professional if you have any concerns. Avoid using excessive amounts of the cleaner, as this could potentially disrupt the balance of bacteria in your septic tank.
Leave a Comment