

Scrub Daddy CIF Cleaner Uses: Who knew this dynamic duo could be your secret weapon for a sparkling clean home? I’m always on the lookout for clever cleaning hacks that save time and money, and let me tell you, this combination is a game-changer! Forget spending a fortune on specialized cleaners; you probably already have these two powerhouses under your sink.
The history of cleaning, in general, is fascinating! From ancient civilizations using natural ingredients like ash and sand to the modern marvels of chemical formulations, we’ve always strived for a cleaner living space. While CIF cleaner has its roots in modern chemistry, the Scrub Daddy, with its unique FlexTexture material, is a relatively recent innovation, quickly becoming a household favorite for its versatility.
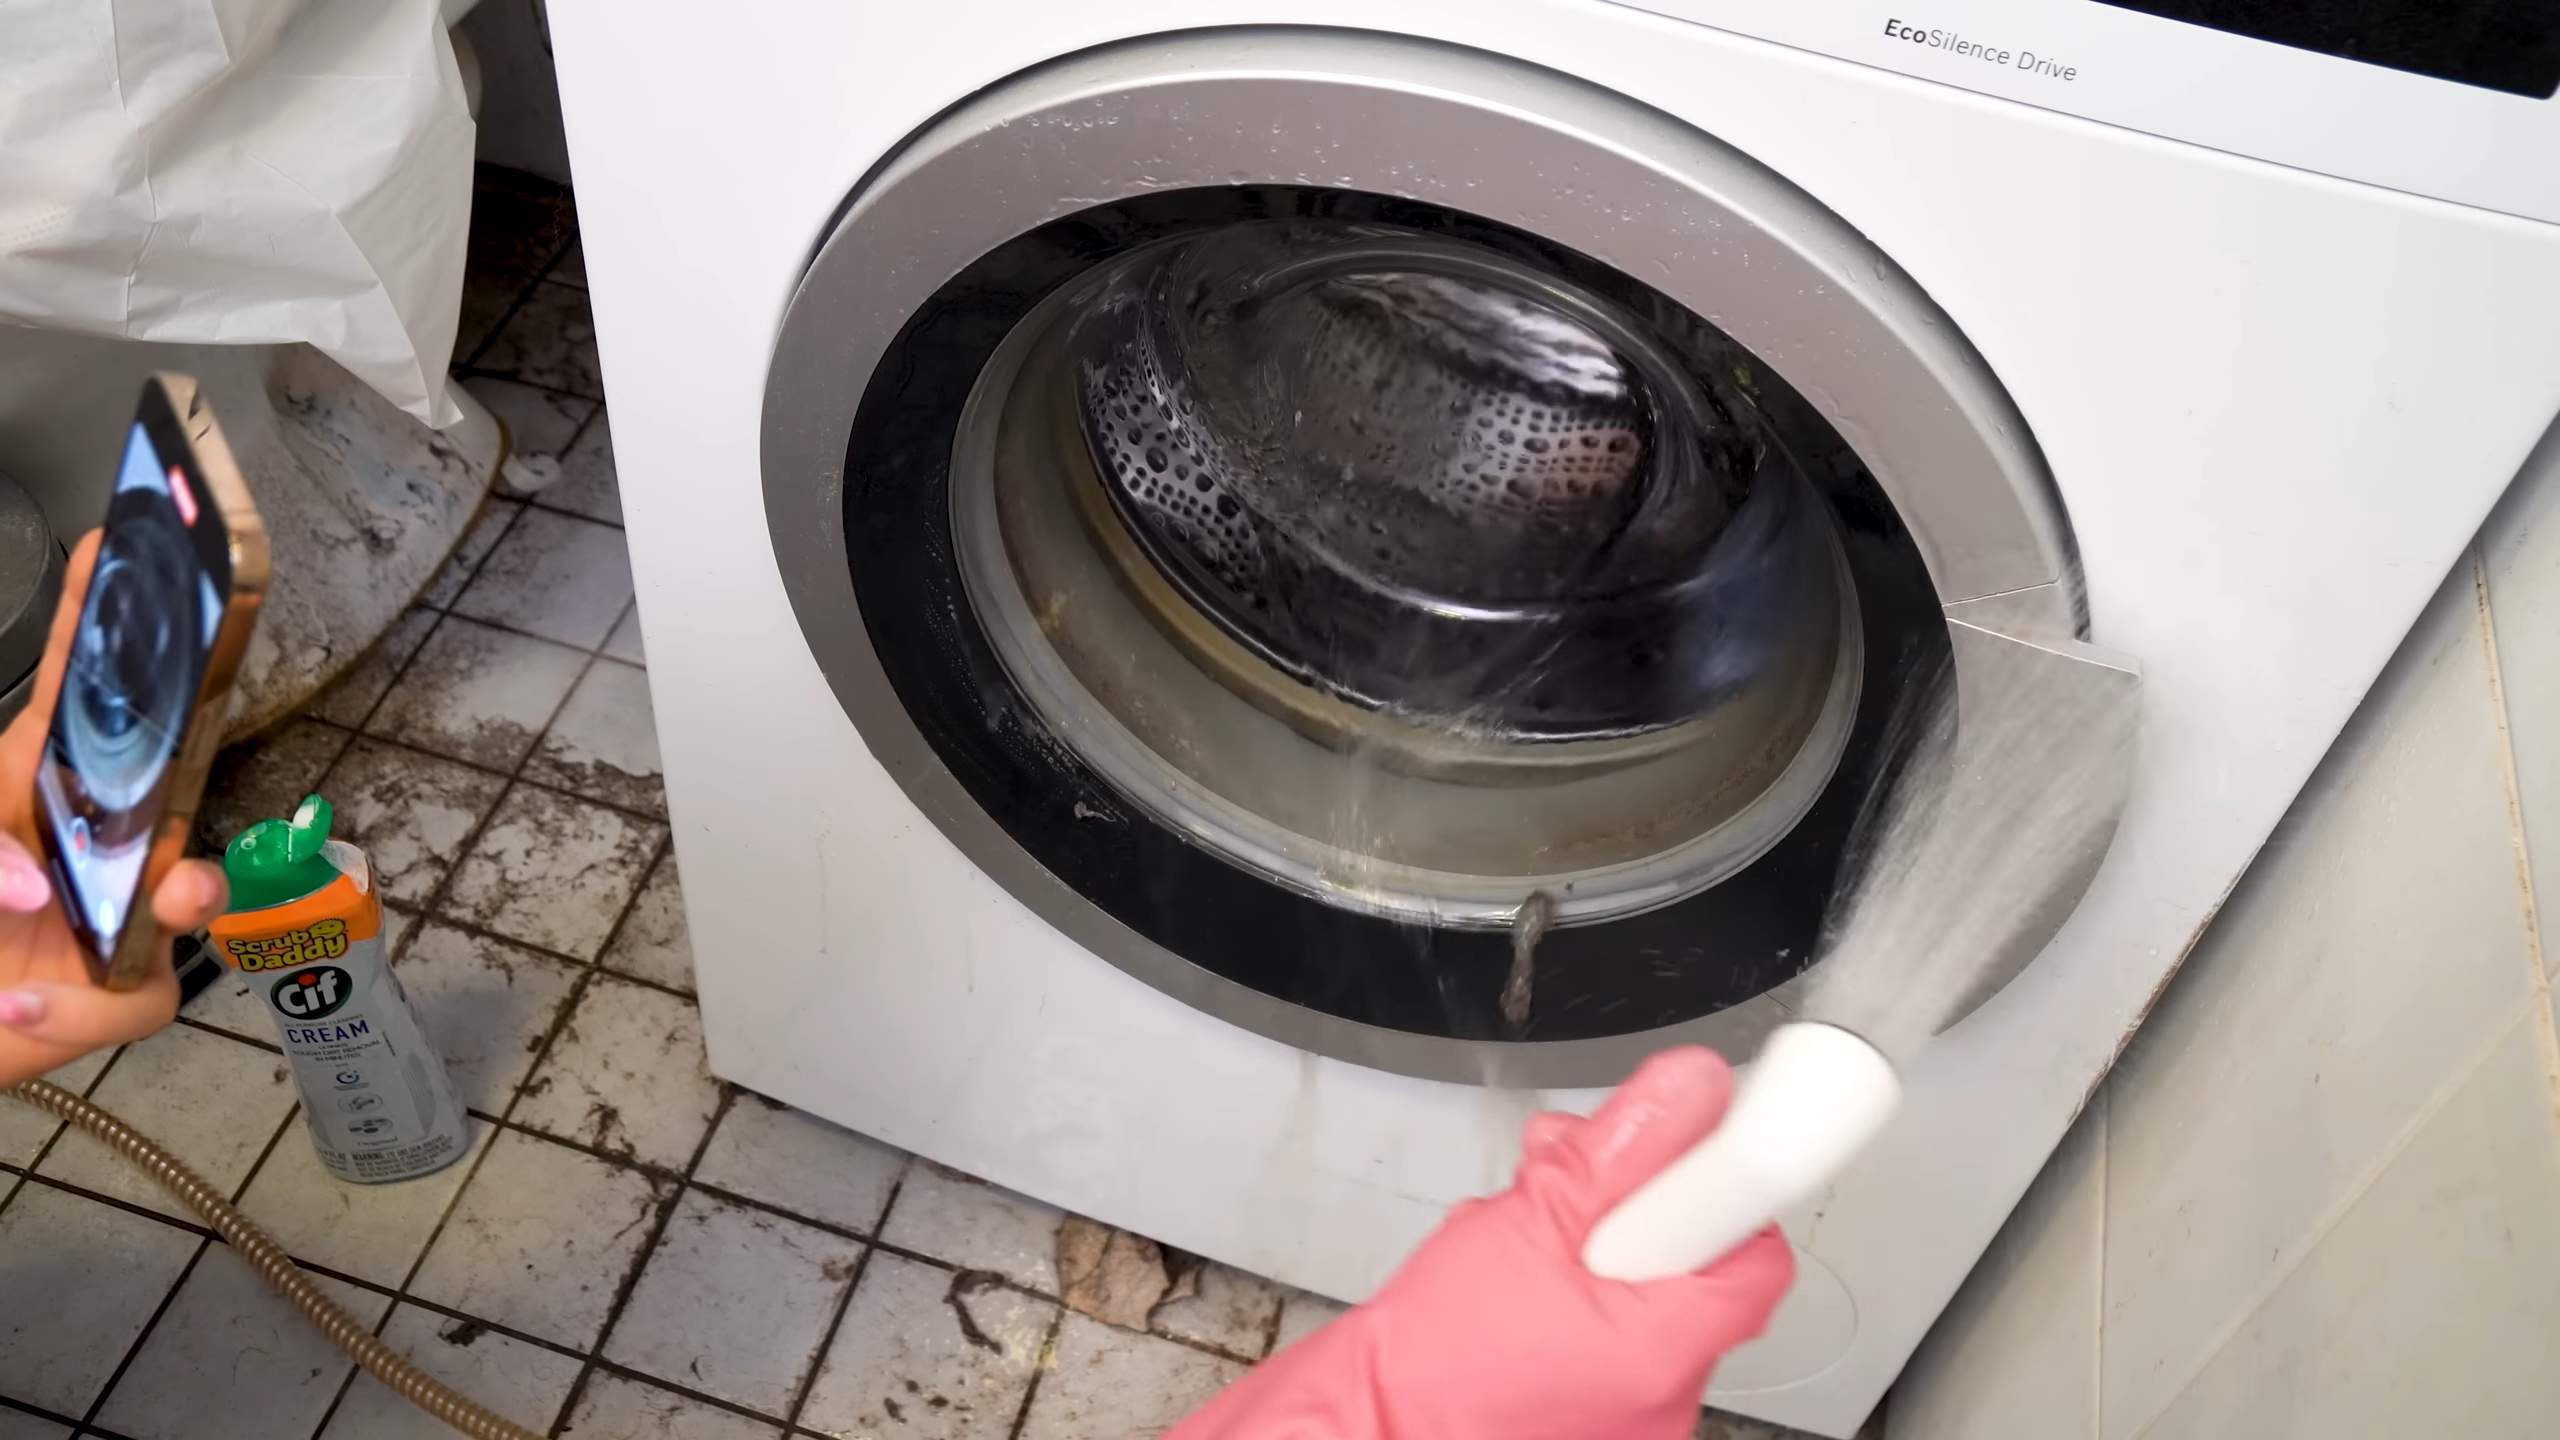
But why should you care about Scrub Daddy CIF Cleaner Uses? Because life is busy! We all want a clean home, but nobody wants to spend hours scrubbing. This DIY trick offers a simple, effective, and affordable way to tackle tough stains, grime, and everyday messes. I’m going to show you how to unlock the full potential of this cleaning dream team, making your cleaning routine faster, easier, and dare I say, even a little bit fun!
Grow Delicious Melons at Home: A Step-by-Step DIY Guide
Hey there, fellow gardening enthusiasts! Ever dreamt of biting into a juicy, homegrown melon, bursting with flavor that store-bought ones just can’t match? Well, dream no more! Growing melons at home is totally achievable, even if you’re a beginner. I’m going to walk you through everything you need to know, from choosing the right variety to harvesting your sweet reward. Let’s get our hands dirty!
Choosing Your Melon Variety
Before we dive into the nitty-gritty, let’s talk melons! There are so many delicious varieties to choose from, and the best one for you will depend on your climate, space, and personal preference. Here’s a quick rundown of some popular choices:
* Watermelons: These are the classic summer treat! Look for smaller, “icebox” varieties like Sugar Baby if you’re short on space. Larger varieties like Crimson Sweet need plenty of room to sprawl.
* Cantaloupes: These fragrant melons are relatively easy to grow and offer a sweet, musky flavor.
* Honeydew Melons: Similar to cantaloupes, honeydews have a smooth, pale green rind and a subtly sweet, refreshing taste.
* Galia Melons: A cross between a cantaloupe and a honeydew, Galia melons have a distinctive netted rind and a sweet, aromatic flavor.
* Casaba Melons: These melons have a smooth, yellow rind and a mild, slightly tangy flavor.
Important Tip: Check your local climate and growing season before choosing a variety. Some melons need a longer growing season than others. Your local nursery can offer great advice!
Preparing Your Melon Patch
Melons are sun-loving, hungry plants, so preparing the soil is crucial for success. Here’s what you need to do:
1. Choose a Sunny Spot: Melons need at least 6-8 hours of direct sunlight per day. Pick a spot in your garden that gets plenty of sunshine.
2. Test Your Soil: Melons prefer slightly acidic soil with a pH between 6.0 and 6.8. You can buy a soil testing kit at your local garden center.
3. Amend the Soil: Melons are heavy feeders, so amending the soil with plenty of organic matter is essential. I like to use a combination of compost, well-rotted manure, and aged leaves. Dig these amendments into the soil to a depth of at least 12 inches.
4. Ensure Good Drainage: Melons don’t like soggy feet! Make sure your soil drains well. If you have heavy clay soil, consider adding sand or perlite to improve drainage.
5. Consider Raised Beds or Mounds: Raised beds or mounds can help improve drainage and warm the soil faster in the spring.
Starting Your Melon Seeds
You can either start your melon seeds indoors or direct sow them in the garden. Starting them indoors gives you a head start, especially if you live in a cooler climate with a shorter growing season.
Starting Seeds Indoors:
1. When to Start: Start your seeds about 4-6 weeks before the last expected frost in your area.
2. Use Seed Starting Mix: Fill seed starting trays or small pots with a high-quality seed starting mix.
3. Sow the Seeds: Plant 2-3 seeds per cell or pot, about 1 inch deep.
4. Water Gently: Water the soil gently to moisten it, but don’t overwater.
5. Provide Warmth: Melons need warmth to germinate. Use a heat mat or place the trays in a warm location. The ideal soil temperature is between 70-85°F (21-29°C).
6. Provide Light: Once the seeds germinate, provide them with plenty of light. A sunny windowsill or grow lights will work well.
7. Thin the Seedlings: Once the seedlings have their first true leaves, thin them to one plant per cell or pot. Choose the strongest, healthiest seedling.
8. Harden Off the Seedlings: Before transplanting the seedlings outdoors, you need to harden them off. This means gradually exposing them to outdoor conditions over a period of 7-10 days. Start by placing them in a sheltered location for a few hours each day, gradually increasing the amount of time they spend outdoors.
Direct Sowing Seeds:
1. Wait for Warm Weather: Direct sow your melon seeds after the last expected frost, when the soil temperature has warmed to at least 70°F (21°C).
2. Prepare the Soil: Prepare the soil as described above.
3. Sow the Seeds: Plant the seeds about 1 inch deep, spacing them according to the variety you’re growing. Check the seed packet for specific spacing recommendations.
4. Water Gently: Water the soil gently to moisten it.
5. Keep the Soil Moist: Keep the soil consistently moist until the seeds germinate.
Transplanting Melon Seedlings
Once your seedlings are hardened off (or your direct-sown seeds have germinated and the plants are established), it’s time to transplant them into the garden.
1. Choose a Cloudy Day: Transplanting on a cloudy day will help reduce stress on the seedlings.
2. Dig the Holes: Dig holes that are slightly larger than the root balls of the seedlings. Space the holes according to the variety you’re growing.
3. Gently Remove the Seedlings: Gently remove the seedlings from their pots, being careful not to damage the roots.
4. Place the Seedlings in the Holes: Place the seedlings in the holes and backfill with soil.
5. Water Thoroughly: Water the seedlings thoroughly after transplanting.
6. Mulch Around the Plants: Mulch around the plants with straw, hay, or wood chips to help retain moisture, suppress weeds, and regulate soil temperature.
Caring for Your Melon Plants
Now that your melon plants are in the ground, it’s time to provide them with the care they need to thrive.
1. Water Regularly: Melons need consistent moisture, especially during hot, dry weather. Water deeply and regularly, aiming for about 1-2 inches of water per week. Avoid overhead watering, as this can promote fungal diseases. Drip irrigation or soaker hoses are ideal.
2. Fertilize Regularly: Melons are heavy feeders and benefit from regular fertilization. Use a balanced fertilizer (e.g., 10-10-10) every 2-3 weeks. You can also side-dress the plants with compost or well-rotted manure.
3. Control Weeds: Keep the area around your melon plants free of weeds. Weeds compete with the melons for water and nutrients. Hand-pull weeds or use a hoe to remove them. Mulching can also help suppress weeds.
4. Protect from Pests and Diseases: Melons can be susceptible to various pests and diseases, such as aphids, squash bugs, cucumber beetles, powdery mildew, and fusarium wilt. Inspect your plants regularly for signs of pests or diseases. Use organic pest control methods, such as insecticidal soap or neem oil, to control pests. Prevent fungal diseases by providing good air circulation and avoiding overhead watering.
5. Prune if Necessary: Some melon varieties, especially watermelons, can benefit from pruning. Pruning can help improve air circulation and fruit production. Remove any suckers (shoots that grow from the base of the plant) and any dead or diseased leaves.
6. Support the Fruit: As the melons grow larger, they may need support to prevent them from rotting on the ground. You can use slings made from old pantyhose or netting to support the fruit. You can also place the melons on pieces of wood or cardboard to keep them off the ground.
Harvesting Your Melons
Harvesting your melons at the right time is crucial for getting the best flavor. Here are some tips for knowing when your melons are ripe:
* Watermelons: Look for a dull, thumping sound when you tap the melon. The tendril closest to the melon should be brown and dry. The underside of the melon (where it rests on the ground) should be yellow or cream-colored.
* Cantaloupes: The melon should slip easily from the vine with a gentle tug. The rind should be a golden-tan color, and the melon should have a fragrant aroma.
* Honeydew Melons: The melon should feel slightly soft at the blossom end. The rind should be a creamy yellow color.
* Galia Melons: The melon should have a strong, sweet aroma. The rind should be a golden-yellow color.
* Casaba Melons: The melon should have a slightly wrinkled rind and a yellow color.
Important Note:
Conclusion
So, there you have it! Transforming your trusty Scrub Daddy into a powerful CIF cleaner applicator is not just a clever hack; it’s a game-changer for your cleaning routine. We’ve explored how this simple DIY trick can elevate your cleaning experience, making it more efficient, effective, and even a little bit fun.
Why is this a must-try? Because it addresses several common cleaning frustrations. No more struggling to evenly distribute CIF cleaner across surfaces. No more wasted product dripping down the drain. And no more relying solely on abrasive sponges that can scratch delicate materials. This method allows for controlled application, ensuring the cleaner works exactly where you need it, maximizing its cleaning power while minimizing the risk of damage. The Scrub Daddy’s unique texture, combined with the power of CIF, creates a dynamic duo that tackles grime, grease, and stubborn stains with ease.
But the beauty of this DIY trick lies in its adaptability. Feel free to experiment with different types of CIF cleaner to find the perfect match for your specific cleaning needs. For instance, if you’re dealing with tough bathroom stains, a CIF cleaner with bleach might be your best bet. Or, if you’re cleaning stainless steel appliances, opt for a CIF cleaner specifically designed for that purpose. You can also adjust the amount of cleaner you apply to the Scrub Daddy depending on the size and type of surface you’re cleaning. For smaller areas, a small squirt will suffice, while larger areas may require a more generous application.
Consider these variations to further personalize your cleaning experience:
* Scent Customization: Add a few drops of your favorite essential oil to the CIF cleaner before applying it to the Scrub Daddy. This will infuse your cleaning routine with a pleasant aroma, making the task even more enjoyable. Lemon, lavender, and eucalyptus are all excellent choices.
* Targeted Cleaning: For hard-to-reach areas, cut a small piece of the Scrub Daddy and use it to apply the CIF cleaner precisely where you need it. This is particularly useful for cleaning grout lines, corners, and other tight spaces.
* Pre-Soaking Power: For heavily soiled surfaces, apply the CIF-infused Scrub Daddy and let it sit for a few minutes before scrubbing. This will allow the cleaner to penetrate the grime and loosen it, making it easier to remove.
We are confident that once you try this DIY Scrub Daddy CIF cleaner application method, you’ll never go back to your old ways. It’s a simple, effective, and surprisingly satisfying way to tackle your cleaning chores.
So, what are you waiting for? Grab your Scrub Daddy, your favorite CIF cleaner, and give it a try! We’re eager to hear about your experiences. Share your tips, tricks, and before-and-after photos in the comments below. Let’s build a community of cleaning enthusiasts who are always looking for innovative ways to make their homes sparkle. Don’t forget to use the hashtag #ScrubDaddyCIFHack when sharing your results on social media! We can’t wait to see what you create. This simple **Scrub Daddy CIF cleaner** hack is sure to become a staple in your cleaning arsenal.
Frequently Asked Questions (FAQ)
What type of CIF cleaner works best with the Scrub Daddy?
The beauty of this DIY trick is its versatility. You can use virtually any type of CIF cleaner with your Scrub Daddy. However, consider the surface you’re cleaning and choose a CIF cleaner that’s specifically formulated for that material. For example, use a CIF cleaner designed for stainless steel on your appliances and a bathroom-specific CIF cleaner for your shower and tiles. For delicate surfaces, always test in an inconspicuous area first.
Will the CIF cleaner damage my Scrub Daddy?
CIF cleaners are generally safe for use with Scrub Daddies. The Scrub Daddy’s FlexTexture material is designed to withstand a variety of cleaning solutions. However, it’s always a good idea to rinse your Scrub Daddy thoroughly with water after each use to remove any residual cleaner. This will help prolong its lifespan and prevent any potential discoloration. Avoid using extremely harsh or abrasive cleaners, as these could potentially damage the Scrub Daddy’s texture.
How much CIF cleaner should I apply to the Scrub Daddy?
The amount of CIF cleaner you need will depend on the size and type of surface you’re cleaning. Start with a small squirt and add more as needed. You want to apply enough cleaner to evenly coat the surface, but not so much that it’s dripping or running. Remember, a little goes a long way with CIF cleaner, especially when combined with the Scrub Daddy’s effective scrubbing power.
Can I use this method on all surfaces?
While this method is generally safe for most surfaces, it’s always a good idea to test it in an inconspicuous area first, especially if you’re cleaning delicate materials like painted walls, wood furniture, or natural stone. Avoid using abrasive CIF cleaners on surfaces that are prone to scratching. If you’re unsure, consult the manufacturer’s instructions for both the CIF cleaner and the surface you’re cleaning.
How do I clean the Scrub Daddy after using it with CIF cleaner?
Cleaning your Scrub Daddy after using it with CIF cleaner is simple. Just rinse it thoroughly with warm water until all traces of the cleaner are gone. You can also squeeze out any excess water and allow it to air dry. For a deeper clean, you can microwave your Scrub Daddy for a minute or run it through the dishwasher on the top rack. This will help kill any bacteria and keep your Scrub Daddy fresh and clean.
How often should I replace my Scrub Daddy?
The lifespan of your Scrub Daddy will depend on how frequently you use it and the types of cleaning tasks you’re performing. As a general rule, you should replace your Scrub Daddy every two to three months, or sooner if it starts to show signs of wear and tear, such as discoloration, fraying, or a loss of its scrubbing power. Regularly cleaning your Scrub Daddy will also help extend its lifespan.
Can I use this method to clean my car?
While you can technically use this method to clean certain parts of your car, such as the interior plastic surfaces, it’s generally not recommended for the exterior paint. CIF cleaners can be too abrasive for car paint and may cause scratches or damage. Instead, opt for car-specific cleaning products that are designed to be gentle on your vehicle’s finish.
Is this method environmentally friendly?
The environmental impact of this method depends on the type of CIF cleaner you use. Look for CIF cleaners that are formulated with biodegradable ingredients and packaged in recyclable materials. You can also reduce your environmental footprint by using less cleaner and rinsing your Scrub Daddy thoroughly to minimize the amount of cleaner that goes down the drain. Consider using eco-friendly alternatives to CIF cleaner for a more sustainable cleaning routine.
What are some alternative cleaning solutions I can use with the Scrub Daddy?
Besides CIF cleaner, you can use a variety of other cleaning solutions with your Scrub Daddy, such as dish soap, all-purpose cleaner, vinegar, and baking soda. Each of these solutions has its own unique cleaning properties and is best suited for different types of cleaning tasks. Experiment with different combinations to find what works best for you. For example, a mixture of vinegar and baking soda can be used to clean stubborn stains and odors, while dish soap is great for cleaning greasy surfaces.
Where can I buy Scrub Daddies and CIF cleaner?
Scrub Daddies and CIF cleaners are widely available at most major retailers, including grocery stores, drugstores, and home improvement stores. You can also purchase them online from various e-commerce websites. Check for sales and promotions to get the best deals on these cleaning essentials.


Leave a Comment