

Easy Home Cabbage Growing – sounds like a dream, right? Imagine stepping out your back door and harvesting crisp, fresh cabbage for your coleslaw or stir-fry. It’s more attainable than you think! For centuries, cabbage has been a staple in diets around the world, from the hearty stews of Eastern Europe to the vibrant kimchi of Korea. Its resilience and nutritional value have made it a beloved crop, and now, you can bring that tradition to your own backyard, even if you have limited space.
Let’s be honest, the idea of growing your own vegetables can feel intimidating. Maybe you’ve tried before and ended up with sad, wilted seedlings. Or perhaps you’re convinced you need acres of land and a green thumb blessed by the gardening gods. But I’m here to tell you that easy home cabbage growing is totally achievable with a few simple tricks and DIY hacks.
This article is your guide to demystifying the process. We’ll cover everything from choosing the right cabbage variety for your climate to protecting your precious plants from pests. Why spend money on store-bought cabbage when you can enjoy the satisfaction of nurturing your own, knowing exactly where it came from and what went into it? Plus, homegrown cabbage tastes infinitely better! So, grab your gardening gloves, and let’s get started on this exciting journey to fresh, homegrown goodness!
Growing Cabbage at Home: A Beginner’s Guide
Hey there, fellow gardening enthusiasts! I’m so excited to share my experience with growing cabbage right in my backyard. It’s surprisingly easy, rewarding, and nothing beats the taste of fresh, homegrown cabbage. This guide will walk you through every step, from seed to harvest, so you can enjoy your own delicious cabbage too!
Choosing Your Cabbage Variety
Before we dive into the nitty-gritty, let’s talk about cabbage varieties. There are tons to choose from, each with its own unique characteristics. Here are a few popular options:
* Early Jersey Wakefield: This is a great choice for beginners because it matures quickly (around 60 days). The heads are small and pointed, perfect for smaller gardens.
* Golden Acre: Another early variety, Golden Acre produces round, compact heads in about 70 days. It’s known for its sweet flavor.
* Copenhagen Market: A reliable mid-season variety (around 80 days) that produces medium-sized, firm heads.
* Brunswick: This is a good choice for making sauerkraut. It’s a late-season variety (around 100 days) with large, dense heads.
* Red Acre: If you want to add some color to your garden, Red Acre is a fantastic option. It matures in about 75 days and produces beautiful, reddish-purple heads.
Consider your climate, available space, and desired harvest time when choosing your cabbage variety. I personally love growing Early Jersey Wakefield and Golden Acre for their early harvests and sweet flavor.
Starting Cabbage Seeds
You can either start cabbage seeds indoors or directly sow them in your garden. I prefer starting them indoors because it gives them a head start and protects them from pests and harsh weather.
Starting Seeds Indoors:
* When to Start: Start your seeds about 6-8 weeks before the last expected frost in your area.
* Materials You’ll Need:
* Seed starting trays or small pots
* Seed starting mix (a light, well-draining mix is essential)
* Cabbage seeds
* Spray bottle
* Grow lights (optional, but highly recommended)
* Heat mat (optional, but can speed up germination)
* Step-by-Step Instructions:
1. Prepare the Seed Starting Trays: Fill your seed starting trays or pots with seed starting mix. Gently tap the trays to settle the mix.
2. Sow the Seeds: Make a small indentation (about 1/4 inch deep) in the center of each cell or pot. Place 2-3 cabbage seeds in each indentation. Cover the seeds with a thin layer of seed starting mix.
3. Water Gently: Use a spray bottle to gently moisten the soil. Avoid overwatering, as this can lead to damping off (a fungal disease that can kill seedlings).
4. Provide Warmth and Light: Place the trays on a heat mat (if using) and under grow lights. If you don’t have grow lights, place the trays in a sunny window.
5. Maintain Moisture: Keep the soil consistently moist, but not soggy. Check the soil daily and water as needed.
6. Thin the Seedlings: Once the seedlings have emerged and have their first true leaves (the second set of leaves), thin them to one seedling per cell or pot. Choose the strongest, healthiest-looking seedling and snip off the others at the soil line.
7. Harden Off the Seedlings: About a week before you plan to transplant the seedlings outdoors, you’ll need to harden them off. This process gradually acclimates the seedlings to outdoor conditions. Start by placing the trays outdoors in a sheltered location for a few hours each day. Gradually increase the amount of time they spend outdoors each day.
Direct Sowing Seeds Outdoors:
* When to Sow: Sow seeds directly in the garden 2-3 weeks before the last expected frost.
* Prepare the Soil: Choose a sunny location with well-drained soil. Amend the soil with compost or other organic matter to improve its fertility and drainage.
* Sow the Seeds: Sow the seeds about 1/2 inch deep and 1-2 inches apart in rows.
* Water Gently: Water the soil gently after sowing.
* Thin the Seedlings: Once the seedlings have emerged and have their first true leaves, thin them to the strongest seedlings, spacing them about 12-18 inches apart.
Transplanting Cabbage Seedlings
Once your seedlings have been hardened off (if you started them indoors) and the danger of frost has passed, it’s time to transplant them into your garden.
* Choosing a Location: Cabbage needs at least 6 hours of sunlight per day. Choose a location that receives plenty of sun.
* Preparing the Soil: Cabbage prefers well-drained, fertile soil with a pH between 6.0 and 7.5. Amend the soil with compost or other organic matter to improve its fertility and drainage. I like to add a slow-release fertilizer at this stage to give the plants a good boost.
* Spacing: Space the seedlings 12-18 inches apart in rows, with 24-36 inches between rows. The spacing depends on the variety you are growing. Check the seed packet for specific recommendations.
* Step-by-Step Instructions:
1. Dig Holes: Dig holes that are slightly larger than the root balls of the seedlings.
2. Remove Seedlings from Trays: Gently remove the seedlings from their trays or pots. Be careful not to damage the roots.
3. Plant the Seedlings: Place the seedlings in the holes and backfill with soil. Gently firm the soil around the base of the plants.
4. Water Thoroughly: Water the seedlings thoroughly after planting.
5. Mulch: Apply a layer of mulch around the plants to help retain moisture, suppress weeds, and regulate soil temperature. I like to use straw or shredded leaves.
Caring for Your Cabbage Plants
Once your cabbage plants are in the ground, it’s important to provide them with proper care to ensure a healthy and bountiful harvest.
* Watering: Cabbage needs consistent moisture, especially during head formation. Water deeply and regularly, especially during dry spells. Aim for about 1 inch of water per week.
* Fertilizing: Cabbage is a heavy feeder, so it benefits from regular fertilization. Side-dress the plants with a balanced fertilizer every 3-4 weeks. You can also use a liquid fertilizer every 2 weeks.
* Weeding: Keep the area around your cabbage plants free of weeds. Weeds compete with cabbage for nutrients and water.
* Pest Control: Cabbage can be susceptible to several pests, including cabbage worms, aphids, and flea beetles. Here are a few ways to control these pests:
* Handpicking: Regularly inspect your plants for pests and handpick them off. This is especially effective for cabbage worms.
* Floating Row Covers: Cover your plants with floating row covers to prevent pests from reaching them.
* Insecticidal Soap: Spray your plants with insecticidal soap to control aphids and other soft-bodied insects.
* Bacillus Thuringiensis (Bt): Bt is a natural bacterium that is effective against cabbage worms. Spray your plants with Bt according to the package instructions.
* Disease Control: Cabbage can also be susceptible to several diseases, including black rot and clubroot. Here are a few ways to prevent these diseases:
* Choose Disease-Resistant Varieties: Select cabbage varieties that are resistant to common diseases.
* Practice Crop Rotation: Avoid planting cabbage in the same location year after year.
* Improve Soil Drainage: Ensure that your soil is well-drained to prevent fungal diseases.
* Remove Infected Plants: If you notice any signs of disease, remove the infected plants immediately to prevent the disease from spreading.
Harvesting Your Cabbage
The time it takes for cabbage to mature depends on the variety you are growing. Early varieties can be harvested in as little as 60 days, while late varieties may take up to 100 days.
* When to Harvest: Harvest your cabbage when the heads are firm and have reached the desired size. The heads should feel solid when you squeeze them gently.
* How to Harvest: Use a sharp knife to cut the cabbage head from the stem. Leave a few outer leaves attached to protect the head.
* Storing Cabbage: Cabbage can be stored in the refrigerator for several weeks. Wrap the head in plastic wrap or place it in a plastic bag.
Troubleshooting
Even with the best care, you might encounter some challenges while growing
Conclusion
So, there you have it! Growing your own cabbage at home is not only achievable, but it’s also incredibly rewarding. From the satisfaction of nurturing a tiny seedling to the joy of harvesting a crisp, fresh head of cabbage, the entire process is a testament to the power of DIY and the bounty of nature. We’ve walked you through the essential steps, from seed selection and soil preparation to planting, watering, and pest control. Remember, patience is key, and even if you encounter a few bumps along the road, the end result – delicious, homegrown cabbage – is well worth the effort.
Why is this DIY cabbage growing trick a must-try? Because it puts you in control. You know exactly what goes into your food, avoiding harmful pesticides and ensuring the freshest possible flavor. Store-bought cabbage simply can’t compare to the vibrant taste and satisfying crunch of a head you’ve grown yourself. Plus, it’s a fantastic way to connect with nature, learn new skills, and even save money on your grocery bill.
But don’t stop there! Experiment with different varieties of cabbage to find your favorites. Try growing red cabbage for vibrant salads, Savoy cabbage for its delicate flavor, or even Chinese cabbage (Napa cabbage) for stir-fries and kimchi. You can also explore companion planting to deter pests and improve the health of your cabbage plants. Consider planting marigolds around your cabbage to repel cabbage moths, or dill to attract beneficial insects.
And if you’re feeling adventurous, why not try fermenting your homegrown cabbage to make sauerkraut or kimchi? These fermented foods are packed with probiotics and offer a delicious and healthy way to preserve your harvest.
We strongly encourage you to give this DIY cabbage growing method a try. It’s easier than you might think, and the rewards are immeasurable. Don’t be afraid to get your hands dirty and embrace the process. Remember to document your journey, take pictures of your progress, and most importantly, share your experiences with us! We’d love to hear your tips, tricks, and triumphs in the comments below. Let’s build a community of home cabbage growers and inspire others to discover the joy of growing their own food.
Growing your own cabbage is a truly fulfilling experience, and we can’t wait to see what you create! So grab some seeds, prepare your soil, and get ready to enjoy the freshest, most delicious cabbage you’ve ever tasted. Happy gardening!
Frequently Asked Questions (FAQ)
What is the best time of year to start growing cabbage?
The best time to start growing cabbage depends on your climate and the specific variety you’re growing. Generally, cabbage is a cool-season crop, meaning it thrives in temperatures between 60°F and 70°F (15°C and 21°C). For spring harvests, start seeds indoors 6-8 weeks before the last expected frost. For fall harvests, start seeds outdoors in mid-summer. Check the specific seed packet for recommended planting times for your region.
What kind of soil is best for growing cabbage?
Cabbage prefers well-drained, fertile soil that is rich in organic matter. The ideal soil pH is between 6.0 and 7.5. Before planting, amend your soil with compost, aged manure, or other organic materials to improve drainage and fertility. A soil test can help you determine if your soil needs any additional amendments, such as lime to raise the pH or sulfur to lower it.
How much sunlight does cabbage need?
Cabbage needs at least 6 hours of direct sunlight per day to thrive. Choose a planting location that receives full sun for optimal growth. If you live in a particularly hot climate, some afternoon shade can be beneficial to prevent the cabbage from bolting (going to seed prematurely).
How often should I water my cabbage plants?
Cabbage plants need consistent moisture to grow properly. Water deeply and regularly, especially during dry periods. Aim to keep the soil consistently moist but not waterlogged. Mulching around your cabbage plants can help retain moisture and suppress weeds. A good rule of thumb is to water when the top inch of soil feels dry to the touch.
What are some common pests and diseases that affect cabbage?
Cabbage is susceptible to a variety of pests and diseases, including cabbage worms, cabbage loopers, aphids, flea beetles, and clubroot. Regularly inspect your plants for signs of infestation or disease. Use organic pest control methods, such as handpicking pests, using insecticidal soap, or applying Bacillus thuringiensis (Bt) to control cabbage worms. To prevent clubroot, practice crop rotation and ensure your soil is well-drained.
How do I know when my cabbage is ready to harvest?
Cabbage is ready to harvest when the head is firm and feels solid to the touch. The size of the head will vary depending on the variety, but generally, a mature head will be about 6-12 inches in diameter. To harvest, use a sharp knife to cut the head from the stem, leaving a few outer leaves attached.
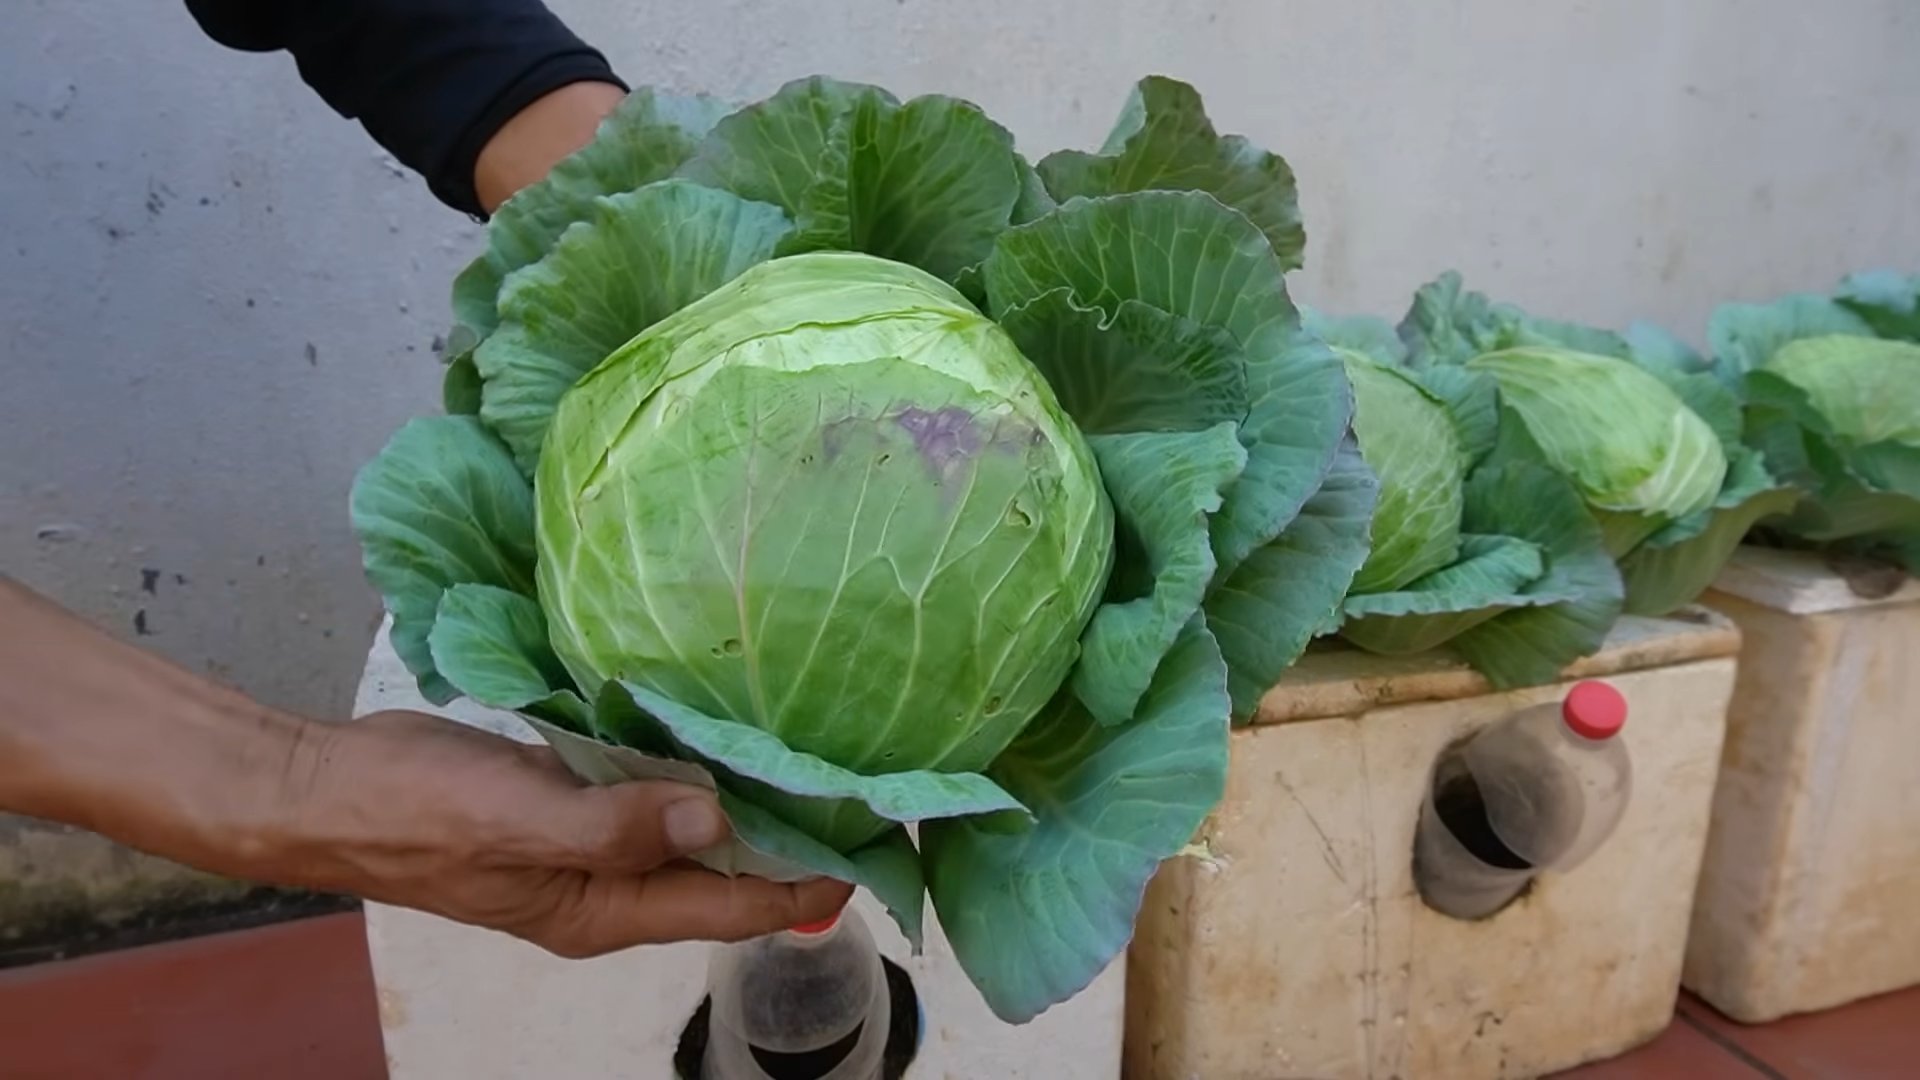
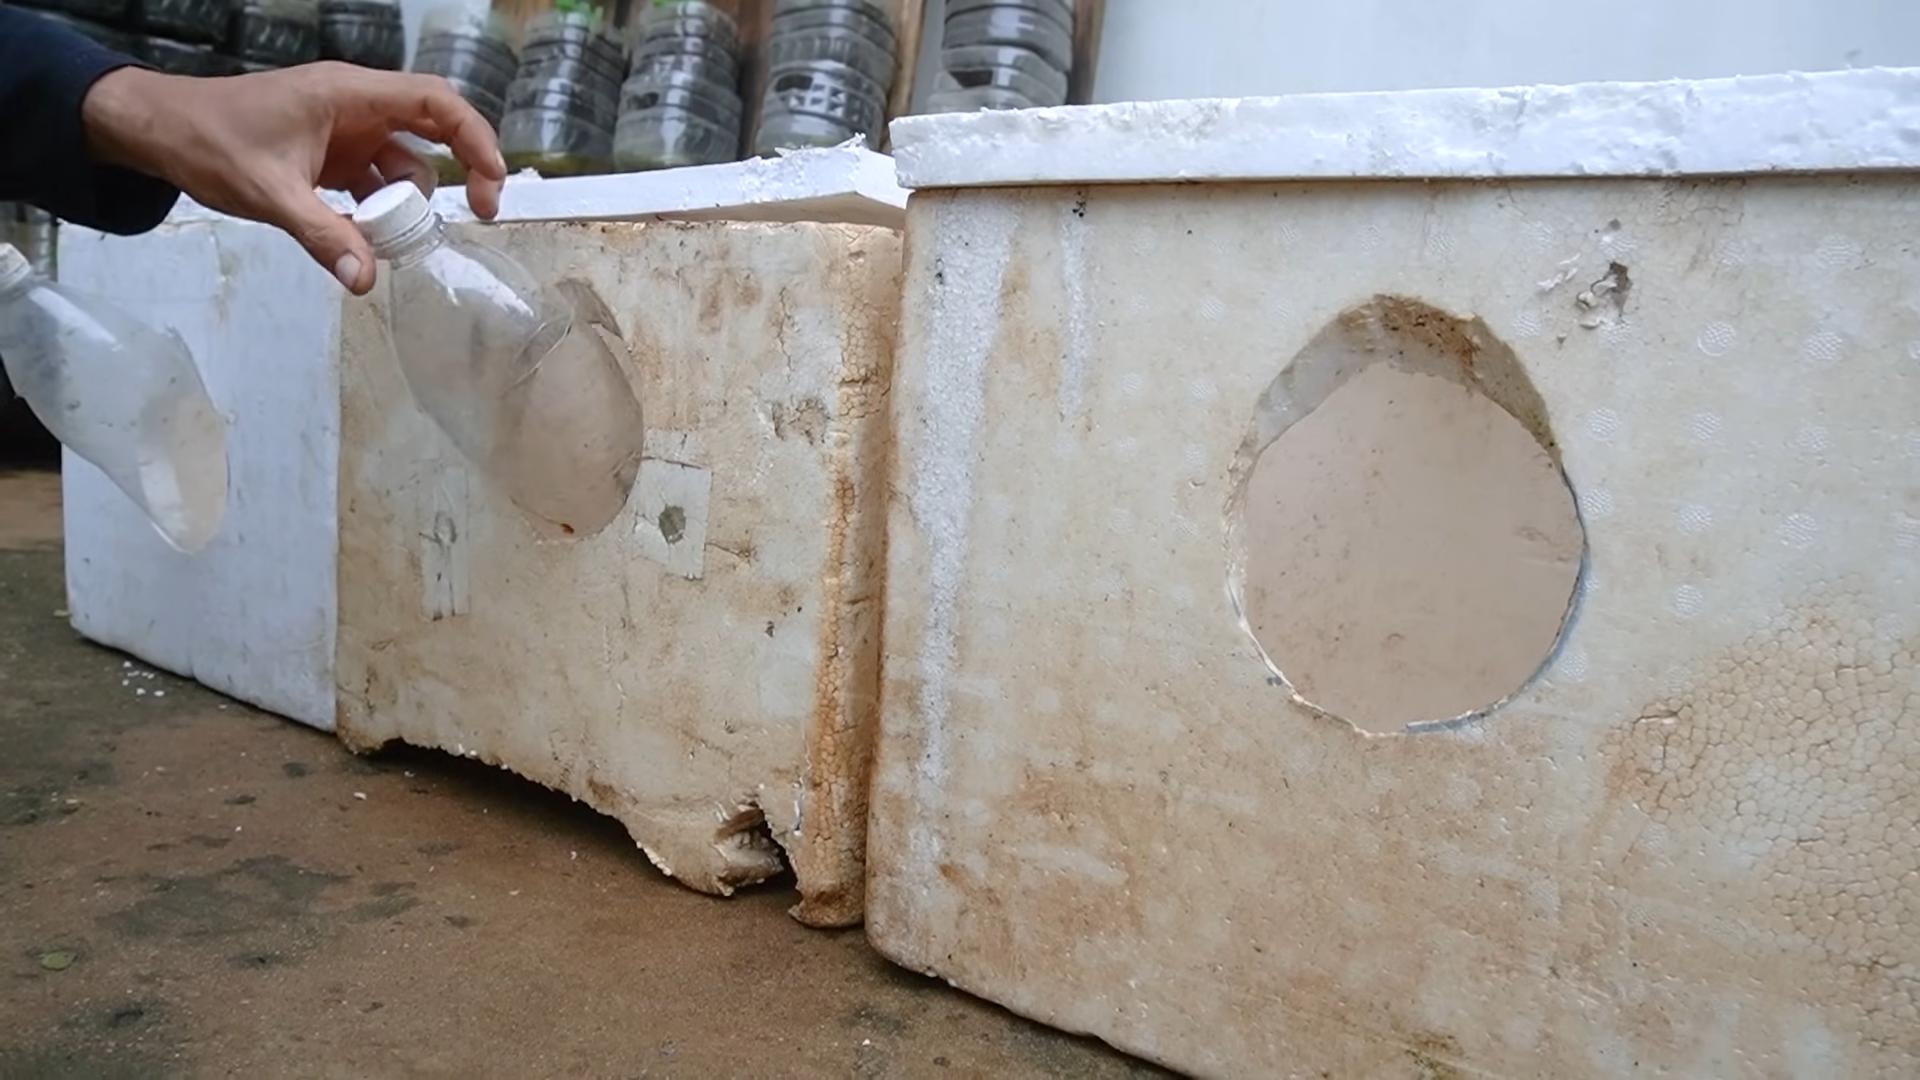
Can I grow cabbage in containers?
Yes, you can grow cabbage in containers, but you’ll need to choose a large container (at least 12 inches in diameter) to accommodate the plant’s root system. Use a well-draining potting mix and provide regular watering and fertilization. Container-grown cabbage may require more frequent watering than cabbage grown in the ground.
What are some good companion plants for cabbage?
Good companion plants for cabbage include marigolds, dill, rosemary, thyme, and nasturtiums. Marigolds repel cabbage moths, dill attracts beneficial insects, and rosemary and thyme deter cabbage white butterflies. Nasturtiums can act as a trap crop, attracting aphids away from your cabbage plants.
How can I prevent my cabbage from splitting?
Cabbage heads can split if they receive too much water after a period of drought. To prevent splitting, water your cabbage plants consistently and evenly, especially during dry spells. You can also try cutting the roots on one side of the plant with a shovel to slow down water uptake.
Can I save seeds from my homegrown cabbage?
Saving seeds from cabbage can be challenging because cabbage is a biennial plant, meaning it takes two years to produce seeds. If you want to save seeds, you’ll need to overwinter your cabbage plants and allow them to flower and produce seeds in the second year. However, cabbage is also cross-pollinated, so the seeds you save may not be true to type. For best results, purchase seeds from a reputable source each year.

Leave a Comment