

Effective Cleaning Secrets are the unsung heroes of a happy home! Let’s face it, nobody *loves* cleaning, but a sparkling clean space? That’s something we can all get behind. I’m excited to share some of my favorite DIY cleaning tricks that will transform your chores from a dreaded task into a satisfying accomplishment.
Humans have been striving for cleanliness since, well, forever! From ancient civilizations using natural herbs and oils to disinfect their living spaces, to the modern marvels of cleaning products we have today, the pursuit of a clean and healthy environment is deeply ingrained in our history. But sometimes, the best solutions are the simplest – and often, the most cost-effective!
In today’s busy world, who has time to spend hours scrubbing and scouring? That’s where these DIY cleaning hacks come in. I’ll show you how to create powerful, all-natural cleaners using ingredients you probably already have in your pantry. Not only will you save money, but you’ll also reduce your exposure to harsh chemicals, making your home a safer and healthier place for you and your family. Get ready to unlock the power of effective cleaning secrets and reclaim your weekends!
Effective Cleaning Secrets: DIY Hacks for a Sparkling Home
Okay, let’s dive into some of my favorite DIY cleaning hacks that will leave your home sparkling without breaking the bank. I’ve tried and tested these methods, and trust me, they work wonders! Get ready to ditch those harsh chemicals and embrace a more natural and effective cleaning routine.
Cleaning with Vinegar: The All-Purpose Wonder
Vinegar is my go-to cleaning agent. It’s cheap, readily available, and incredibly versatile. Its acidity helps cut through grease, dissolve mineral deposits, and disinfect surfaces.
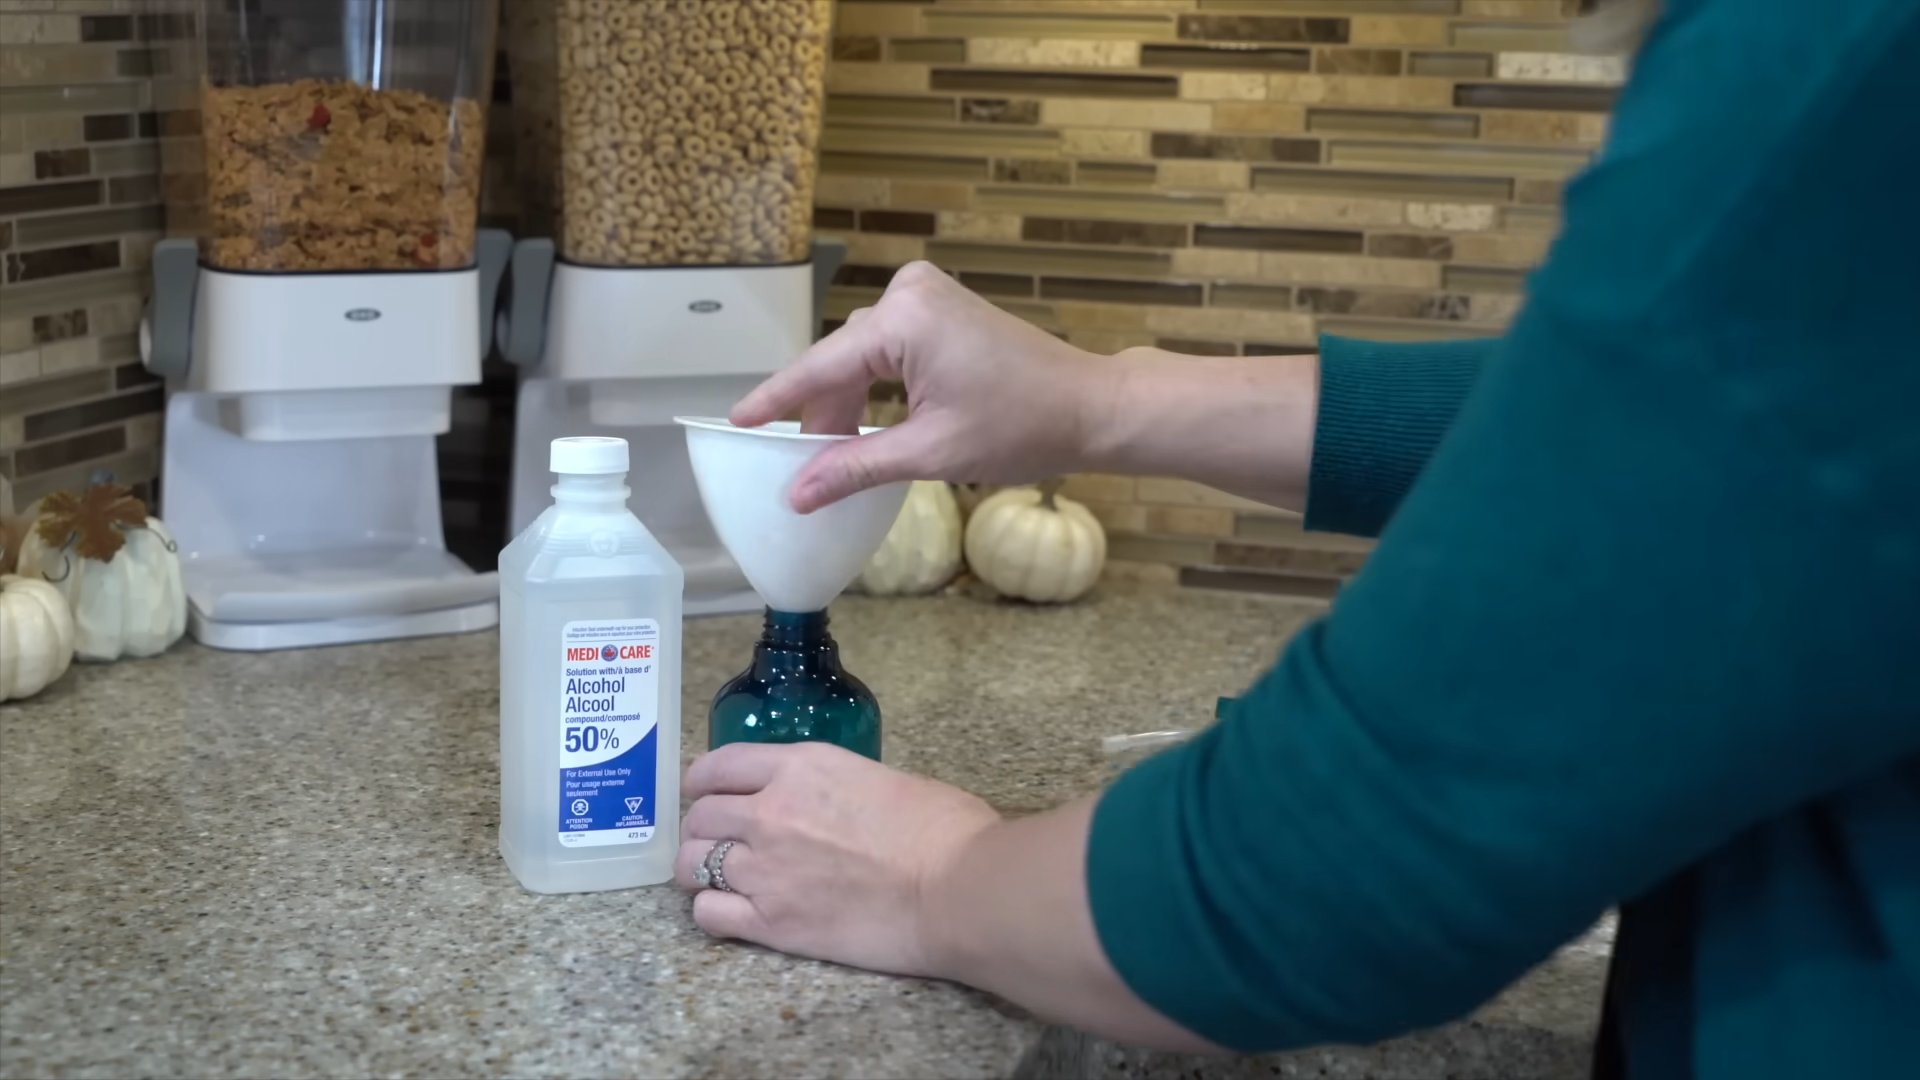
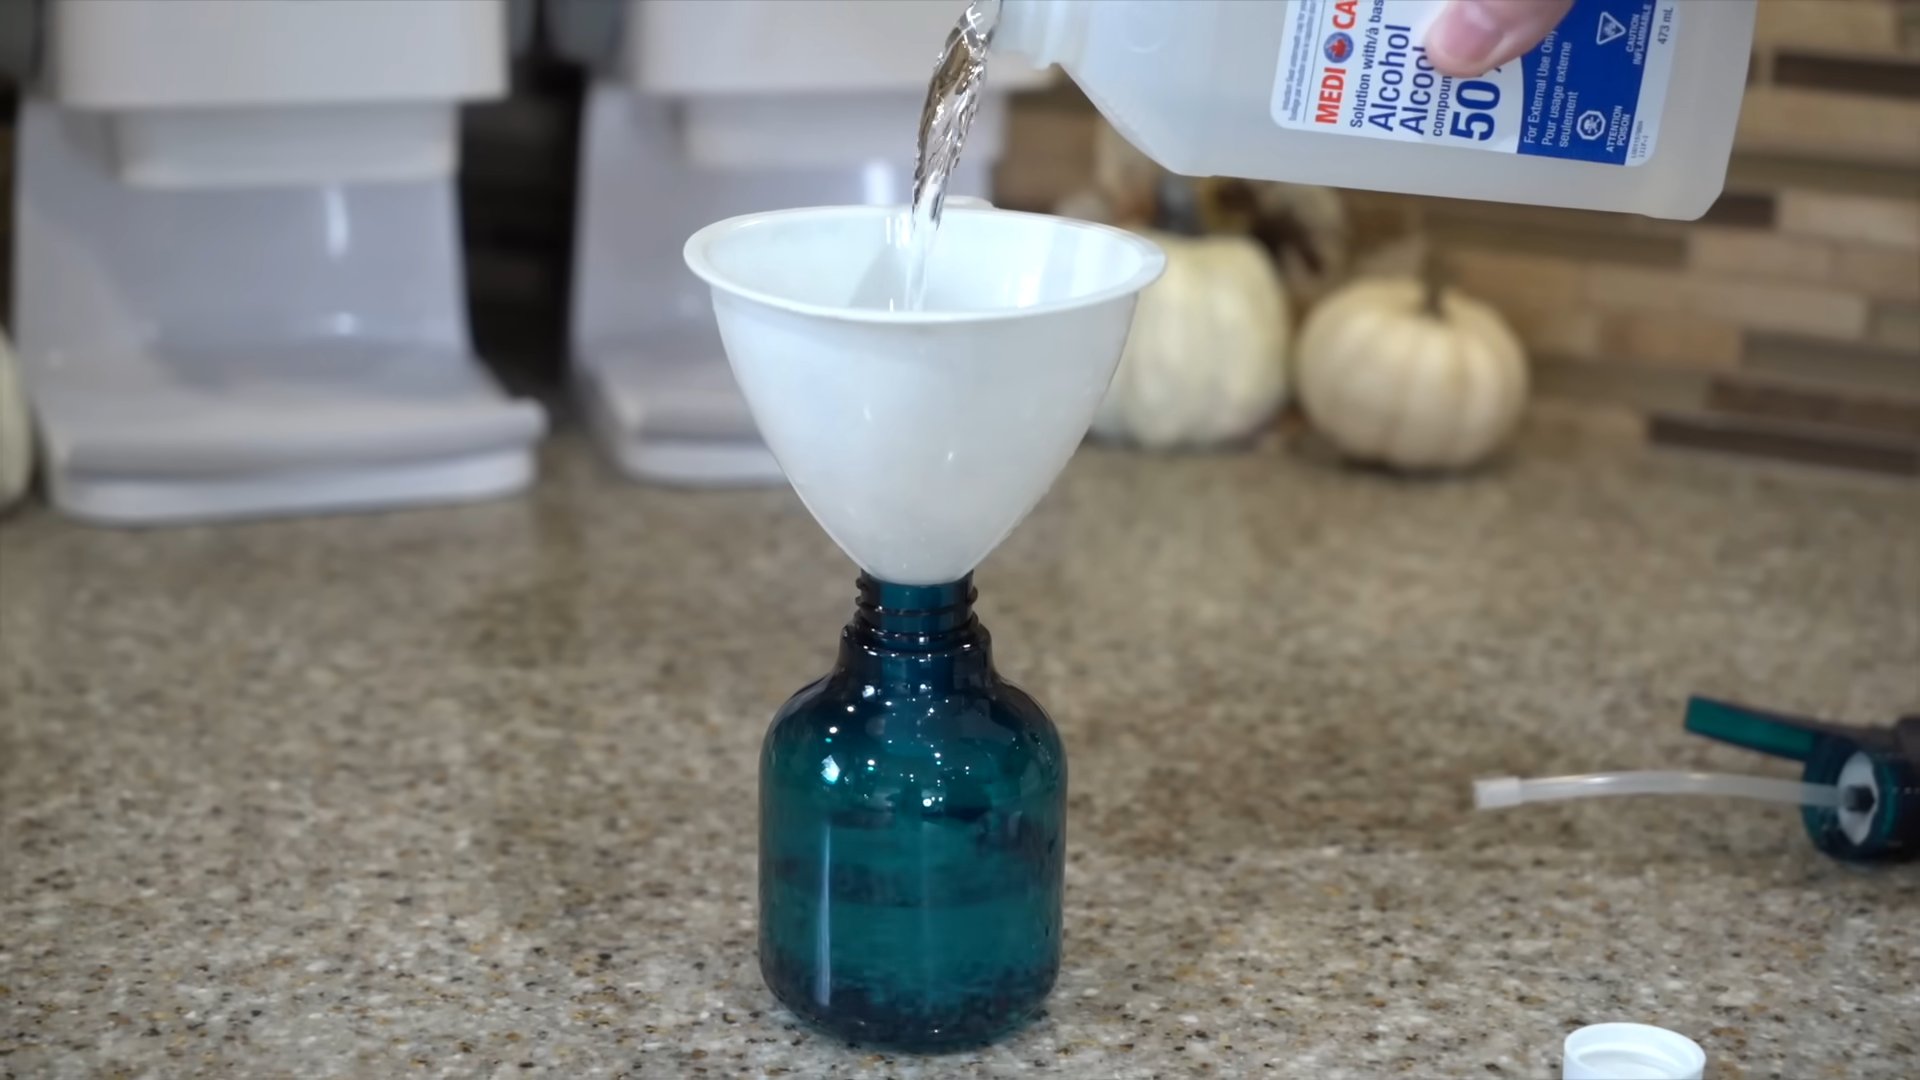
DIY Vinegar Cleaning Spray
This is my everyday cleaning spray. I use it on countertops, sinks, showers, and even floors (with caution, see below!).
What you’ll need:
* Spray bottle
* White vinegar
* Water
* Essential oil (optional, for scent)
Step-by-step instructions:
1. Prepare the mixture: In your spray bottle, combine equal parts white vinegar and water. For example, if you’re using a 16-ounce bottle, add 8 ounces of vinegar and 8 ounces of water.
2. Add essential oil (optional): If you want to mask the vinegar smell, add a few drops (5-10) of your favorite essential oil. Lavender, lemon, tea tree, and eucalyptus are all great choices for their cleaning and disinfecting properties.
3. Shake well: Secure the spray nozzle and shake the bottle thoroughly to mix the ingredients.
4. Spray and wipe: Spray the solution onto the surface you want to clean and let it sit for a minute or two. Then, wipe it clean with a microfiber cloth.
Important notes:
* Don’t use vinegar on natural stone surfaces like marble or granite. The acidity can etch and damage these materials.
* Test in an inconspicuous area first. While vinegar is generally safe, it’s always a good idea to test it on a small, hidden area to ensure it doesn’t damage the surface.
* The vinegar smell dissipates quickly. Don’t worry about your house smelling like vinegar forever. The smell will fade away within a few minutes.
Cleaning Your Shower Head with Vinegar
Hard water deposits can clog your shower head, reducing water pressure and making your shower less enjoyable. This vinegar trick will dissolve those deposits and restore your shower head to its former glory.
What you’ll need:
* Plastic bag (gallon-sized)
* White vinegar
* Rubber band or twist tie
Step-by-step instructions:
1. Fill the bag with vinegar: Pour enough white vinegar into the plastic bag to completely submerge your shower head.
2. Secure the bag: Carefully position the bag over the shower head, ensuring the shower head is fully immersed in the vinegar. Use a rubber band or twist tie to secure the bag tightly around the shower arm.
3. Soak overnight: Let the shower head soak in the vinegar overnight (or for at least a few hours). This will give the vinegar enough time to dissolve the mineral deposits.
4. Remove the bag and rinse: Remove the bag and discard the vinegar. Turn on the shower and let the water run for a few minutes to flush out any remaining vinegar and loosened deposits.
5. Wipe clean: Use a microfiber cloth to wipe away any remaining residue.
Pro tip: For stubborn deposits, use an old toothbrush to scrub the shower head before rinsing.
Baking Soda: The Gentle Abrasive
Baking soda is another cleaning staple in my home. It’s a mild abrasive that’s perfect for scrubbing away grime without scratching surfaces. It’s also a natural deodorizer.
DIY Baking Soda Paste for Stubborn Stains
This paste is great for cleaning ovens, stovetops, sinks, and even grout.
What you’ll need:
* Baking soda
* Water
Step-by-step instructions:
1. Make the paste: In a small bowl, mix baking soda with enough water to form a thick paste. The consistency should be similar to toothpaste.
2. Apply the paste: Apply the paste to the stained or dirty surface.
3. Let it sit: Let the paste sit for 15-20 minutes. For tougher stains, you can let it sit for longer, even overnight.
4. Scrub: Use a sponge, scrub brush, or old toothbrush to scrub the surface.
5. Rinse: Rinse the surface thoroughly with water.
Important notes:
* Test in an inconspicuous area first. While baking soda is generally safe, it’s always a good idea to test it on a small, hidden area to ensure it doesn’t damage the surface.
* For oven cleaning: After applying the paste to your oven, leave it overnight. The next day, wipe away the paste and any loosened grime. You may need to scrub a bit, but the baking soda will make the job much easier.
Deodorizing Your Fridge with Baking Soda
A box of baking soda in your fridge can absorb odors and keep it smelling fresh.
What you’ll need:
* Box of baking soda
Step-by-step instructions:
1. Open the box: Open a fresh box of baking soda.
2. Place in the fridge: Place the open box of baking soda in the back of your fridge.
3. Replace regularly: Replace the box of baking soda every month or two, or more often if you notice odors returning.
Lemon Juice: The Natural Brightener and Disinfectant
Lemon juice is a natural acid that can brighten surfaces, disinfect, and leave a fresh, citrusy scent.
DIY Lemon Juice Cleaner for Cutting Boards
Cutting boards can harbor bacteria, especially after cutting raw meat or poultry. Lemon juice is a great way to disinfect and deodorize them.
What you’ll need:
* Lemon
* Salt (optional)
Step-by-step instructions:
1. Cut the lemon: Cut a lemon in half.
2. Sprinkle with salt (optional): Sprinkle the cutting board with salt. The salt acts as a mild abrasive.
3. Scrub with lemon: Use the cut side of the lemon to scrub the cutting board. Squeeze the lemon as you scrub to release the juice.
4. Let it sit: Let the lemon juice sit on the cutting board for 5-10 minutes.
5. Rinse: Rinse the cutting board thoroughly with water.
Pro tip: You can also use lemon juice to clean your microwave. Simply microwave a bowl of lemon juice for a few minutes, then wipe down the inside of the microwave. The steam from the lemon juice will loosen any splatters and make them easy to remove.
DIY Cleaning for Specific Areas
Let’s tackle some specific areas of your home with targeted DIY solutions.
Cleaning Grout with Baking Soda and Vinegar
Grout can be a real pain to clean. This combination of baking soda and vinegar is my secret weapon.
What you’ll need:
* Baking soda
* White vinegar
* Old toothbrush
* Spray bottle
Step-by-step instructions:
1. Apply baking soda: Sprinkle baking soda generously over the grout you want to clean.
2. Spray with vinegar: Pour or spray white vinegar onto the baking soda. The mixture will fizz.
3. Let it sit: Let the mixture sit for 5-10 minutes.
4. Scrub: Use an old toothbrush to scrub the grout lines.
5. Rinse: Rinse the grout thoroughly with water.
Pro tip: For really stubborn grout stains, you can make a paste of baking soda and hydrogen peroxide and apply it to the grout. Let it sit for a few hours, then scrub and rinse.
Cleaning Your Mattress
Mattresses can accumulate dust mites, dead skin cells, and odors. Here’s how to freshen up your mattress naturally.
What you’ll need:
* Baking soda
* Essential oil (optional)
* Vacuum cleaner with upholstery attachment
Step-by-step instructions:
1. Sprinkle with baking soda: Sprinkle a generous layer of baking soda over your entire mattress.
2. Add essential oil (optional): If you want to add a fresh scent, mix a few drops of your favorite essential oil with the baking soda before sprinkling it on the mattress.
3. Let it sit: Let the baking soda sit on the mattress for at least 30 minutes, or even better, for a few hours. This will allow the baking soda to absorb odors and moisture.
4. Vacuum: Use a vacuum cleaner with an upholstery attachment to thoroughly vacuum the entire mattress, removing all the baking soda.
Pro tip:
Conclusion
So, there you have it! This simple yet incredibly effective cleaning secret is a game-changer for anyone looking to streamline their cleaning routine and achieve sparkling results without breaking the bank or relying on harsh chemicals. We’ve unveiled a method that’s not only budget-friendly but also environmentally conscious, allowing you to create a powerful cleaning solution using ingredients you likely already have in your pantry.
Why is this DIY trick a must-try? Because it’s efficient, versatile, and customizable. Forget spending hours scrubbing away stubborn grime or worrying about lingering chemical odors. This method tackles everything from greasy stovetops to grimy bathroom tiles with ease. Plus, it’s gentle enough to use on a variety of surfaces, making it a true all-purpose cleaner.
But the benefits don’t stop there. The beauty of this DIY approach lies in its adaptability. Feel free to experiment with different essential oils to create your own signature scent. Lavender, lemon, tea tree, and eucalyptus are all excellent choices, each offering unique antibacterial and aromatic properties. For extra cleaning power, consider adding a tablespoon of borax to the mixture, especially when tackling tough stains or mildew. If you’re dealing with hard water stains, a splash of white vinegar can work wonders. Remember to always test any new cleaning solution in an inconspicuous area first to ensure it doesn’t damage the surface.
This effective cleaning secret is more than just a recipe; it’s a pathway to a cleaner, healthier, and more sustainable home. It empowers you to take control of your cleaning routine and create a personalized solution that perfectly suits your needs.
We wholeheartedly encourage you to give this DIY cleaning trick a try. You’ll be amazed at the results and how much time and money you can save. Once you’ve experienced the magic of this simple yet powerful cleaning solution, we’re confident you’ll never go back to store-bought cleaners again.
But don’t just take our word for it! We want to hear about your experiences. Share your tips, variations, and before-and-after photos in the comments below. Let’s create a community of cleaning enthusiasts who are passionate about finding effective, eco-friendly solutions for a sparkling home. Your insights could inspire others to embrace this DIY approach and discover the joy of a truly clean and healthy living space. So, grab your ingredients, roll up your sleeves, and get ready to experience the transformative power of this effective cleaning secret! We can’t wait to hear your success stories!
Frequently Asked Questions
What types of surfaces can I safely use this DIY cleaner on?
This DIY cleaner is generally safe for use on a wide variety of surfaces, including countertops (granite, quartz, laminate), tile, stainless steel, sealed wood, glass, and porcelain. However, it’s always best to test the cleaner in an inconspicuous area first, especially on delicate or antique surfaces. Avoid using it on unsealed wood, marble, or porous stone, as these materials can be damaged by the ingredients. When in doubt, consult the manufacturer’s instructions for the specific surface you’re cleaning.
How long will the DIY cleaner last once it’s mixed?
The shelf life of your DIY cleaner depends on the ingredients you use. Generally, a mixture made with distilled water and essential oils can last for several weeks to a few months. However, if you add fresh ingredients like lemon juice, it’s best to use the cleaner within a week or two to prevent spoilage. Store the cleaner in a cool, dark place to prolong its shelf life. Always label the bottle with the date you made it so you can keep track of its freshness. If the cleaner develops an unusual odor or appearance, discard it and make a fresh batch.
Can I use different essential oils in the recipe?
Absolutely! One of the best things about this DIY cleaner is its versatility. You can customize the scent and cleaning properties by using different essential oils. Lavender, lemon, tea tree, eucalyptus, orange, and peppermint are all excellent choices. Lavender has calming and antibacterial properties, lemon is a natural degreaser and disinfectant, tea tree is a powerful antiseptic, eucalyptus is great for removing odors, orange provides a refreshing scent, and peppermint can help deter pests. Experiment with different combinations to find your favorite blend. Just be sure to use pure, high-quality essential oils for the best results.
Is this DIY cleaner safe to use around pets and children?
While this DIY cleaner is generally safer than many commercial cleaners, it’s still important to exercise caution when using it around pets and children. Essential oils can be toxic to pets if ingested, so keep the cleaner out of their reach. When cleaning surfaces that pets or children may come into contact with, rinse thoroughly with water after cleaning. Avoid using essential oils that are known to be harmful to pets, such as tea tree oil (for cats). Always supervise children when they are helping with cleaning and teach them about the importance of not ingesting cleaning products.
How do I adjust the recipe for tougher cleaning jobs?
For tougher cleaning jobs, you can increase the concentration of the cleaning agents. For example, you can add more vinegar or baking soda to the mixture. You can also add a tablespoon of borax for extra cleaning power, especially when dealing with stubborn stains or mildew. For greasy surfaces, try adding a few drops of dish soap to the mixture. Another option is to pre-treat the area with a paste of baking soda and water before using the cleaner. Let the paste sit for a few minutes before wiping it away and then cleaning with the DIY solution. Remember to always test any new cleaning solution in an inconspicuous area first.
What if I don’t have essential oils? Can I still make the cleaner?
Yes, you can still make the cleaner without essential oils. While essential oils add fragrance and some antibacterial properties, they are not essential for the cleaning power of the solution. You can simply omit them from the recipe. The combination of vinegar, baking soda, and water will still provide effective cleaning. You can also add a squeeze of lemon juice for a fresh scent and extra cleaning power.
Can I use this cleaner in a spray bottle?
Yes, this cleaner is perfect for use in a spray bottle. Make sure to use a clean, empty spray bottle and label it clearly. Shake the bottle well before each use to ensure the ingredients are properly mixed. When spraying the cleaner, hold the bottle a few inches away from the surface and spray evenly. Wipe the surface clean with a microfiber cloth or sponge.
What are some other uses for this DIY cleaner?
Besides general cleaning, this DIY cleaner can be used for a variety of other purposes. It can be used to clean windows and mirrors, remove hard water stains, freshen up carpets, and even clean your washing machine. To clean windows and mirrors, simply spray the cleaner onto the surface and wipe clean with a microfiber cloth. To remove hard water stains, spray the cleaner onto the affected area and let it sit for a few minutes before scrubbing with a brush. To freshen up carpets, spray the cleaner lightly onto the carpet and let it dry completely before vacuuming. To clean your washing machine, pour a cup of the cleaner into the drum and run a hot water cycle.
Leave a Comment