

Streak Free Glass Cleaning Hacks – who doesn’t dream of sparkling, crystal-clear windows and mirrors that reflect the beauty of the world around them? I know I do! But let’s be honest, achieving that pristine, streak-free shine can feel like an impossible mission. We’ve all been there, armed with sprays and cloths, only to be left with frustrating streaks staring back at us.
For generations, keeping glass surfaces clean has been a household chore, evolving from simple water and elbow grease to sophisticated cleaning solutions. In many cultures, clean windows symbolize clarity and a welcoming home. But in today’s busy world, who has time to spend hours battling streaks? That’s where these DIY hacks come in!
That’s why I’m so excited to share these game-changing streak free glass cleaning hacks that will transform your cleaning routine. These aren’t your grandma’s cleaning tips (though, respect to grandma!). These are tried-and-true methods using simple ingredients you probably already have in your pantry. Forget expensive cleaners and endless scrubbing. I’m going to show you how to achieve professional-level results with minimal effort. Get ready to say goodbye to streaks and hello to sparkling, gleaming glass!
DIY Streak-Free Glass Cleaning: My Secret Weapon Against Grime!
Okay, let’s be honest, cleaning windows and mirrors is the bane of many people’s existence. I used to dread it! Streaks, smudges, and that lingering film – ugh! But fear not, my friends, because I’ve cracked the code to streak-free glass cleaning, and I’m about to share all my secrets with you. This isn’t just about wiping; it’s about a system, a method, a *ritual* (okay, maybe not a ritual, but you get the idea!).
What You’ll Need: My Arsenal of Cleaning Goodness
Before we dive in, let’s gather our supplies. Trust me, having everything ready makes the process so much smoother.
* Spray Bottle: A clean, empty spray bottle is essential. You’ll be using this to apply your cleaning solution.
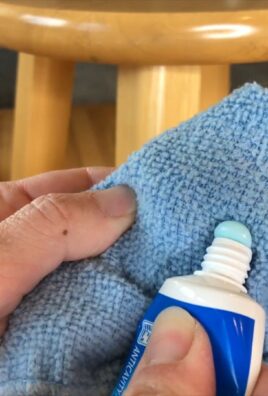
* Microfiber Cloths: These are the absolute MVPs of streak-free cleaning. Ditch the paper towels – they leave lint! Invest in a few high-quality microfiber cloths. I like to have at least three on hand: one for washing, one for drying, and one for polishing.
* Distilled White Vinegar: This is my secret weapon! Vinegar is a natural cleaner, degreaser, and streak preventer. Plus, it’s super affordable.
* Dish Soap (Optional): A tiny drop of dish soap can help cut through stubborn grime, but be careful not to use too much, or you’ll end up with a soapy residue. I prefer using it only when the glass is particularly dirty.
* Rubbing Alcohol (Isopropyl Alcohol) (Optional): For extra cleaning power, especially on greasy surfaces like kitchen windows, a splash of rubbing alcohol can work wonders.
* Warm Water: This is the base of our cleaning solution.
* Squeegee (Optional): For large windows or shower doors, a squeegee can be a game-changer. Just make sure it’s a good quality one with a sharp, clean blade.
* Bucket (Optional): If you’re using a squeegee, you’ll need a bucket to dip it in.
* Ladder or Step Stool (If Needed): Safety first! If you’re cleaning high windows, make sure you have a stable ladder or step stool.
* Old Towel or Drop Cloth: To protect your floors and furniture from drips.
Mixing the Magic Potion: My Streak-Free Cleaning Solution Recipe
Alright, let’s get down to business and mix up our cleaning solution. I’ve experimented with different ratios over the years, and this is the one that works best for me.
1. Grab your spray bottle. Make sure it’s clean and dry.
2. Add equal parts distilled white vinegar and warm water. I usually go for a 50/50 mix. For example, if your spray bottle holds 16 ounces, use 8 ounces of vinegar and 8 ounces of water.
3. (Optional) Add a tiny drop of dish soap. Seriously, just one tiny drop! Too much soap will leave a residue. I usually skip this step unless the glass is really grimy.
4. (Optional) Add a splash of rubbing alcohol. If you’re dealing with greasy windows, add about a tablespoon of rubbing alcohol to the mixture.
5. Close the spray bottle tightly and shake gently to combine. Avoid shaking too vigorously, as this can create bubbles.
The Cleaning Process: My Step-by-Step Guide to Sparkling Glass
Now for the fun part – cleaning! Follow these steps, and you’ll be amazed at the results.
1. Prepare the area. Lay down an old towel or drop cloth to protect your floors and furniture from drips.
2. Dust or wipe down the glass. Before you start spraying, remove any loose dust or debris from the glass surface. You can use a dry microfiber cloth or a brush for this. This prevents you from just smearing the dirt around when you spray.
3. Spray the glass with your cleaning solution. Don’t overdo it! A light, even mist is all you need.
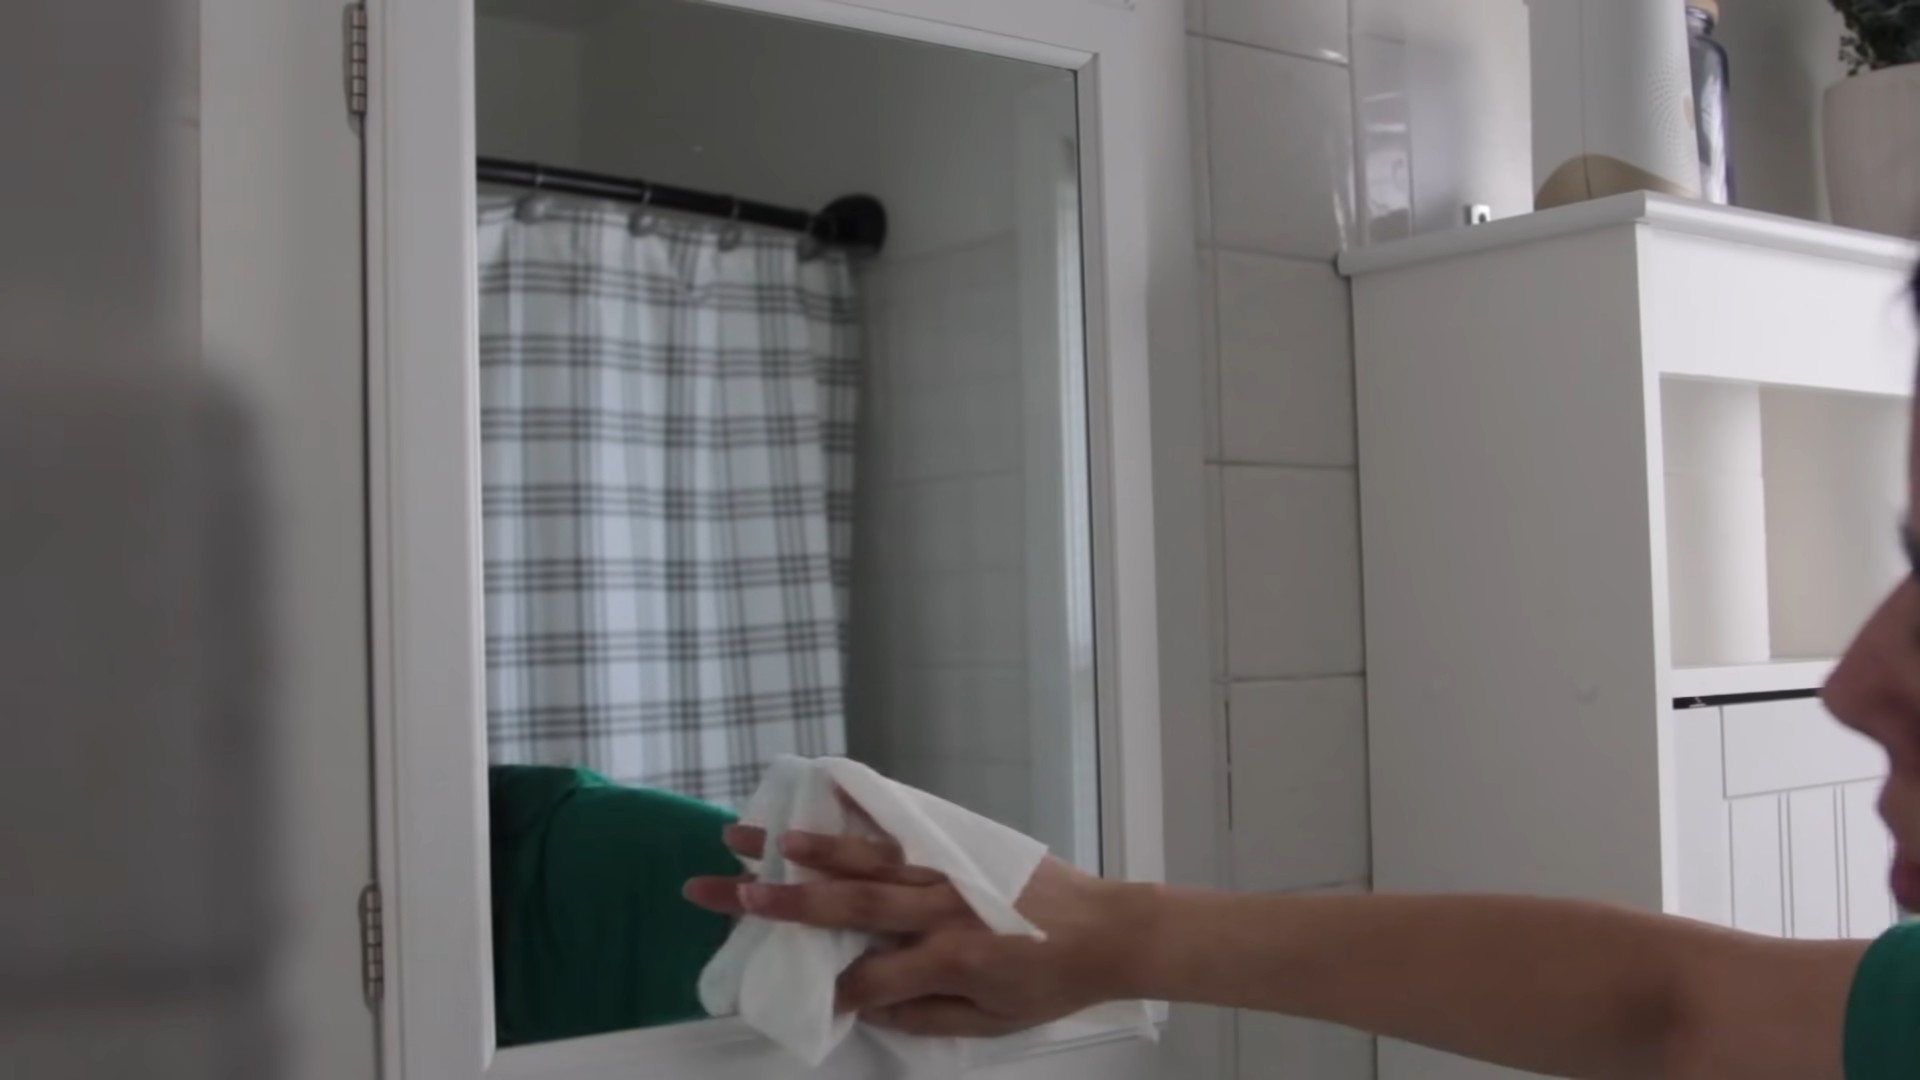
4. Wipe the glass with a clean, damp microfiber cloth. Use a circular motion to loosen any dirt and grime. Make sure you cover the entire surface.
5. Dry the glass with a clean, dry microfiber cloth. This is the most important step for achieving a streak-free finish. Use a clean, dry microfiber cloth to wipe the glass in a smooth, overlapping motion. Apply gentle pressure and work quickly to prevent the solution from drying on the glass.
6. (Optional) Use a squeegee. If you’re using a squeegee, overlap each stroke slightly and wipe the blade clean after each pass.
7. Inspect the glass for streaks. Hold the glass up to the light and check for any streaks or smudges. If you see any, use a clean, dry microfiber cloth to buff them out.
8. Repeat as needed. For particularly dirty glass, you may need to repeat the cleaning process a few times.
Tackling Tough Stains: My Tips and Tricks
Sometimes, you’ll encounter stubborn stains that require a little extra attention. Here are a few of my go-to tricks for dealing with tough stains:
* Hard Water Stains: Hard water stains can be a real pain. To remove them, try soaking a paper towel in vinegar and applying it to the stain for a few minutes. Then, wipe the area clean with a microfiber cloth. You might need to repeat this process a few times for stubborn stains.
* Bug Splatter: Bug splatter can be tough to remove, especially if it’s been baked on by the sun. Try soaking the area with warm, soapy water for a few minutes before wiping it clean. You can also use a bug and tar remover specifically designed for cars.
* Grease: For greasy windows, especially in the kitchen, a little extra dish soap or rubbing alcohol in your cleaning solution can help. You can also try using a degreasing cleaner specifically designed for kitchens.
* Paint Splatters: If you have paint splatters on your windows, try scraping them off with a razor blade. Be very careful not to scratch the glass. You can also use a paint thinner or remover to soften the paint before scraping it off.
Maintaining Your Sparkling Glass: My Prevention Strategies
Once you’ve achieved sparkling, streak-free glass, you’ll want to keep it that way! Here are a few tips for maintaining your clean glass:
* Clean regularly. The more often you clean your glass, the easier it will be to keep it clean. I try to clean my windows and mirrors at least once a month.
* Wipe up spills immediately. Don’t let spills sit on your glass, as they can leave stains. Wipe them up immediately with a clean, damp cloth.
* Protect your glass from the elements. If you live in an area with harsh weather, consider protecting your windows with storm windows or screens.
* Use a glass protectant. There are several glass protectant products on the market that can help repel water and dirt, making your glass easier to clean.
Troubleshooting: My Answers to Common Cleaning Questions
Even with the best methods, you might encounter some challenges. Here are some common questions and my solutions:
* Why are my windows still streaky? Streaks are usually caused by using too much cleaning solution, not drying the glass properly, or using a dirty microfiber cloth. Make sure you’re using a clean, dry microfiber cloth to dry the glass, and don’t use too much cleaning solution.
* Why is my glass cloudy? Cloudiness can be caused by hard water deposits or soap residue. Try using distilled water in your cleaning solution, and make sure you’re not using too much dish soap.
* How do I clean high windows? Cleaning high windows can be tricky. Use a stable ladder or step stool, and consider using a window cleaning kit with an extension pole.
* Can I use this method on tinted windows? Yes, this method is safe to use on tinted windows. However, be sure to test a small, inconspicuous area first to make sure the solution doesn’t damage the tint.
My Final Thoughts: Enjoy Your Sparkling Glass!
Cleaning glass doesn’t have to be a chore. With the right tools, techniques, and a little bit of elbow grease, you can achieve sparkling, streak-free glass that you’ll be proud of. So, grab your supplies, mix up your cleaning solution, and get ready to transform your windows and mirrors! And remember, a little bit of prevention goes a long way in keeping your glass clean and beautiful. Happy cleaning!
Conclusion
So, there you have it! Ditching the expensive, chemical-laden glass cleaners and embracing this simple, yet incredibly effective DIY streak-free glass cleaning solution is a game-changer. We’ve walked you through the process, highlighting the ease, affordability, and eco-friendliness of this method. But why is this a must-try?
Firstly, the results speak for themselves. Say goodbye to frustrating streaks and hello to sparkling, crystal-clear windows and mirrors. The satisfaction of seeing your reflection without a hazy film is truly rewarding. Secondly, you’re taking control of the ingredients you’re using in your home. No more worrying about harsh chemicals lingering in the air or potentially harming your family or pets. This DIY solution is gentle, safe, and effective.
Beyond the basic recipe, there’s room for personalization. For a refreshing scent, consider adding a few drops of your favorite essential oil, like lemon or lavender. If you have particularly stubborn grime, a slightly stronger vinegar solution might be necessary. Experiment and find what works best for your specific needs and the type of glass you’re cleaning. Remember to always test a small, inconspicuous area first, especially on delicate surfaces.
This DIY streak-free glass cleaning hack isn’t just about saving money; it’s about making a conscious choice for a cleaner, healthier home. It’s about embracing a simpler, more sustainable way of living.
We wholeheartedly encourage you to give this DIY trick a try. Gather your ingredients, follow the steps, and prepare to be amazed by the results. But don’t just take our word for it! We want to hear about your experience. Share your before-and-after photos, your variations, and any tips you discover along the way in the comments below. Let’s build a community of sparkling clean homes, one DIY solution at a time! Your feedback will not only help others but also inspire us to continue sharing valuable and effective cleaning solutions. Let us know what you think of this **streak-free glass cleaning** method!
Frequently Asked Questions (FAQ)
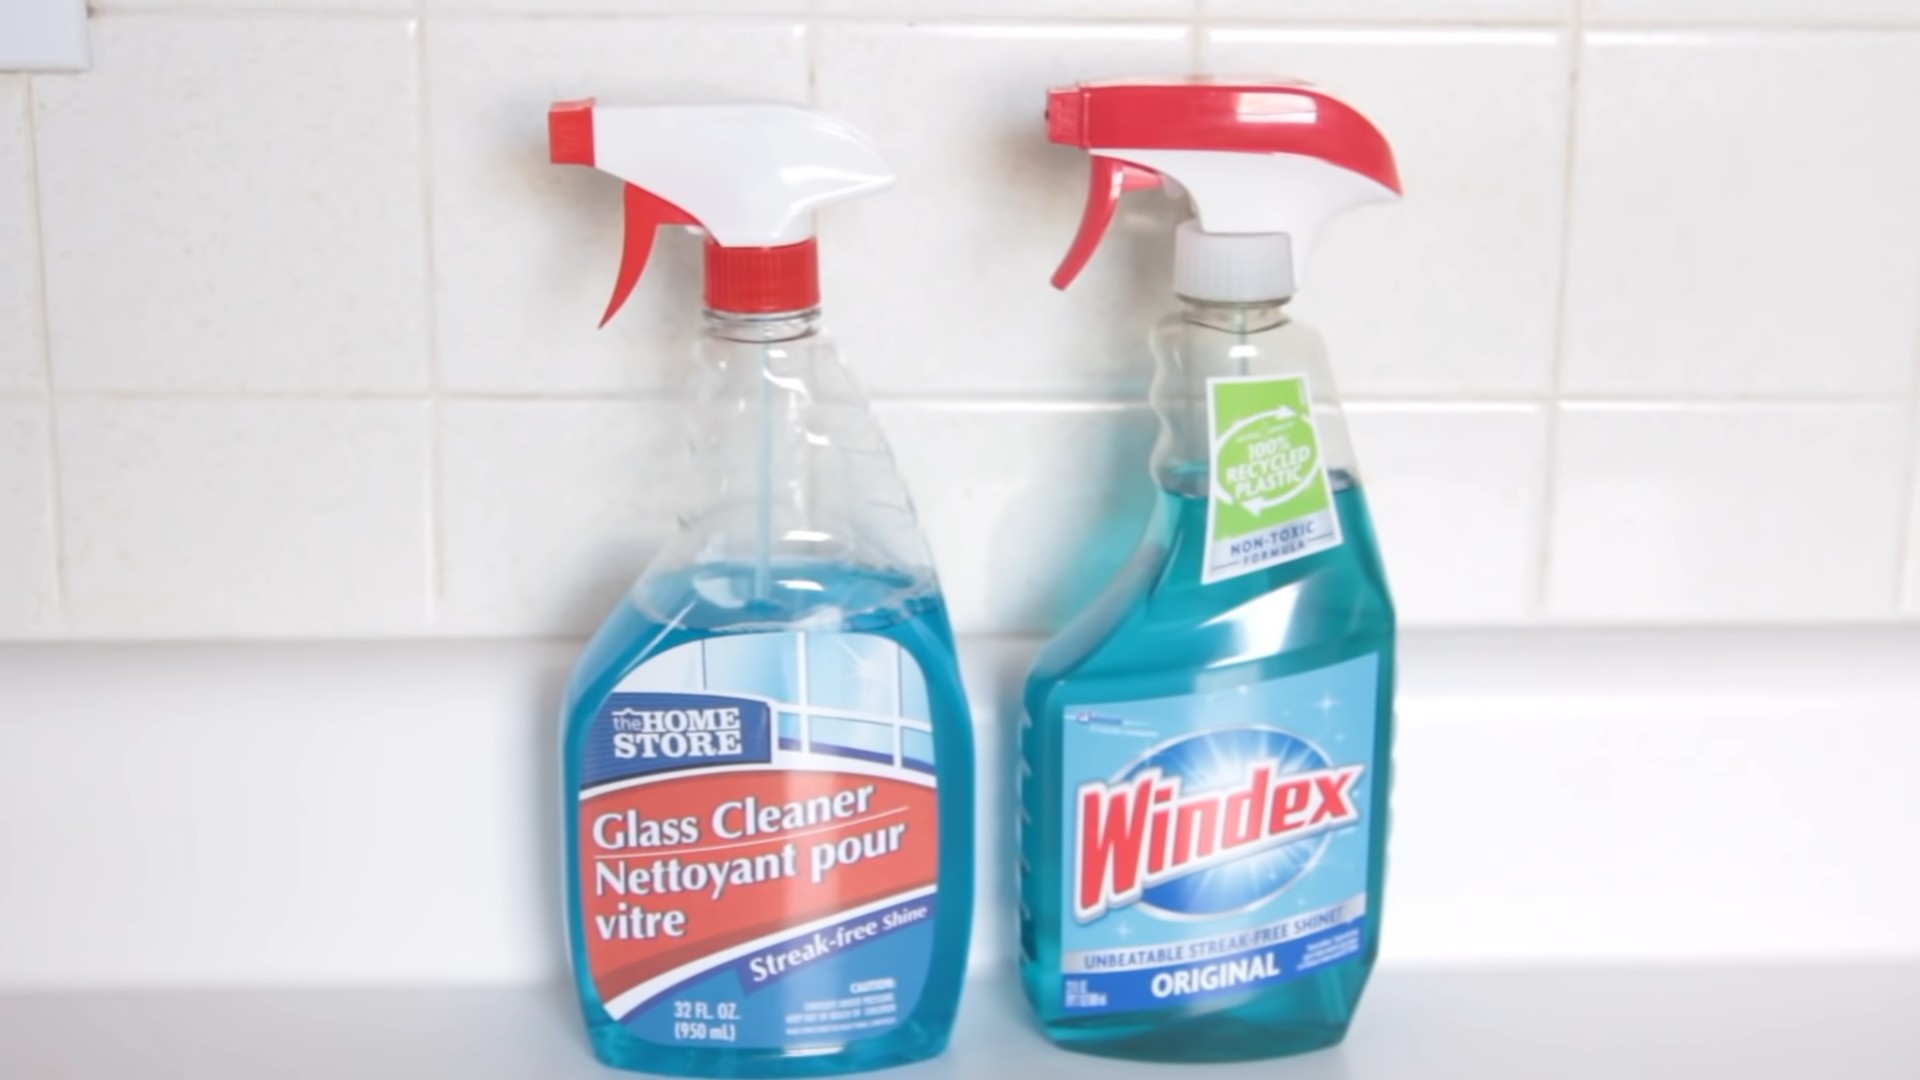
Why should I use a DIY glass cleaner instead of a store-bought one?
There are several compelling reasons to switch to a DIY glass cleaner. Store-bought cleaners often contain harsh chemicals, including ammonia, artificial fragrances, and dyes, which can be harmful to your health and the environment. These chemicals can irritate your skin, eyes, and respiratory system. Furthermore, many commercial glass cleaners come in plastic bottles, contributing to plastic waste. A DIY solution allows you to control the ingredients, ensuring a safer and more eco-friendly cleaning experience. It’s also significantly cheaper in the long run. You likely already have the necessary ingredients in your pantry.
What kind of vinegar should I use?
White distilled vinegar is the best choice for cleaning. It’s inexpensive, readily available, and has a high acidity level, making it effective at cutting through grease and grime. Avoid using other types of vinegar, such as apple cider vinegar or balsamic vinegar, as they may contain sugars or other compounds that could leave streaks or residue.
Can I use tap water, or do I need distilled water?
Distilled water is highly recommended for making your DIY glass cleaner. Tap water often contains minerals and impurities that can leave streaks or spots on your glass surfaces. Distilled water is purified, ensuring a cleaner, streak-free finish. If you don’t have distilled water, you can boil tap water and let it cool completely before using it. This will help to reduce the mineral content.
What type of spray bottle is best?
A good quality spray bottle is essential for even distribution of the cleaning solution. Opt for a bottle made of durable plastic or glass. A bottle with an adjustable nozzle that allows you to switch between a fine mist and a stream is also beneficial. Make sure the bottle is clean and free of any residue from previous products.
How often should I clean my windows and mirrors?
The frequency of cleaning depends on several factors, including the location of your home, the weather conditions, and the amount of traffic in your household. Windows that are exposed to dust, pollen, or rain may need to be cleaned more frequently. As a general guideline, cleaning your windows and mirrors every two to four weeks is a good starting point.
Can I use this DIY cleaner on all types of glass?
This DIY glass cleaner is generally safe for most types of glass, including windows, mirrors, glass tables, and shower doors. However, it’s always a good idea to test a small, inconspicuous area first, especially on delicate or antique glass surfaces. Avoid using this cleaner on tinted windows, as the vinegar may damage the tinting film.
What if I still see streaks after cleaning?
If you’re still experiencing streaks after cleaning, there are a few things you can try. First, make sure you’re using a clean microfiber cloth. Dirty cloths can spread dirt and grime, leaving streaks behind. Second, try using a slightly stronger vinegar solution. You can increase the ratio of vinegar to water to see if that helps. Finally, ensure you’re wiping the glass in a consistent direction, either horizontally or vertically. Overlapping strokes can also contribute to streaks.
How do I clean hard-to-reach windows?
Cleaning hard-to-reach windows can be challenging, but there are a few tools that can make the job easier. A window cleaning kit with an extendable pole and a microfiber pad is a great option. You can also use a squeegee with an extendable handle. For windows that are extremely difficult to reach, consider hiring a professional window cleaner.
Can I add essential oils to the cleaner?
Yes, you can add a few drops of essential oil to your DIY glass cleaner for a pleasant scent. Lemon, lavender, and tea tree oil are all popular choices. Essential oils also have antibacterial and antifungal properties, which can help to further clean and disinfect your glass surfaces. However, be careful not to add too much essential oil, as it can leave a residue. A few drops per bottle is usually sufficient.
How should I store the DIY glass cleaner?
Store your DIY glass cleaner in a cool, dark place, away from direct sunlight. Make sure the bottle is tightly sealed to prevent evaporation. The cleaner should last for several months if stored properly. It’s always a good idea to label the bottle with the ingredients and the date it was made.
Leave a Comment