

Propagate plants this June and watch your garden flourish! Have you ever admired a friend’s lush greenery and wished you could replicate it in your own home? Or perhaps you’re looking for a budget-friendly way to expand your plant collection? Well, you’re in luck! This June, I’m sharing some incredibly easy and effective DIY tricks to propagate your favorite plants, turning one plant into many without breaking the bank.
The art of plant propagation has been around for centuries, with evidence suggesting ancient civilizations like the Egyptians and Romans used various techniques to multiply their crops and ornamental plants. It’s a time-honored tradition that connects us to the earth and allows us to participate actively in the life cycle of our green companions.
In today’s world, where sustainability and resourcefulness are more important than ever, learning to propagate plants this June is a game-changer. Not only does it save you money on buying new plants, but it also reduces waste by utilizing cuttings that might otherwise be discarded. Plus, it’s incredibly rewarding to nurture a new plant from a small cutting and watch it thrive under your care. So, grab your gardening gloves, and let’s dive into these simple yet powerful DIY propagation hacks!
Propagating Plants Like a Pro This June!
Hey plant lovers! June is practically *the* perfect month to get your hands dirty and multiply your green babies. The weather’s usually warm and humid, which is exactly what most cuttings need to thrive. I’m going to walk you through some of my favorite propagation methods, so you can expand your plant collection without breaking the bank. Let’s get started!
Understanding Plant Propagation
Before we dive into the nitty-gritty, let’s quickly cover the basics. Plant propagation is simply creating new plants from existing ones. There are several ways to do this, but we’ll focus on the most common and easiest methods for home gardeners: stem cuttings, leaf cuttings, and division.
* Stem Cuttings: This involves taking a piece of stem from a healthy plant and encouraging it to grow roots. It’s super effective for plants like pothos, philodendrons, and succulents.
* Leaf Cuttings: Some plants, like snake plants and begonias, can be propagated from just a single leaf! It’s a slower process than stem cuttings, but still very rewarding.
* Division: This method is perfect for plants that grow in clumps, like snake plants, ZZ plants, and peace lilies. You simply separate the plant into smaller sections, each with its own roots.
Tools You’ll Need
Having the right tools makes the whole process smoother and increases your chances of success. Here’s what I recommend:
* Sharp, Clean Knife or Pruning Shears: A dull blade can crush the stem and make it harder for roots to form. Make sure your tools are clean to prevent the spread of diseases. I like to sterilize mine with rubbing alcohol.
* Rooting Hormone (Optional): This powder or gel contains hormones that encourage root growth. It’s not always necessary, but it can definitely speed things up, especially for plants that are a bit more challenging to propagate.
* Water or Propagation Medium: You can root cuttings in water, perlite, vermiculite, or a well-draining potting mix. I’ll explain the pros and cons of each method later.
* Clear Container or Plastic Bag: Creating a humid environment is crucial for successful propagation. A clear container or plastic bag will help trap moisture around the cuttings.
* Spray Bottle: For misting the cuttings to keep them hydrated.
* Labels: Trust me, you’ll want to label your cuttings! It’s easy to forget what you propagated when you have a bunch of little plants growing.
* Gloves (Optional): Some plants can irritate the skin, so wearing gloves is always a good idea.
Propagating with Stem Cuttings
This is my go-to method for propagating many of my favorite houseplants. It’s quick, easy, and usually very successful.
Step 1: Selecting Your Cutting
* Choose a healthy stem from your mother plant. Look for a stem that has several leaves and nodes (the points where leaves emerge).
* Avoid stems that are flowering or have buds, as the plant will put its energy into flowering instead of rooting.
Step 2: Taking the Cutting
* Using your sharp, clean knife or pruning shears, make a cut just below a node. The node is where the roots will emerge, so you want to include it in your cutting.
* The length of the cutting should be about 4-6 inches.
Step 3: Preparing the Cutting
* Remove the leaves from the bottom 1-2 inches of the cutting. This will prevent the leaves from rotting when they’re submerged in water or buried in the propagation medium.
* If you’re using rooting hormone, dip the cut end of the stem into the powder or gel. Tap off any excess.
Step 4: Rooting in Water
* Place the cutting in a clear glass or jar filled with water. Make sure the node is submerged, but the leaves are above the water line.
* Place the jar in a bright, indirect light location. Avoid direct sunlight, which can scorch the leaves.
* Change the water every few days to keep it fresh.
* You should start to see roots forming in a week or two.
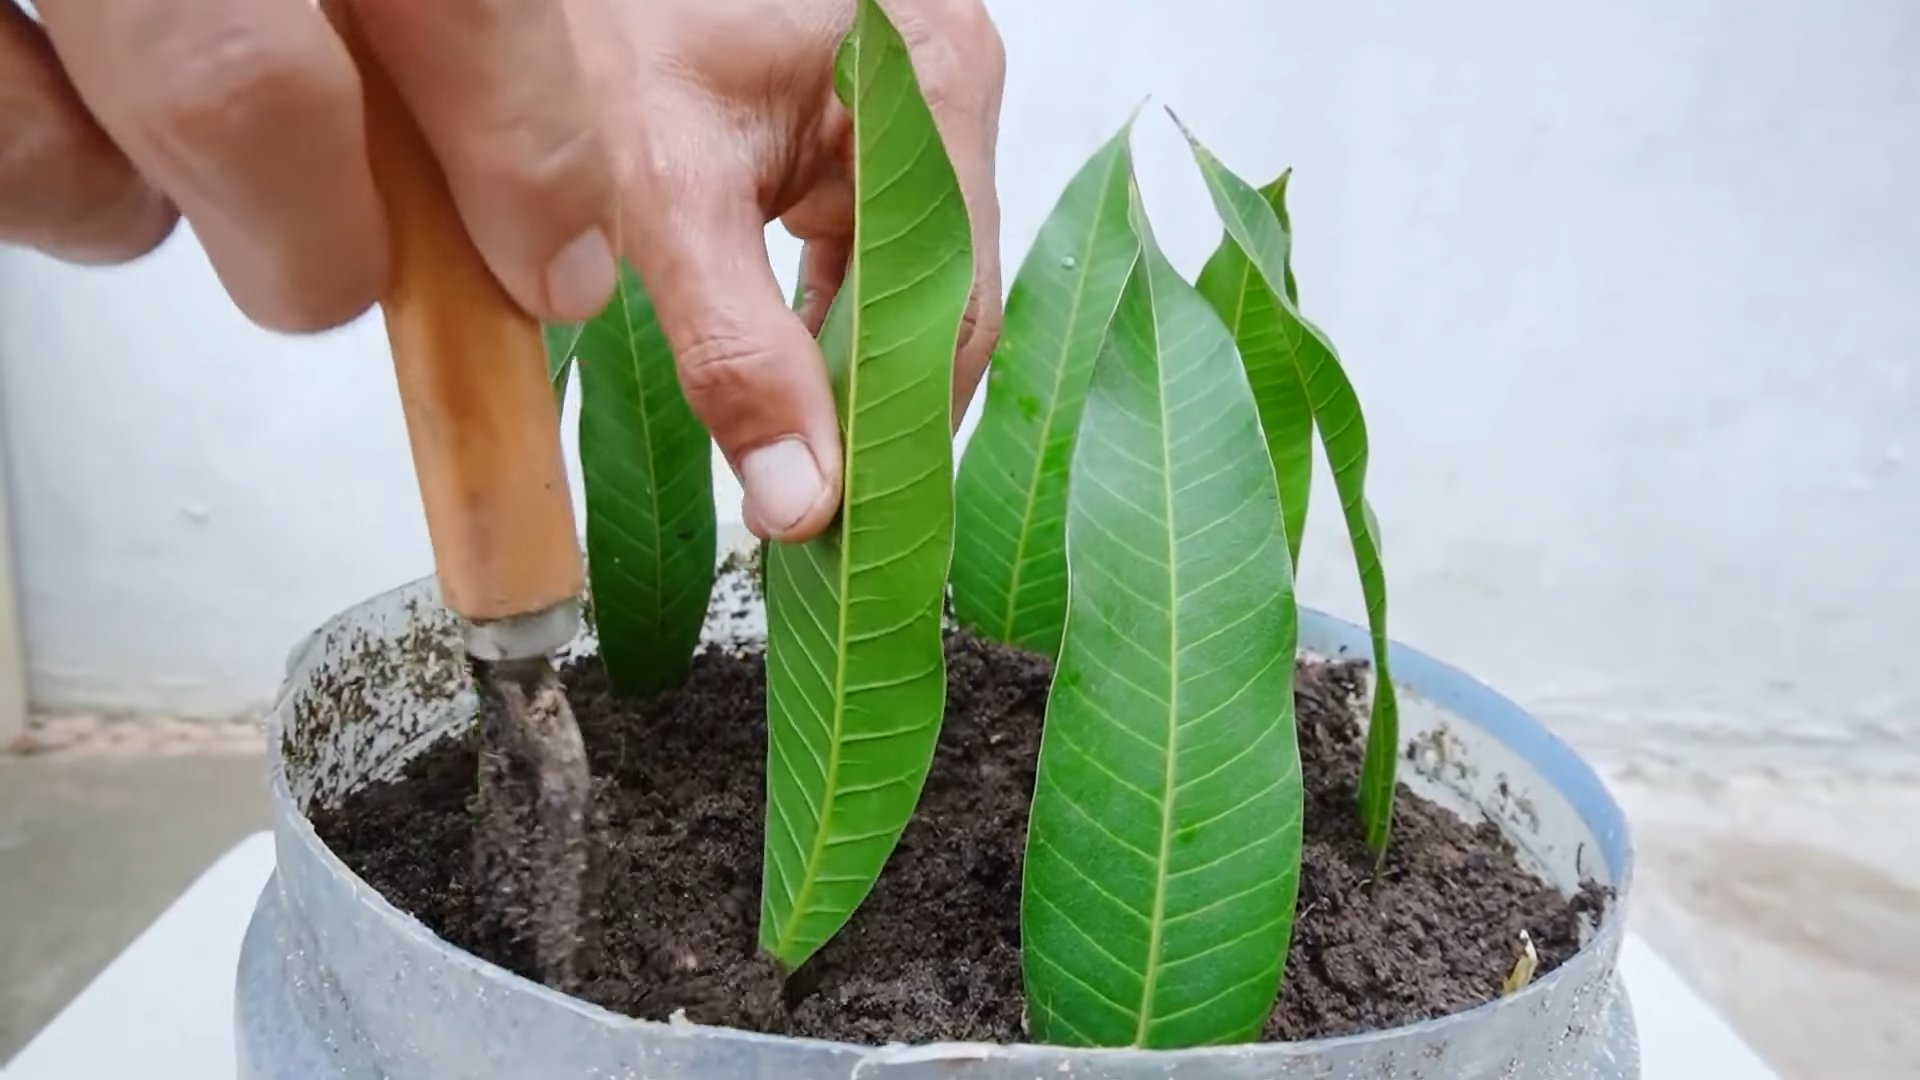
Step 5: Rooting in Propagation Medium
* Fill a small pot or container with your chosen propagation medium (perlite, vermiculite, or well-draining potting mix).
* Moisten the medium thoroughly.
* Make a small hole in the medium with your finger or a pencil.
* Insert the cutting into the hole, making sure the node is buried.
* Gently press the medium around the cutting to secure it.
* Cover the pot with a clear plastic bag or place it in a clear container to create a humid environment.
* Place the pot in a bright, indirect light location.
* Mist the cutting regularly to keep the medium moist.
* You should start to see roots forming in a few weeks.
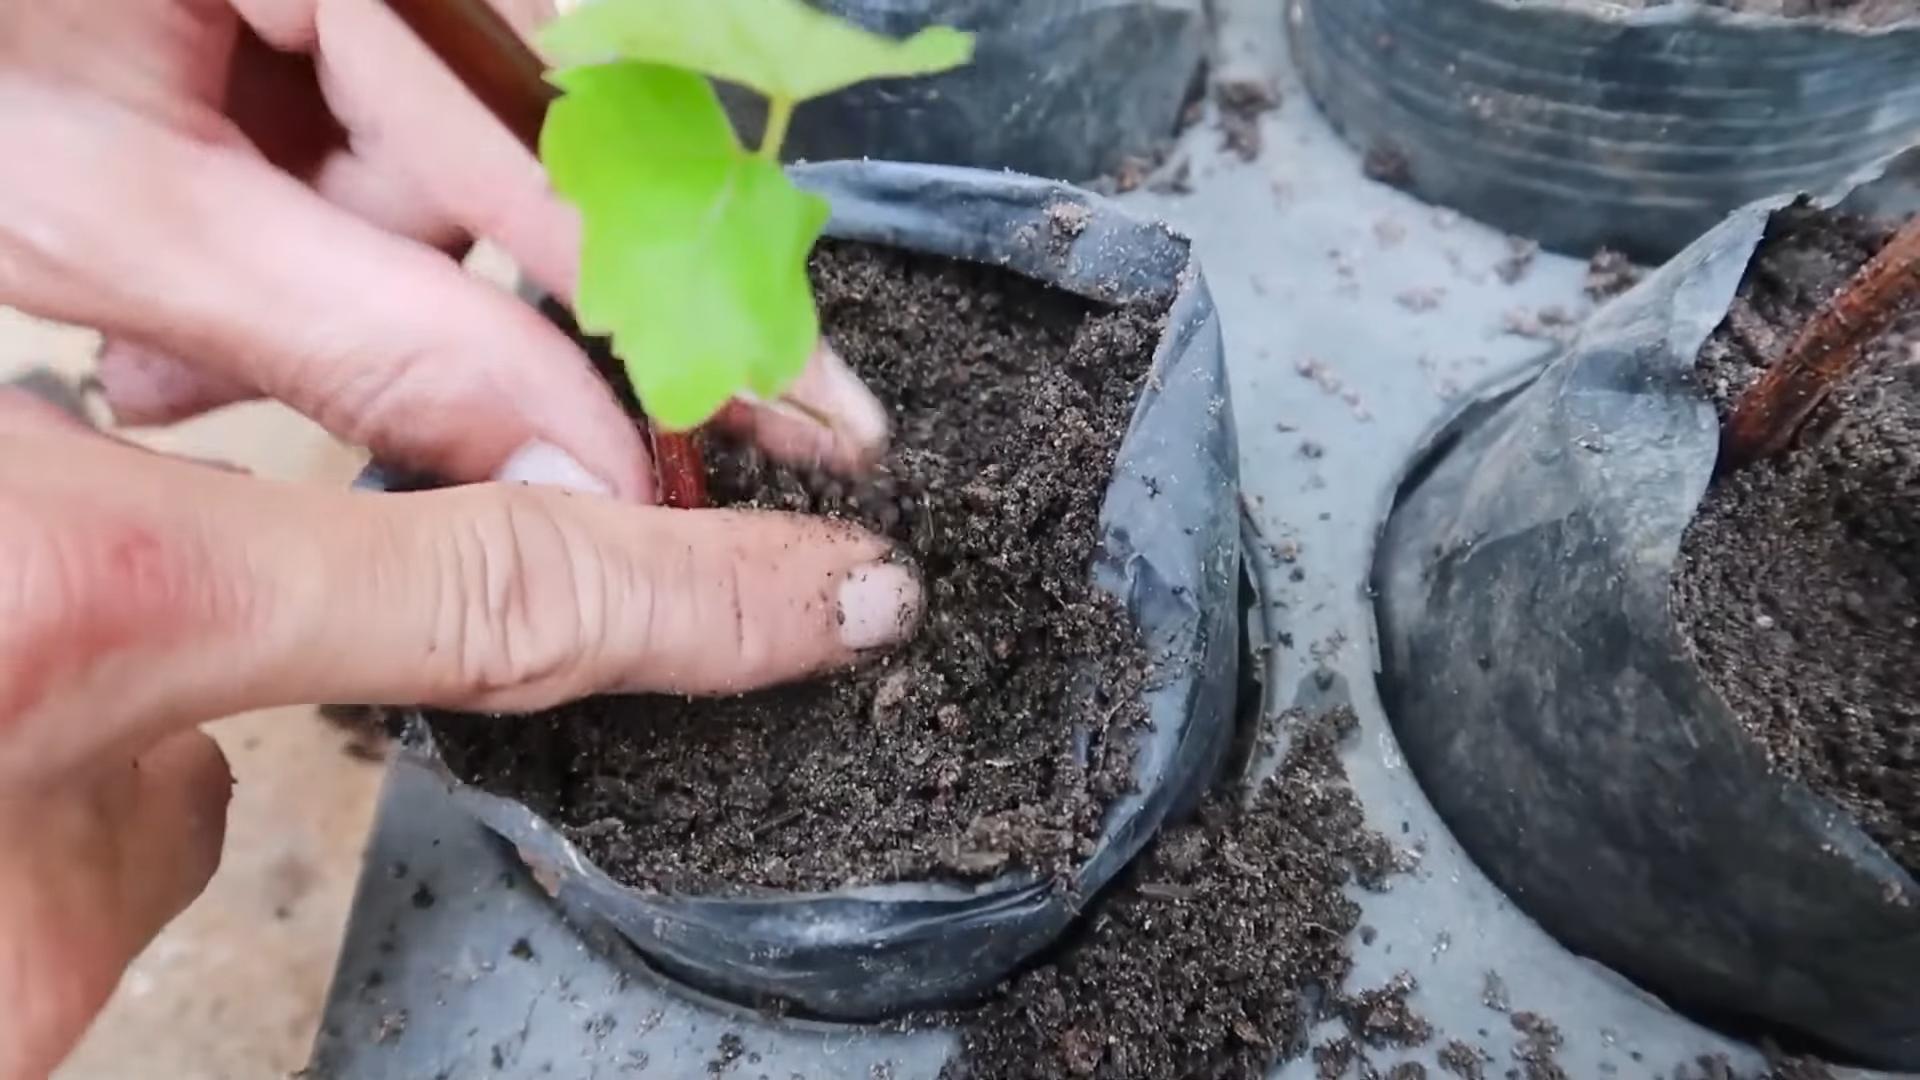
Step 6: Planting Your New Plant
* Once the roots are about 1-2 inches long (whether you rooted in water or medium), it’s time to plant your new plant in a pot with well-draining potting mix.
* Water thoroughly and place the plant in a bright, indirect light location.
* Keep the soil consistently moist for the first few weeks to help the plant adjust to its new environment.
Propagating with Leaf Cuttings
This method is a bit more specialized, but it’s perfect for plants like snake plants, begonias, and African violets.
Step 1: Selecting Your Leaf
* Choose a healthy, mature leaf from your mother plant.
* Avoid leaves that are damaged or discolored.
Step 2: Taking the Cutting
* For snake plants, cut the leaf into 2-3 inch sections. Make sure you remember which end was the top and which was the bottom! The roots will only grow from the bottom end.
* For begonias, you can either cut the leaf into wedges or use the entire leaf. If using the entire leaf, make small slits in the veins on the underside of the leaf.
Step 3: Rooting in Water (Snake Plants)
* Place the snake plant leaf sections in a glass of water, making sure the bottom end is submerged.
* Place the glass in a bright, indirect light location.
* Change the water every few days.
* You should start to see roots forming in a few weeks.
Step 4: Rooting in Propagation Medium (Begonias and Snake Plants)
* Fill a small pot or container with your chosen propagation medium (perlite, vermiculite, or well-draining potting mix).
* Moisten the medium thoroughly.
* For begonia leaf wedges, insert the cut end of the wedge into the medium. For whole begonia leaves, lay the leaf flat on the medium and secure it with small pebbles or paperclips.
* For snake plant leaf sections, insert the bottom end of the section into the medium.
* Cover the pot with a clear plastic bag or place it in a clear container to create a humid environment.
* Place the pot in a bright, indirect light location.
* Mist the cutting regularly to keep the medium moist.
* You should start to see roots and new plantlets forming in a few weeks.
Step 5: Planting Your New Plant
* Once the roots are well-developed, plant your new plant in a pot with well-draining potting mix.
* Water thoroughly and place the plant in a bright, indirect light location.
* Keep the soil consistently moist for the first few weeks to help the plant adjust to its new environment.
Propagating by Division
This is the easiest method for plants that grow in clumps. It’s like giving your plant a haircut and creating new plants at the same time!
Step 1: Preparing Your Plant
* Water your plant thoroughly a day or two before you plan to divide it. This will make it easier to separate the roots.
* Remove the plant from its pot.
Step 2: Dividing the Plant
* Gently loosen the soil around the roots.
* Carefully separate the plant into smaller sections, each with its own roots and leaves. You can use your hands or a sharp knife to separate the roots.
* Make sure each section has a good amount of roots to support its growth.
Step 3: Planting Your New Plants
* Plant each section in its own pot with well-draining potting mix.
* Water thoroughly and place the plants in a bright, indirect light location.
* Keep the soil consistently moist for the first few weeks to help the plants adjust to their new environment.
Tips for Success
Here are a few extra tips to help you become a propagation master:
* Humidity is Key: Cuttings need a humid environment to prevent them from drying out before they can grow roots. Use a clear plastic bag or container to create a mini
Conclusion
So, there you have it! Propagating plants this June doesn’t have to be intimidating or expensive. With a few simple tools and a little patience, you can transform a single plant into a thriving collection, all while saving money and enjoying the satisfaction of nurturing new life. This DIY propagation trick is a must-try for any plant enthusiast, whether you’re a seasoned gardener or just starting your green journey.
Why is it a must-try? Because it’s incredibly rewarding! Imagine the joy of watching tiny roots emerge from a cutting you nurtured, knowing you played a direct role in creating a new plant. Beyond the personal satisfaction, propagation is a fantastic way to expand your plant collection without breaking the bank. Instead of buying new plants, you can simply multiply the ones you already love. Plus, it’s a great way to share your passion with friends and family by gifting them with your homegrown propagations.
But the benefits don’t stop there. Propagating plants can also help you control the size and shape of your existing plants. By taking cuttings, you can encourage bushier growth and prevent your plants from becoming leggy or overgrown. It’s a win-win situation!
Looking for variations? Absolutely! While we’ve focused on stem cuttings, remember that different plants propagate best through different methods. For example, succulents often propagate easily from leaf cuttings, while some plants, like spider plants, produce “pups” that can be separated and planted. Experiment and see what works best for your specific plants. You can also try different rooting mediums, such as perlite, vermiculite, or even just plain water. Each medium has its own advantages, so don’t be afraid to explore and find what suits your needs. Consider using rooting hormones to speed up the process, especially for plants that are known to be difficult to root.
Don’t be afraid to experiment with different containers, too! While a simple glass of water works well for many cuttings, you can also use small pots filled with soil or specialized propagation trays. The key is to provide a humid environment and consistent moisture.
We encourage you to give this DIY propagation trick a try this June. It’s a fun, affordable, and incredibly rewarding way to expand your plant collection and deepen your connection with nature. Once you’ve successfully propagated your plants, we’d love to hear about your experience! Share your photos and stories on social media using #PlantPropagationDIY and tag us so we can celebrate your success. Let’s create a community of plant lovers who are passionate about sharing their knowledge and inspiring others to grow!
Remember, even if your first attempt isn’t perfect, don’t give up! Propagation can be a bit of a learning curve, but with a little patience and persistence, you’ll be rewarded with a thriving collection of beautiful plants. Happy propagating!
Frequently Asked Questions (FAQ)
What is the best time of year to propagate plants?
June is an excellent time to propagate many plants because they are actively growing during this period. The warmer temperatures and longer daylight hours provide the ideal conditions for root development. However, the best time to propagate depends on the specific plant species. Generally, spring and early summer are favorable for most plants, as they are entering their active growth phase. Avoid propagating during the dormant season (typically winter) when plant growth is significantly slowed. Research the specific needs of your plants to determine the optimal propagation time.
What types of plants are easiest to propagate?
Some plants are naturally easier to propagate than others. Plants like pothos, spider plants, snake plants, succulents (like echeverias and sedums), and African violets are known for their high success rates. These plants often root quickly and easily from cuttings or offsets. Herbs like mint, basil, and rosemary are also relatively easy to propagate from stem cuttings. As you gain experience, you can try propagating more challenging plants.
What kind of cutting should I take?
The type of cutting you take depends on the plant species. Stem cuttings are the most common method. For stem cuttings, choose healthy, non-flowering stems. The cutting should be about 4-6 inches long and have several leaves. Remove the lower leaves to prevent them from rotting when submerged in water or soil. Leaf cuttings are suitable for plants like succulents and African violets. Simply detach a healthy leaf and place it on top of the soil or in water until roots develop. Root cuttings are used for plants that readily produce new shoots from their roots.
How do I prevent my cuttings from rotting?
Rotting is a common problem when propagating plants. To prevent it, ensure that your cuttings are taken from healthy, disease-free plants. Remove any damaged or yellowing leaves from the cutting. Use clean, sterilized tools to take the cuttings to avoid introducing bacteria or fungi. When rooting in water, change the water every 1-2 days to keep it fresh and oxygenated. Avoid overcrowding the cuttings in a single container, as this can increase the risk of rot. If you’re rooting in soil, use a well-draining potting mix and avoid overwatering.
How long does it take for cuttings to root?
The time it takes for cuttings to root varies depending on the plant species, the propagation method, and the environmental conditions. Some plants may root within a week or two, while others may take several weeks or even months. Be patient and monitor the cuttings regularly for signs of root development. You can gently tug on the cutting to feel for resistance, which indicates that roots have formed. Once the roots are about an inch long, you can transplant the cutting into a pot with soil.
Do I need to use rooting hormone?
Rooting hormone is not always necessary, but it can significantly increase the success rate of propagation, especially for plants that are difficult to root. Rooting hormone contains auxins, which are plant hormones that stimulate root growth. You can purchase rooting hormone in powder or liquid form. To use it, dip the cut end of the stem in the hormone before placing it in water or soil. Follow the instructions on the product label for the correct dosage.
What kind of soil should I use for propagating plants?
When propagating plants in soil, it’s important to use a well-draining potting mix that is specifically formulated for seedlings or cuttings. Avoid using garden soil, as it can be too heavy and may contain pathogens that can harm the cuttings. A good potting mix will provide adequate drainage and aeration, which are essential for root development. You can also add perlite or vermiculite to the potting mix to improve drainage.
How much light do cuttings need?
Cuttings need bright, indirect light to thrive. Avoid placing them in direct sunlight, as this can scorch the leaves and dry out the cuttings. A location near a window with filtered light is ideal. You can also use grow lights to provide supplemental light, especially during the winter months.
How do I care for newly rooted cuttings?
Once your cuttings have rooted, it’s important to gradually acclimate them to their new environment. Start by placing them in a location with bright, indirect light and keep the soil consistently moist but not waterlogged. Avoid fertilizing the cuttings until they have established a strong root system. After a few weeks, you can gradually introduce them to more sunlight and begin fertilizing them with a diluted liquid fertilizer.
What if my cuttings don’t root?
Not all cuttings will root successfully, and that’s okay! Don’t be discouraged if your first attempt doesn’t work. Review your propagation method and make sure you’re providing the cuttings with the right conditions. Try taking cuttings from different parts of the plant or using a different rooting medium. You can also try using rooting hormone to increase your chances of success. Remember, propagation is a learning process, so keep experimenting and you’ll eventually find what works best for you.
Leave a Comment