

Baseboard Dusting DIY: Are you tired of that stubborn layer of dust clinging to your baseboards, making your home look less than its best? I know I am! It’s one of those chores that’s easy to overlook, but the difference a clean baseboard makes is truly remarkable. Think of it like this: you wouldn’t wear a beautiful outfit with scuffed shoes, right? Well, clean baseboards are the polished shoes of your home’s interior!
While baseboards might seem like a modern architectural detail, their history stretches back centuries. Originally, they served a practical purpose – protecting walls from furniture and foot traffic. Over time, they evolved into decorative elements, adding character and style to homes. But one thing has remained constant: they attract dust like magnets!
Let’s face it, nobody enjoys spending hours on their hands and knees scrubbing baseboards. That’s why I’m so excited to share these simple, effective baseboard dusting DIY tricks and hacks. We’ll explore easy-to-implement solutions that will save you time and energy, leaving your baseboards sparkling and your home feeling fresh and clean. Get ready to say goodbye to dusty baseboards and hello to a brighter, more inviting living space!
DIY Baseboard Dusting Hack: Sparkling Clean Baseboards with Minimal Effort!
Okay, let’s face it: dusting baseboards is one of those chores that everyone dreads. It’s low to the ground, awkward, and seems to attract dust like a magnet. But fear not! I’ve discovered a super easy and effective way to keep your baseboards sparkling clean with minimal bending and scrubbing. This hack uses common household items and will save you time and energy. Get ready to say goodbye to dusty baseboards forever!
What You’ll Need: The Arsenal of Clean
Before we dive in, let’s gather our supplies. This is a pretty low-cost project, which is always a win in my book!
* Microfiber Cloths: These are your best friends for dusting. They grab dust and dirt like crazy. I recommend having a few on hand so you can switch them out as they get dirty.
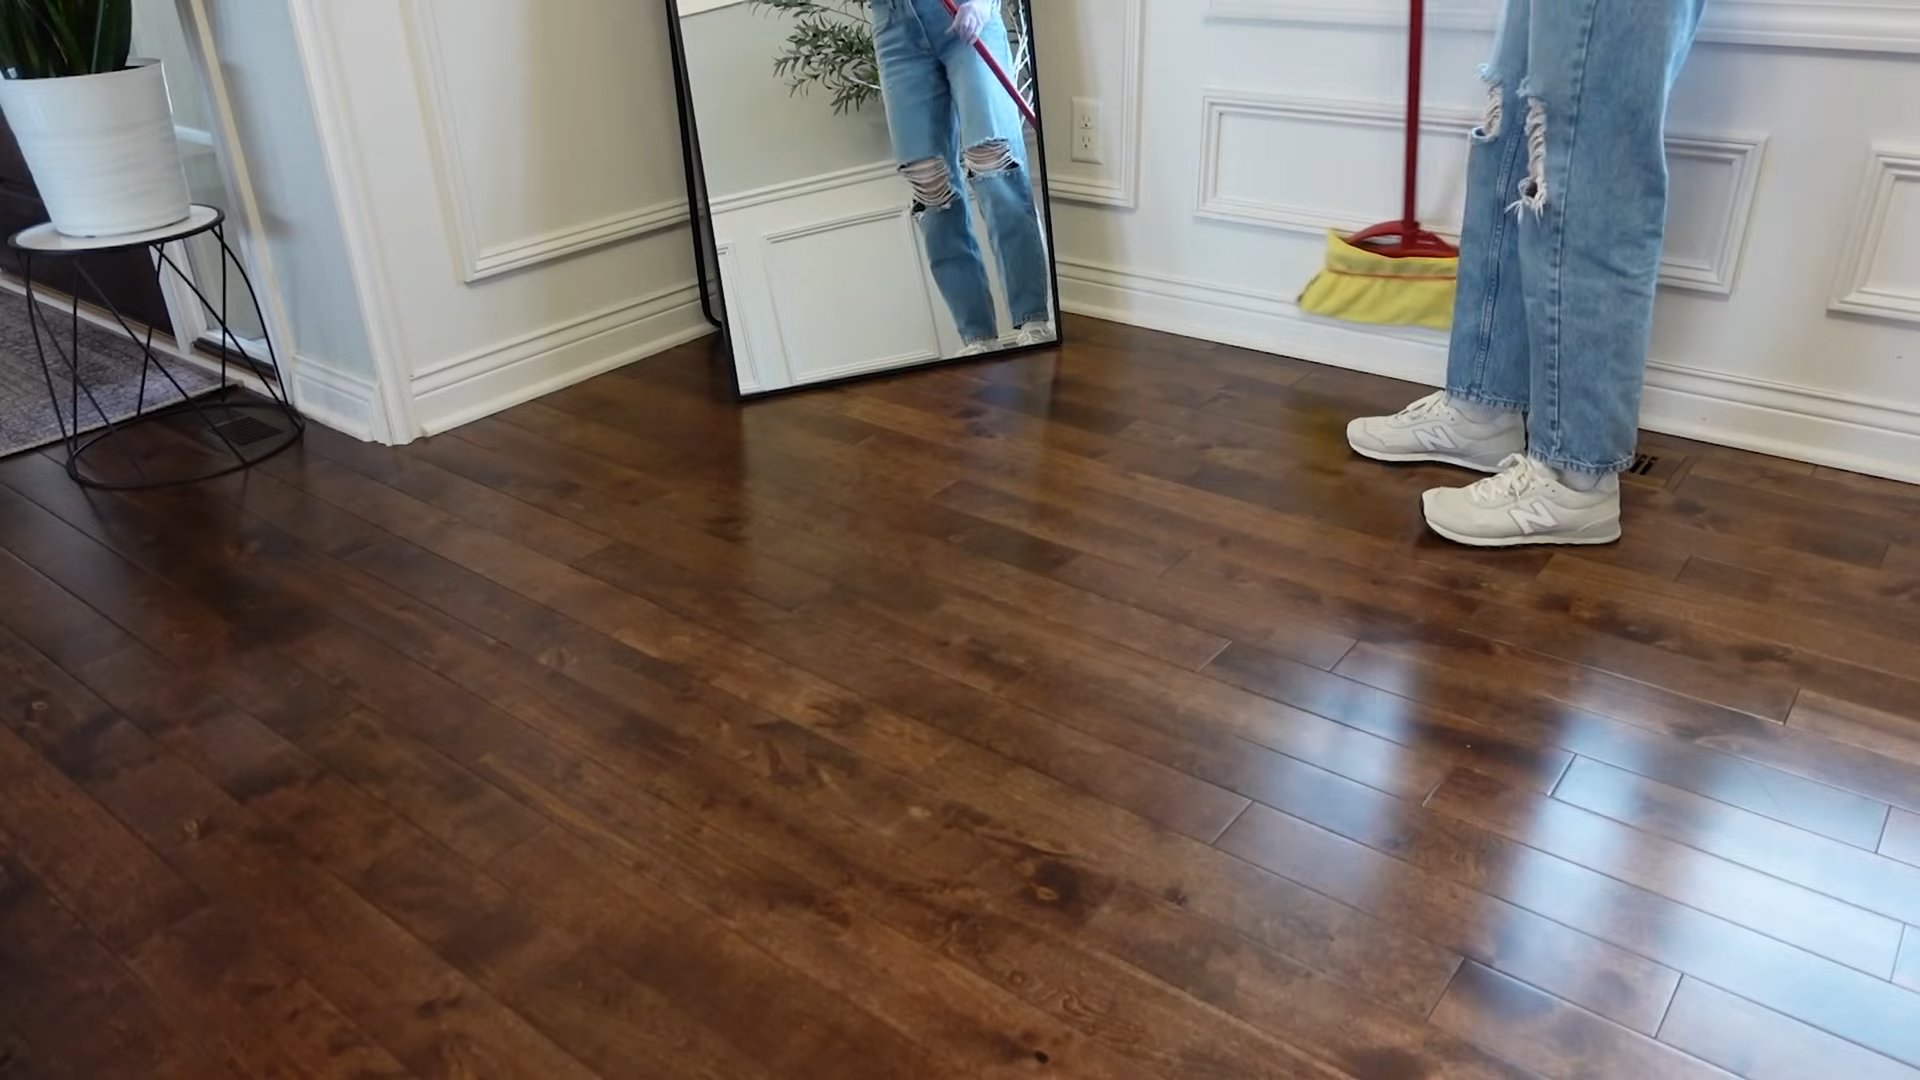
* Telescoping Mop Handle or Extension Pole: This is the key to saving your back! You can use a mop handle you already have or purchase an inexpensive extension pole from a hardware store.
* Spray Bottle: For your cleaning solution.
* All-Purpose Cleaner or DIY Cleaning Solution: You can use your favorite all-purpose cleaner or make your own. I’ll share my favorite DIY recipe below.
* Optional: Vacuum with Brush Attachment: This is helpful for removing loose debris before you start wiping.
* Optional: Magic Eraser: For stubborn scuff marks or stains.
* Optional: Old Toothbrush: For getting into tight corners and crevices.
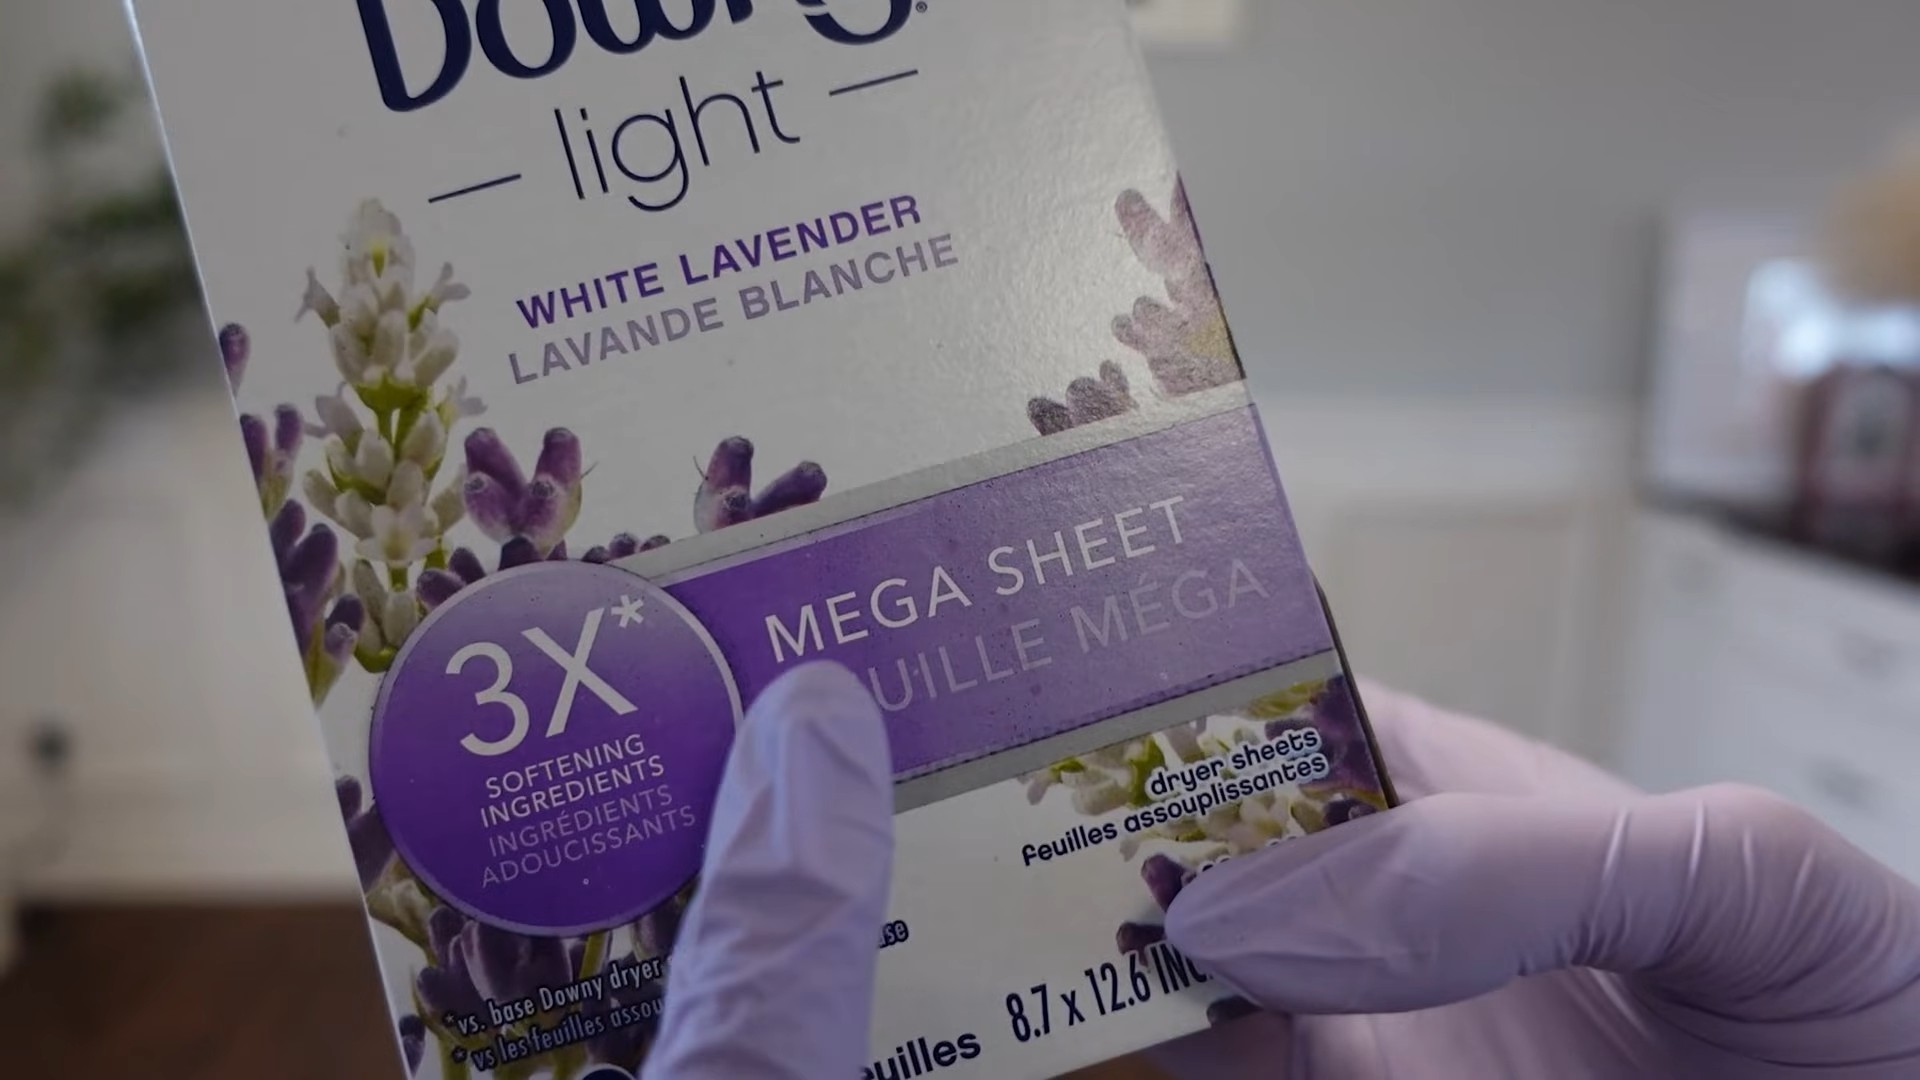
* Optional: Dryer Sheets: For repelling dust after cleaning.
DIY Cleaning Solution Recipe (My Go-To!)
I love making my own cleaning solutions because I know exactly what’s in them, and they’re usually much cheaper than store-bought options. Here’s my favorite recipe for cleaning baseboards:
* 1 cup warm water
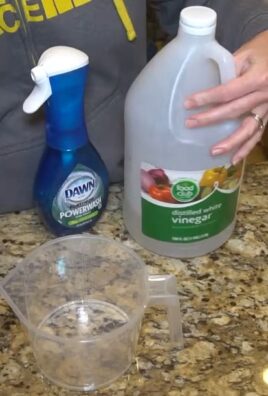
* 1/2 cup white vinegar
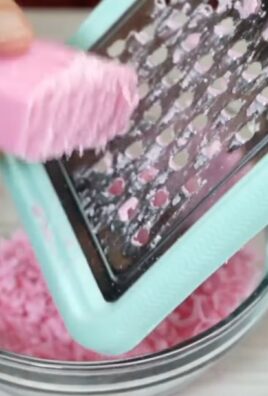
* 1 tablespoon dish soap (I prefer Dawn)
* A few drops of your favorite essential oil (optional, for a pleasant scent)
Mix all the ingredients in your spray bottle and shake well. That’s it!
Step-by-Step Guide: Dusting Like a Pro
Now for the fun part! Follow these steps to get your baseboards looking their best:
Phase 1: Preparation is Key
1. Vacuum (Optional): If your baseboards are particularly dusty or have a lot of loose debris, start by vacuuming them with a brush attachment. This will remove the surface dirt and make the wiping process much easier. I find this step especially helpful if you have pets.
2. Prepare Your Cleaning Solution: If you’re using my DIY recipe, mix it up in your spray bottle. If you’re using a store-bought cleaner, make sure it’s diluted according to the instructions on the bottle.
3. Attach Microfiber Cloth to Mop Handle: Wrap a microfiber cloth around the end of your mop handle or extension pole and secure it with a rubber band or clip. You want it to be snug so it doesn’t slip off while you’re cleaning. Some mop handles have clips specifically for attaching cloths, which makes this even easier.
Phase 2: The Dusting Dance
1. Spray the Baseboards: Lightly spray your cleaning solution onto a section of the baseboard. Don’t over-saturate it; you just want to dampen the surface.
2. Wipe with Microfiber Cloth: Using your mop handle, wipe the baseboard with the microfiber cloth. Apply gentle pressure to remove dirt and grime. Work in small sections, overlapping each pass to ensure you don’t miss any spots.
3. Rinse and Repeat: As your microfiber cloth gets dirty, rinse it out with clean water or switch to a fresh cloth. Continue spraying and wiping until you’ve cleaned all the baseboards in the room.
4. Tackle Stubborn Spots: For stubborn scuff marks or stains, use a Magic Eraser. Gently rub the Magic Eraser over the affected area until the mark disappears. Be careful not to rub too hard, as Magic Erasers can be abrasive.
5. Get into the Corners: Use an old toothbrush to clean tight corners and crevices. Spray a little cleaning solution onto the toothbrush and scrub gently.
Phase 3: The Finishing Touches
1. Dry the Baseboards: If your baseboards are still damp after wiping, use a clean, dry microfiber cloth to dry them. This will prevent water spots and streaks.
2. Dust Repelling Magic (Optional): This is my secret weapon for keeping baseboards clean longer! Rub a dryer sheet along the surface of the baseboards. The dryer sheet will create a static charge that repels dust. I usually do this every few weeks.
3. Admire Your Work: Step back and admire your sparkling clean baseboards! You deserve it.
Troubleshooting Tips and Tricks
* Streaky Baseboards: If you’re getting streaks, try using less cleaning solution or drying the baseboards more thoroughly. You might also need to switch to a cleaner microfiber cloth.
* Stubborn Dirt: For really stubborn dirt, let the cleaning solution sit on the baseboard for a few minutes before wiping. This will give it time to loosen the grime.
* Painted Baseboards: Be careful when cleaning painted baseboards, especially if the paint is old or delicate. Test your cleaning solution in an inconspicuous area first to make sure it doesn’t damage the paint.
* Wood Baseboards: For wood baseboards, use a cleaning solution specifically designed for wood. Avoid using too much water, as it can damage the wood.
* Baseboards with Intricate Details: Use a soft-bristled brush to clean baseboards with intricate details. This will help you get into all the nooks and crannies.
Maintaining Your Sparkling Baseboards
The key to keeping your baseboards clean is to maintain them regularly. Here are a few tips:
* Dust Regularly: Dust your baseboards every week or two to prevent dust from building up.
* Vacuum Frequently: Vacuum your floors regularly to remove dirt and debris that can end up on your baseboards.
* Spot Clean as Needed: Clean up spills and messes as soon as they happen to prevent them from staining your baseboards.
* Use a Dust Repellent: As I mentioned earlier, dryer sheets are a great way to repel dust. You can also use a commercial dust repellent spray.
Why This Hack Works So Well
This DIY baseboard dusting hack is so effective because it combines the power of microfiber cloths, a good cleaning solution, and a telescoping mop handle. The microfiber cloths grab dust and dirt like a magnet, the cleaning solution loosens grime, and the mop handle allows you to clean without bending over. It’s a win-win-win!
Alternative Cleaning Solutions
While I love my DIY cleaning solution, there are plenty of other options you can use. Here are a few ideas:
* Store-Bought All-Purpose Cleaner: Choose a cleaner that’s safe for your baseboard material.
* Dish Soap and Water: A simple solution of dish soap and water can be effective for light cleaning.
* Baking Soda Paste: For stubborn stains, make a paste of baking soda and water and apply it to the affected area. Let it sit for a few minutes, then wipe away.
* Lemon Juice and Water: Lemon juice is a natural cleaner and disinfectant. Mix it with water for a refreshing cleaning solution.
Safety First!
* Always test your cleaning solution in an inconspicuous area before using it on your entire baseboard.
* Wear gloves to protect your hands from harsh chemicals.
* Keep cleaning solutions out of reach of children and pets.
* Ventilate the room while you’re cleaning.
Beyond Baseboards: Other Uses for This Hack
This hack isn’t just for baseboards! You can also use it to clean:
* Crown Molding: Reach high places with ease.
* Walls: Remove scuff marks and dirt.
* Floors: Give your floors a quick wipe-down.
* Furniture: Dust hard-to-reach areas.
So there you have it! My ultimate DIY baseboard dusting hack. I hope this helps you keep your baseboards sparkling clean with minimal effort. Happy cleaning!
Conclusion
So, there you have it! This simple, yet incredibly effective, baseboard dusting DIY trick is a game-changer for anyone looking to maintain a clean and healthy home. Forget about back-breaking bending and awkward maneuvering with bulky vacuums or ineffective cloths. This method is not only easier on your body but also delivers superior results, leaving your baseboards sparkling and dust-free.
Why is this a must-try? Because it’s efficient, cost-effective, and utilizes items you likely already have in your home. It saves you time and energy, allowing you to focus on other important tasks or simply relax and enjoy your clean living space. The difference between a quick wipe and this deep-cleaning method is truly noticeable, contributing to a fresher, brighter, and healthier indoor environment.
But don’t just take our word for it! We encourage you to experiment with variations to find what works best for you. For instance, if you have particularly stubborn grime, consider adding a few drops of dish soap to your cleaning solution. For a pleasant scent, a few drops of essential oil, like lemon or lavender, can be added. If you’re dealing with painted baseboards, always test your cleaning solution in an inconspicuous area first to ensure it doesn’t damage the finish. You can also use a microfiber cloth wrapped around a paint edger for even more precise cleaning, especially in corners and along edges. Another variation is to use a slightly damp magic eraser for scuff marks, but be gentle to avoid removing paint.
This baseboard dusting DIY method isn’t just about cleaning; it’s about creating a more comfortable and inviting home. It’s about taking pride in your living space and enjoying the benefits of a truly clean environment. It’s about simplifying your cleaning routine and achieving professional-level results without breaking the bank.
We are confident that once you try this method, you’ll wonder how you ever lived without it. It’s a simple, effective, and sustainable way to keep your baseboards looking their best. So, ditch the old methods and embrace this easy and efficient solution.
Now, it’s your turn! We’re eager to hear about your experience with this baseboard dusting DIY trick. Did you try any variations? Did you find it as effective as we did? Share your tips, tricks, and results in the comments below. Let’s create a community of clean-home enthusiasts and help each other maintain sparkling baseboards! We believe in the power of shared knowledge and experiences, and your feedback will be invaluable to others looking to improve their cleaning routines. Don’t hesitate to ask questions or offer suggestions – we’re all in this together! Let us know if you have any other cleaning challenges you’d like us to tackle. We’re always looking for new and innovative ways to simplify your life and help you create a cleaner, healthier, and happier home.
Frequently Asked Questions (FAQ)
What is the best way to prevent dust buildup on baseboards in the first place?
Prevention is key! Regularly vacuuming or sweeping floors helps minimize dust that settles on baseboards. Consider using an air purifier to reduce airborne dust particles. Also, wiping down baseboards with a slightly damp cloth every few weeks can prevent dust from accumulating and becoming difficult to remove. Sealing gaps between the baseboards and the wall or floor can also prevent dust and debris from getting trapped.
How often should I dust my baseboards?
The frequency depends on factors like pet ownership, foot traffic, and air quality. Generally, dusting baseboards every 1-2 months is sufficient for most households. If you have pets or live in a dusty area, you might need to dust them more frequently, perhaps every 2-4 weeks. A quick visual inspection will help you determine when it’s time for a cleaning.
What if my baseboards are painted with a delicate finish?
Always test your cleaning solution in an inconspicuous area first to ensure it doesn’t damage the finish. Use a gentle, pH-neutral cleaner and avoid abrasive sponges or scrub brushes. A microfiber cloth is ideal for delicate finishes. If you’re unsure, consult the paint manufacturer’s recommendations for cleaning.
Can I use a steam cleaner on baseboards?
While steam cleaners can be effective for cleaning, they’re not always the best choice for baseboards. The high heat and moisture can damage certain types of baseboards, especially those made of wood or MDF. If you choose to use a steam cleaner, use a low setting and avoid prolonged exposure to the steam. Always test in an inconspicuous area first.
What’s the best way to clean baseboards with intricate designs or molding?
For intricate designs, a soft-bristled brush, like an old toothbrush, can be helpful for reaching into crevices and removing dust. You can also use cotton swabs dipped in your cleaning solution to clean hard-to-reach areas. Be patient and take your time to ensure you remove all the dust and grime.
My baseboards have stubborn scuff marks. How can I remove them?
A slightly damp magic eraser can be effective for removing scuff marks, but be gentle to avoid removing paint. You can also try a paste made of baking soda and water. Apply the paste to the scuff mark, let it sit for a few minutes, and then gently scrub with a soft cloth. Rinse with clean water and dry.
What type of cleaning solution is best for baseboards?
A mild solution of warm water and dish soap is generally effective for most baseboards. You can also use a multi-purpose cleaner, but be sure to test it in an inconspicuous area first. Avoid using harsh chemicals or abrasive cleaners, as they can damage the finish. For painted baseboards, a pH-neutral cleaner is recommended.
How can I make my baseboards shine after cleaning?
After cleaning, you can apply a furniture polish or wax to your baseboards to give them a shine. Be sure to choose a product that is compatible with the material of your baseboards. Apply the polish or wax sparingly and buff with a clean, dry cloth.
Is there a natural alternative to commercial cleaning solutions for baseboards?
Yes! A mixture of equal parts white vinegar and water is a natural and effective cleaning solution for baseboards. Vinegar is a natural disinfectant and can help remove dirt and grime. You can also add a few drops of essential oil for a pleasant scent.
What if my baseboards are made of a material other than wood or MDF?
The cleaning method may need to be adjusted depending on the material of your baseboards. For example, tile baseboards can be cleaned with a tile cleaner, while vinyl baseboards can be cleaned with a vinyl cleaner. Always consult the manufacturer’s recommendations for cleaning specific materials.

Leave a Comment